Background
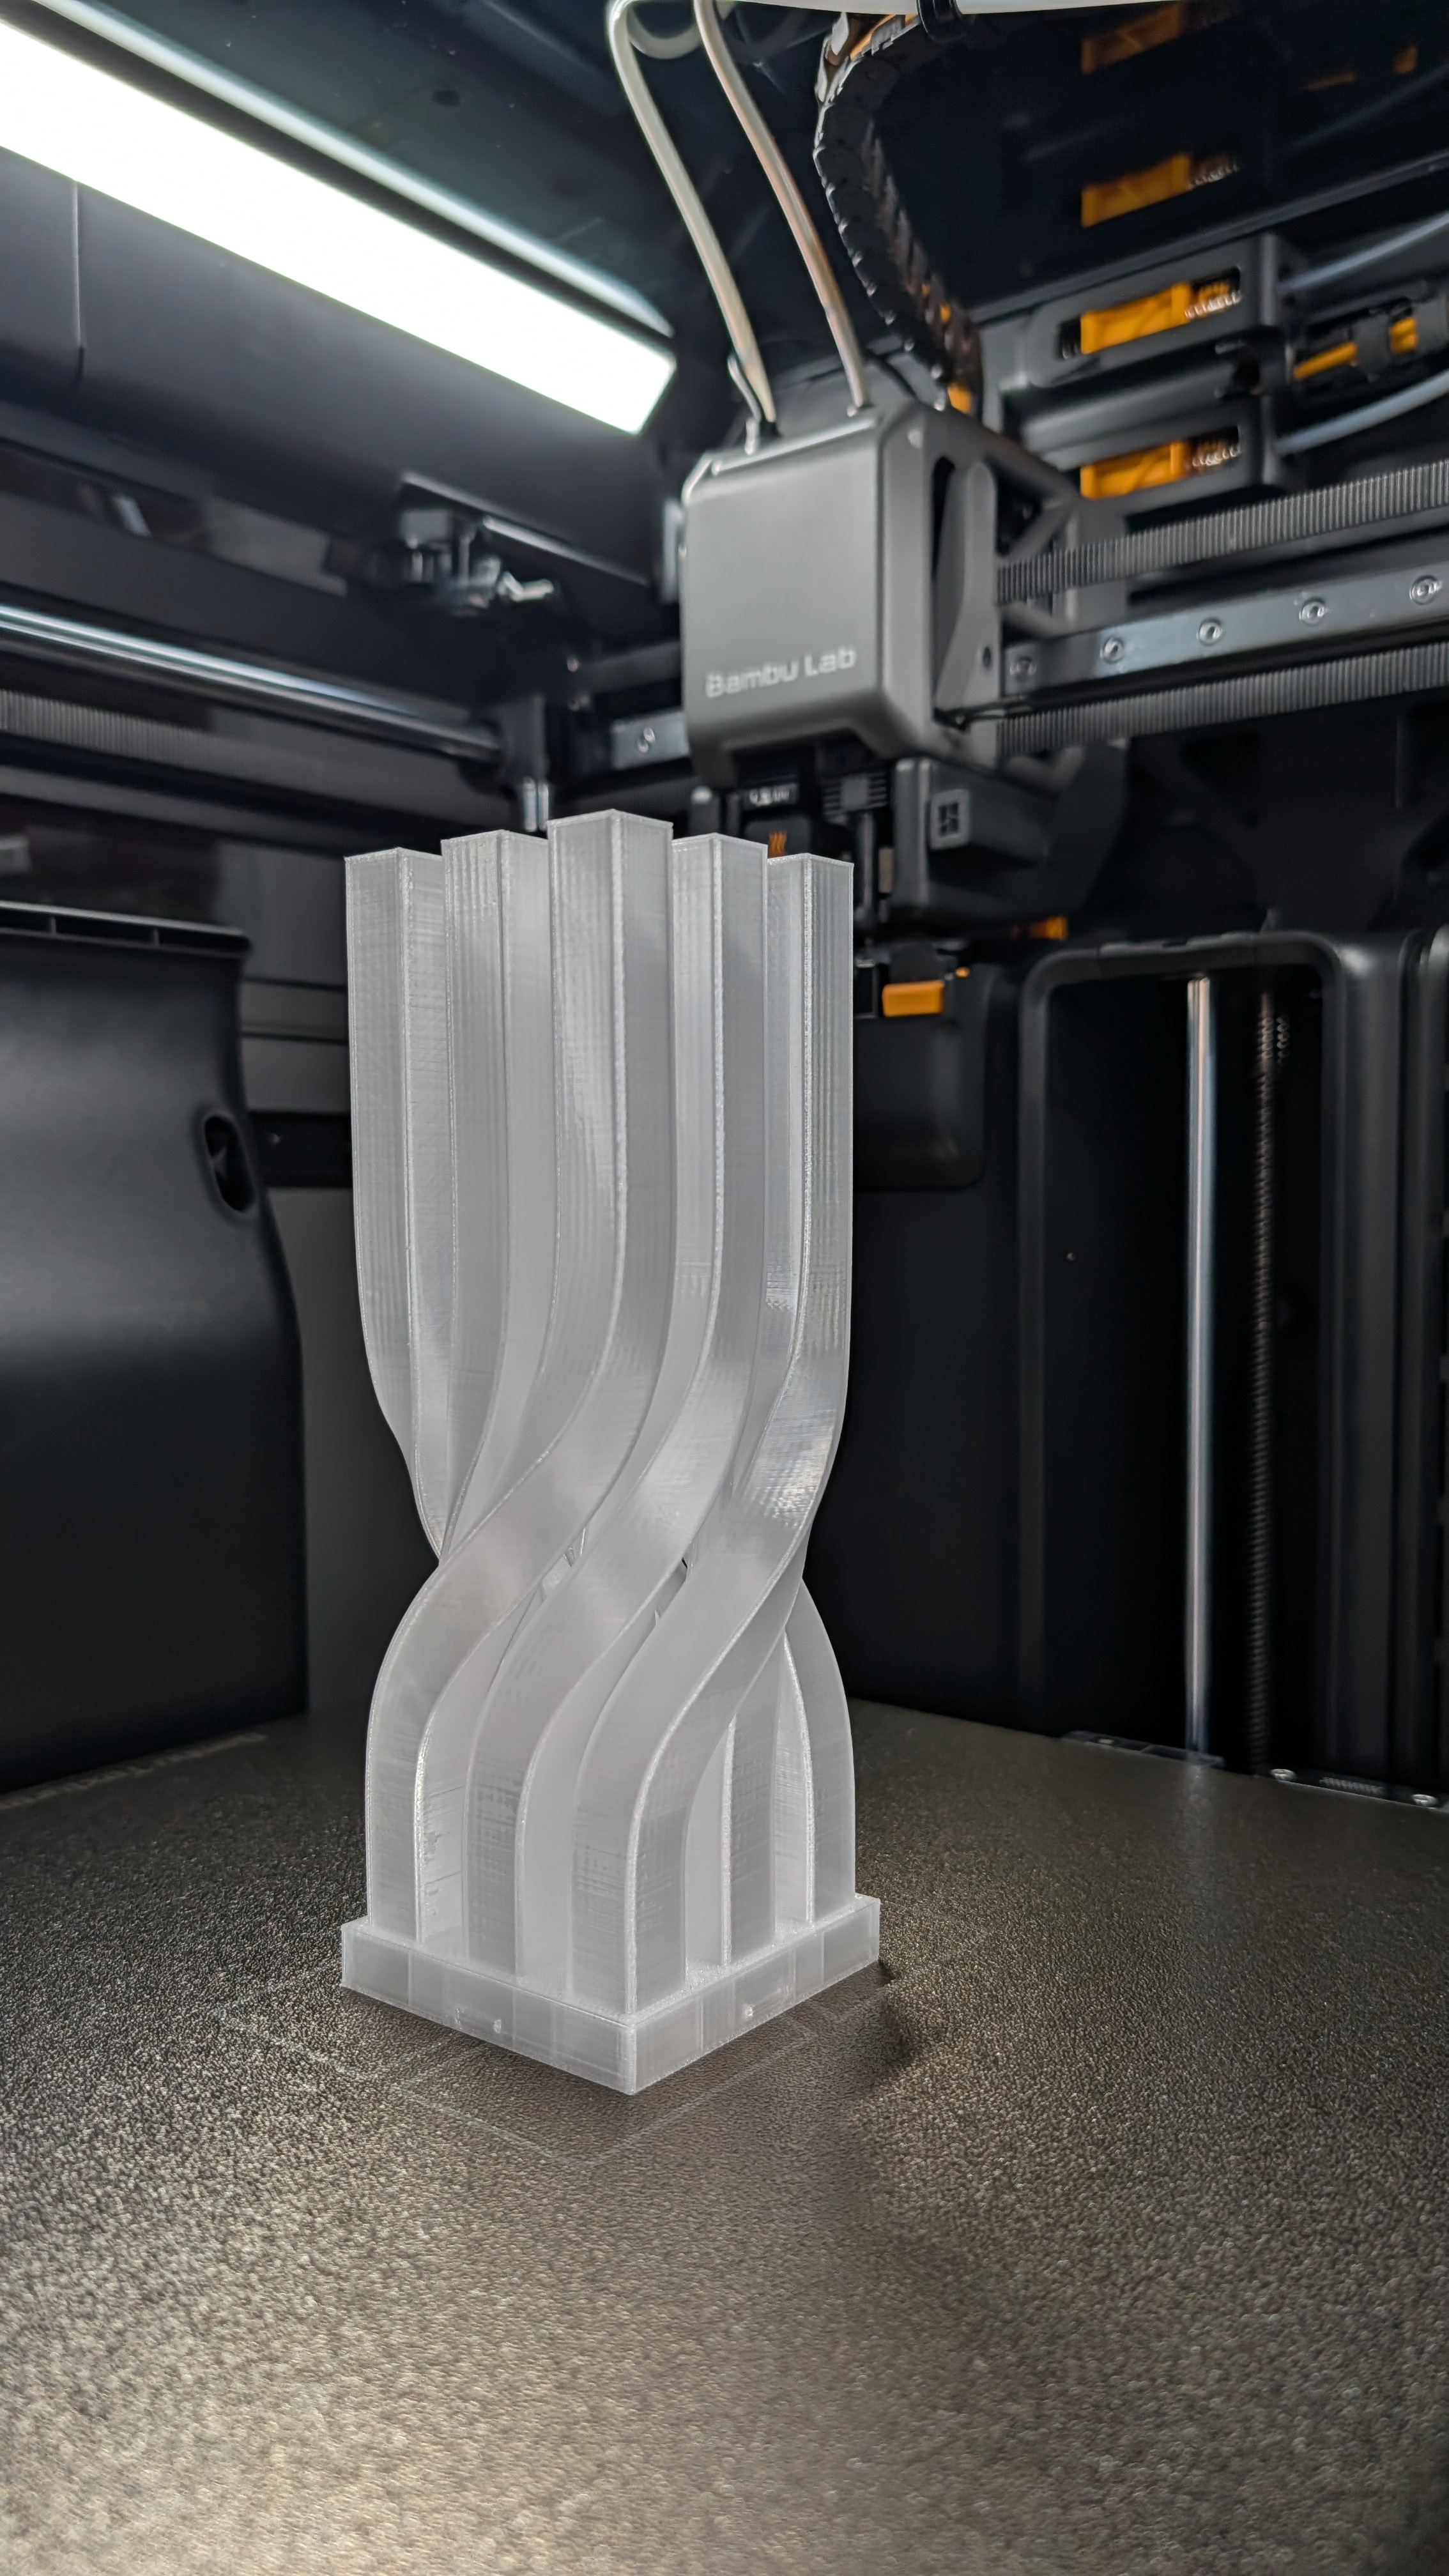
This LED lamp builds upon the twisted square column concept I explored in my previous twisted square column project. That design featured a simple geometric twist, but here I wanted to incorporate functional lighting to create a practical yet visually interesting household piece.
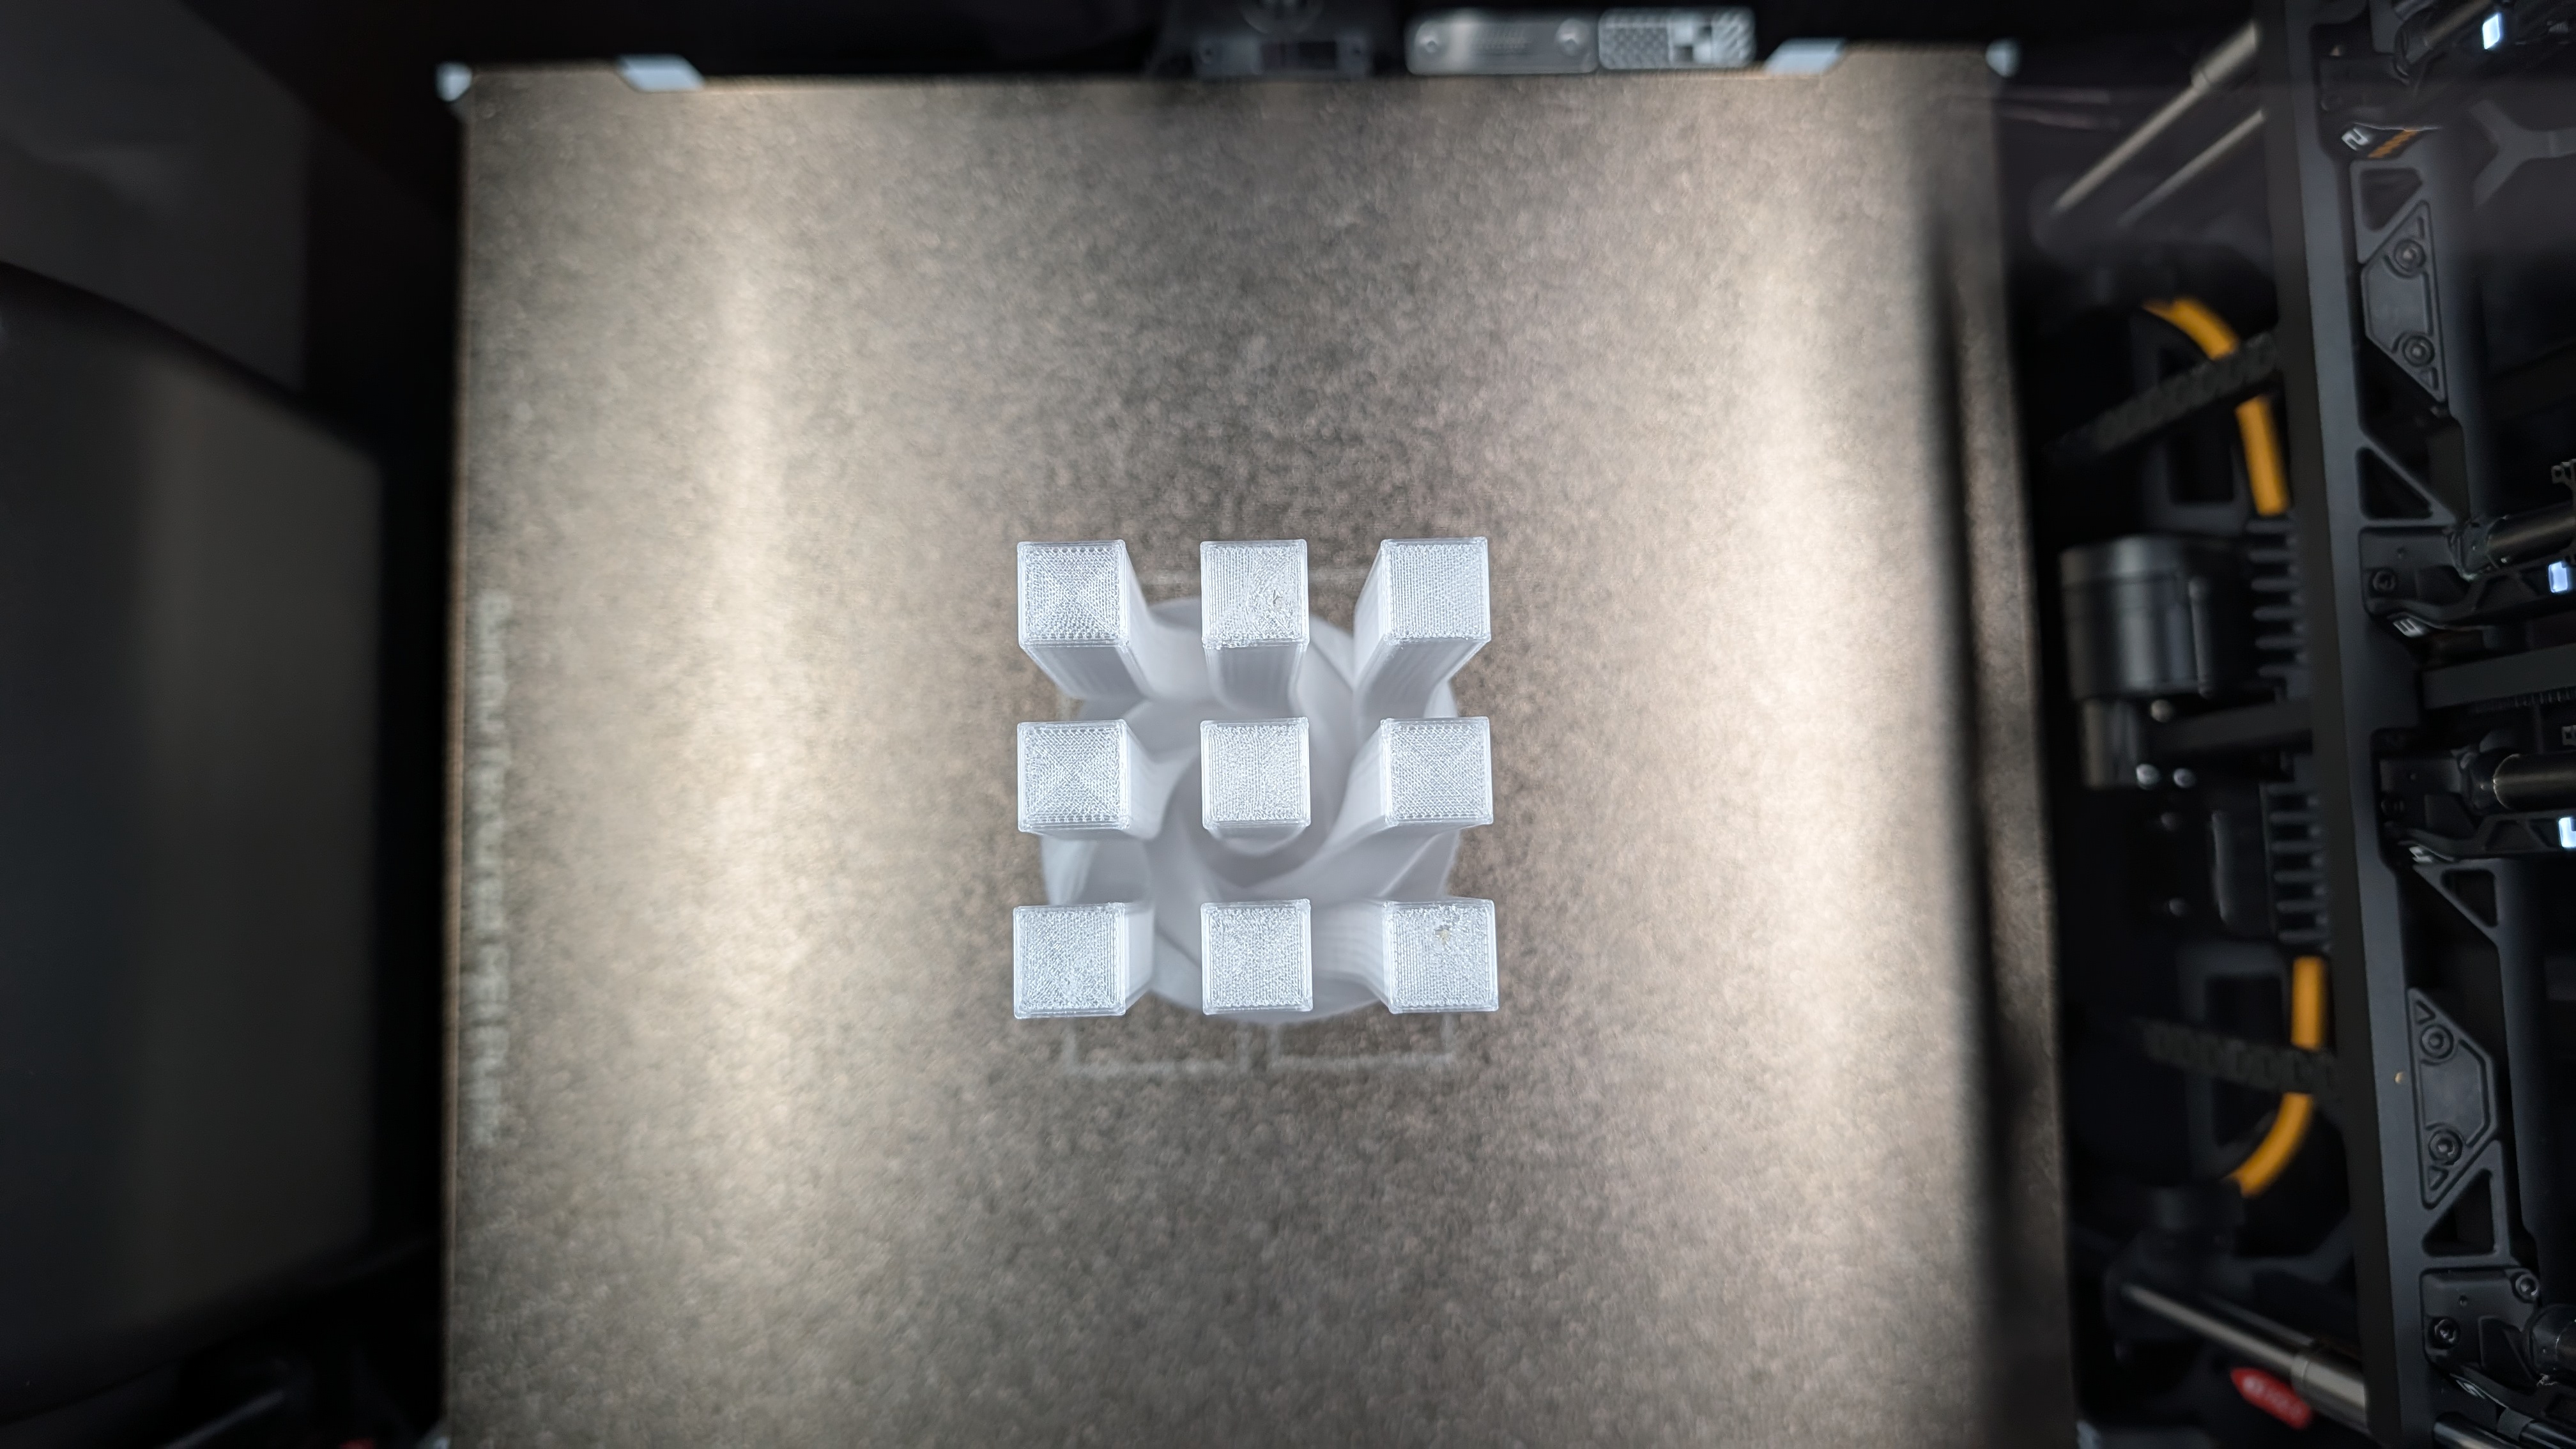
On the side, the lamp has gone through a few iterations as shown below.
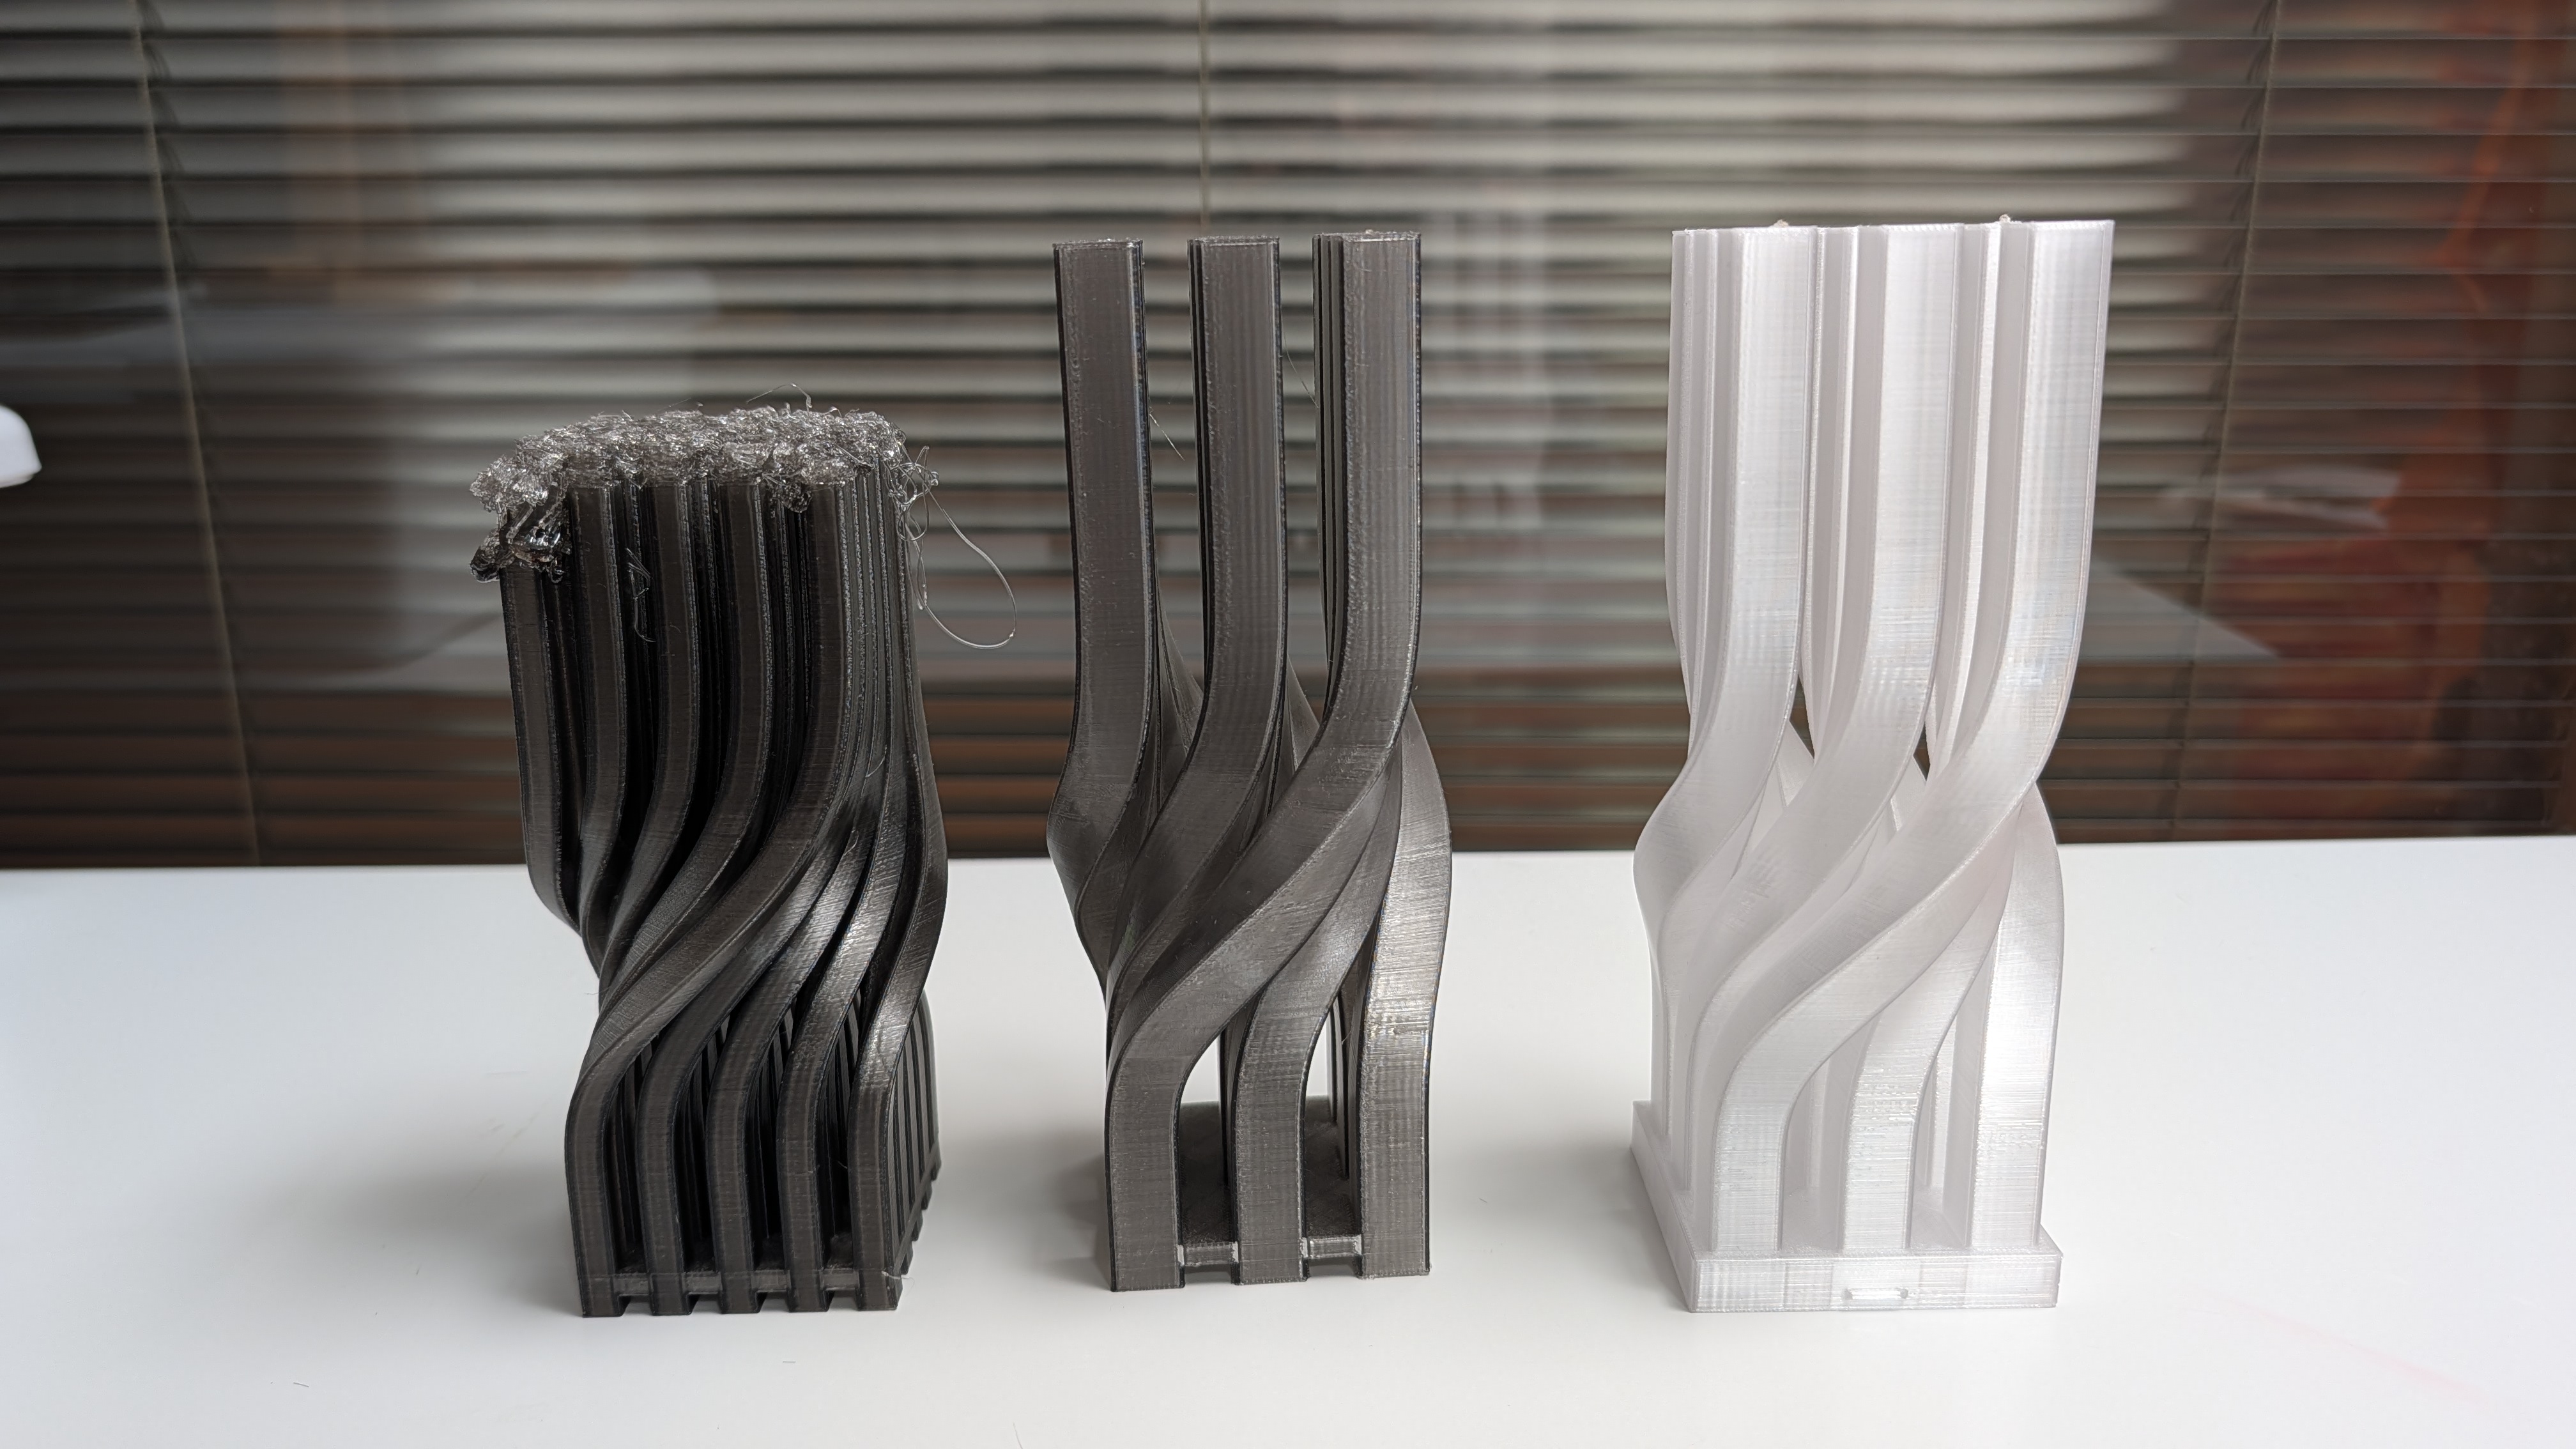
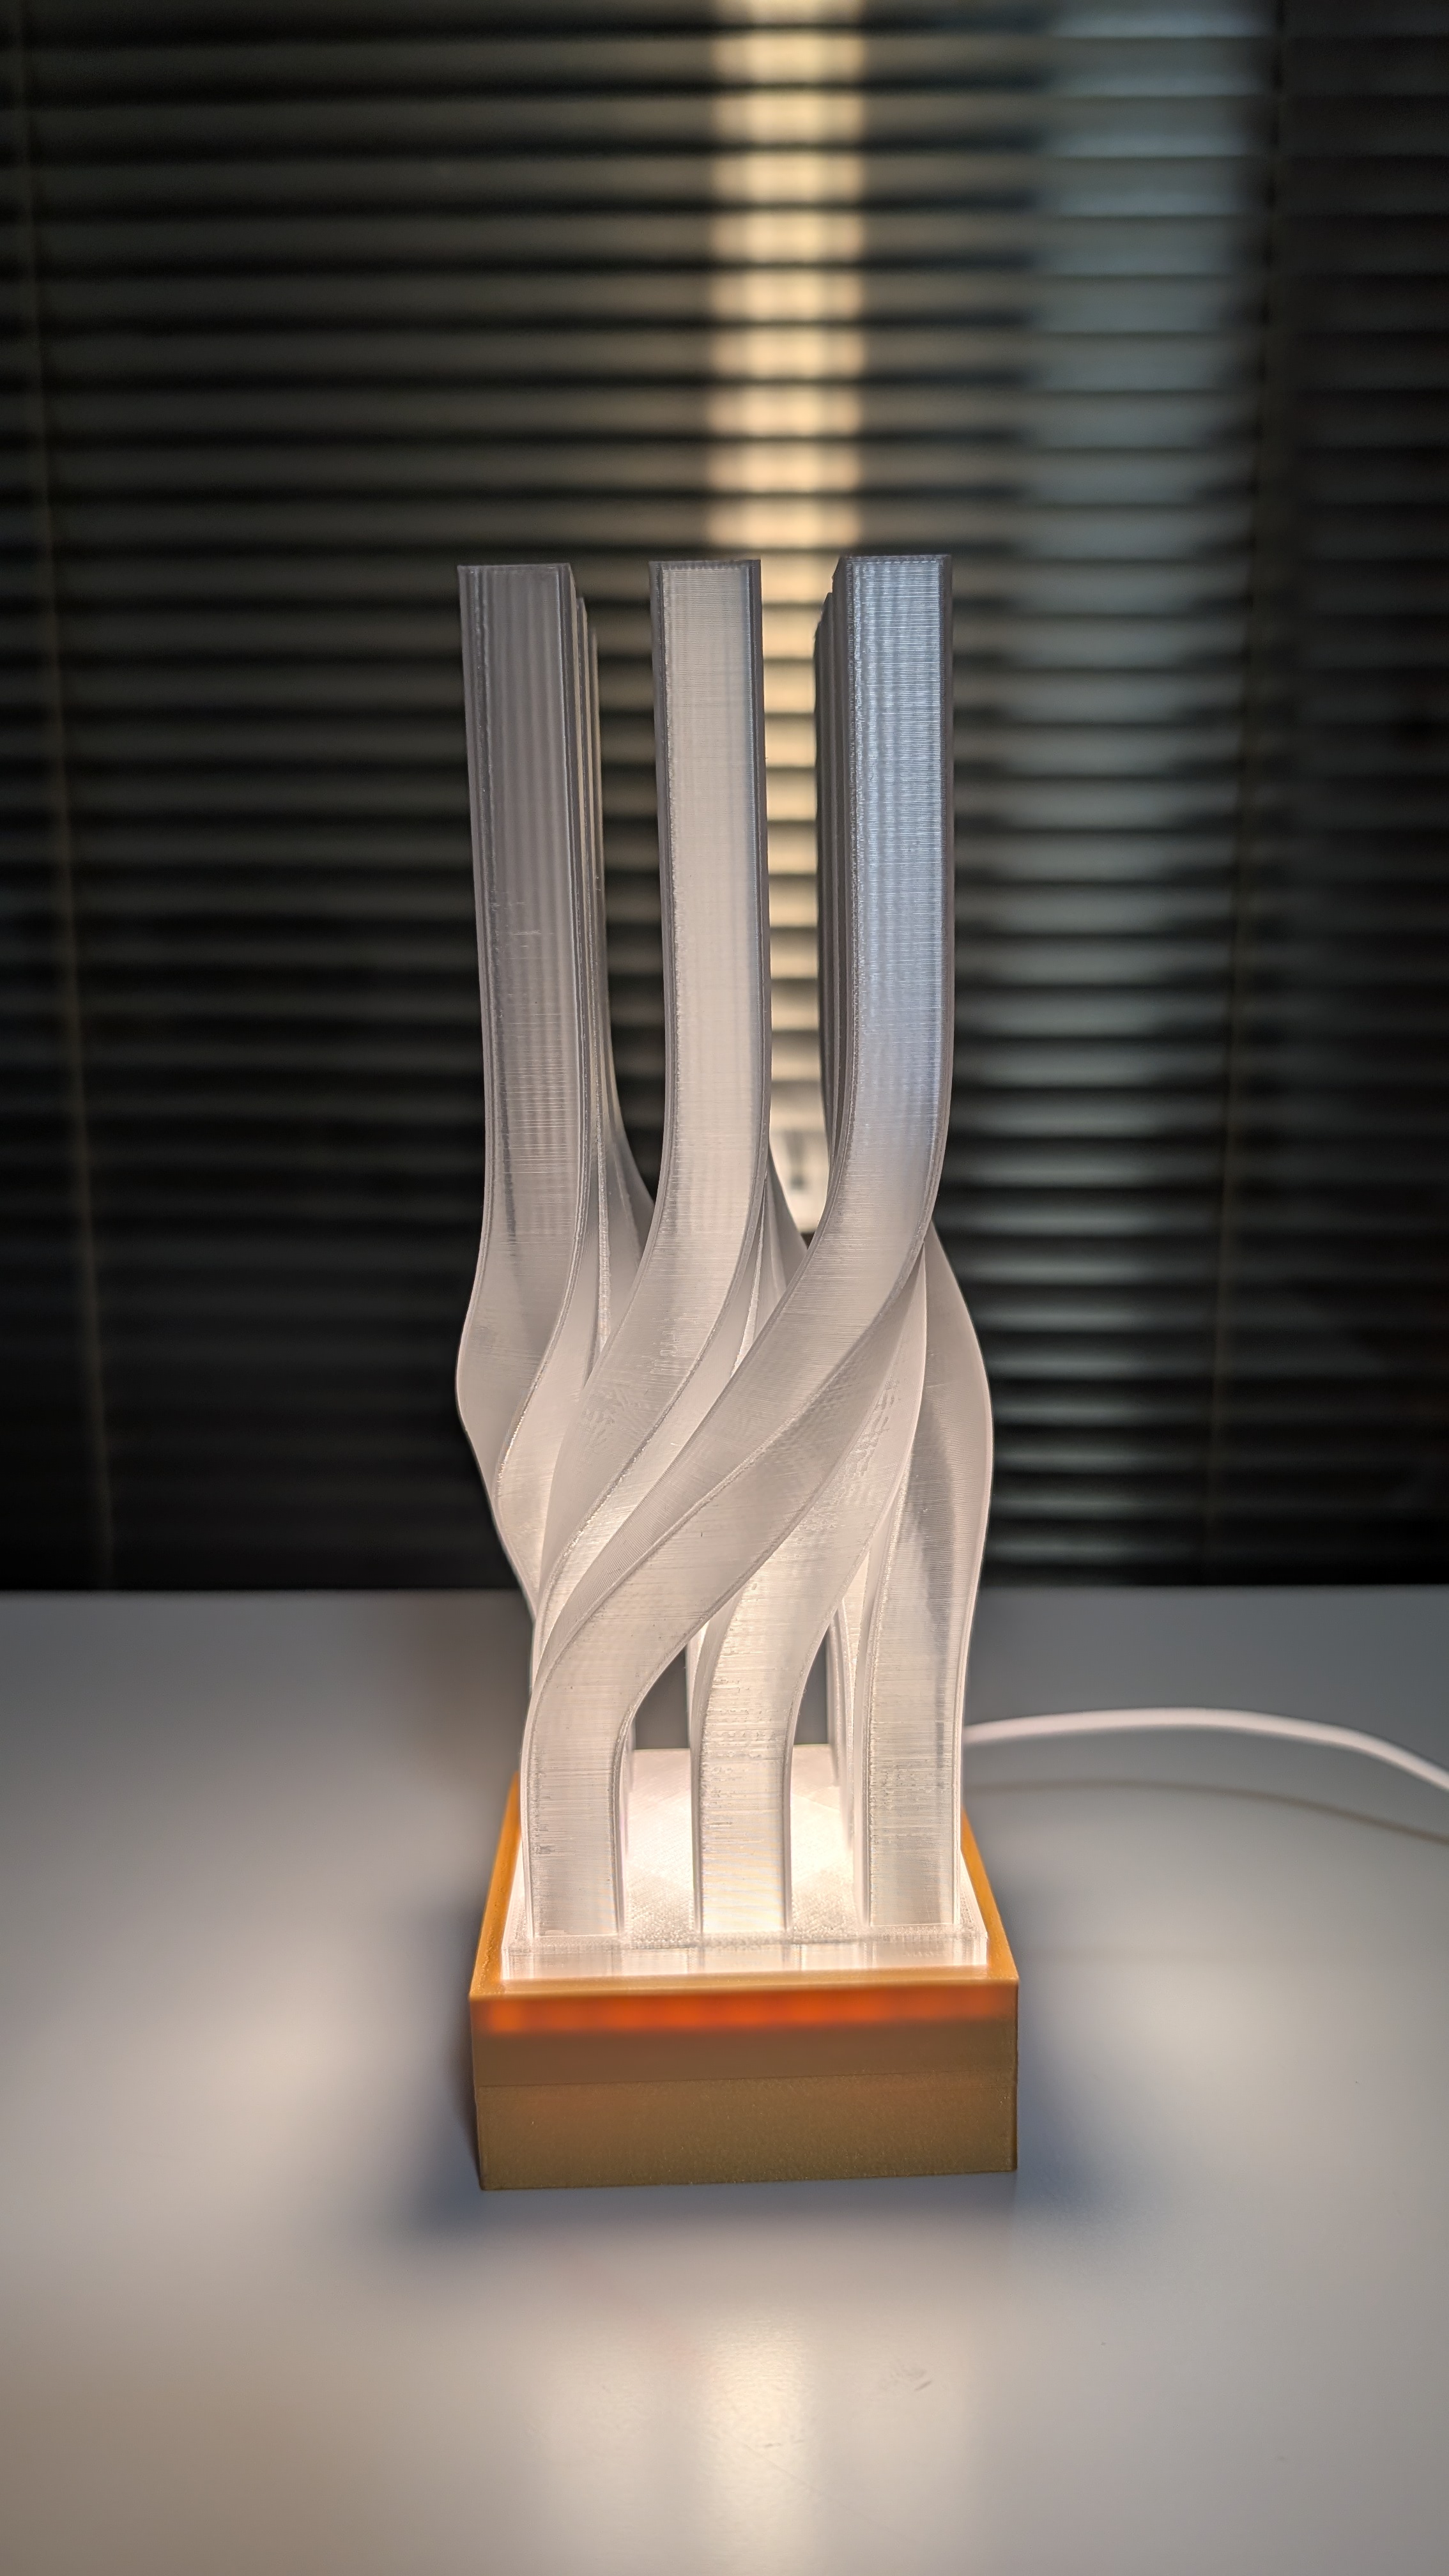
The first on the leftmost is obviously a failed print. The main thing I noticed is that it’s not a great look for an LED lamp, as there are too many columns making the LED light on the bottom not penetrate high enough to make a pleasant look. So I reduced it to 9 columns in total as you can see in the middle.
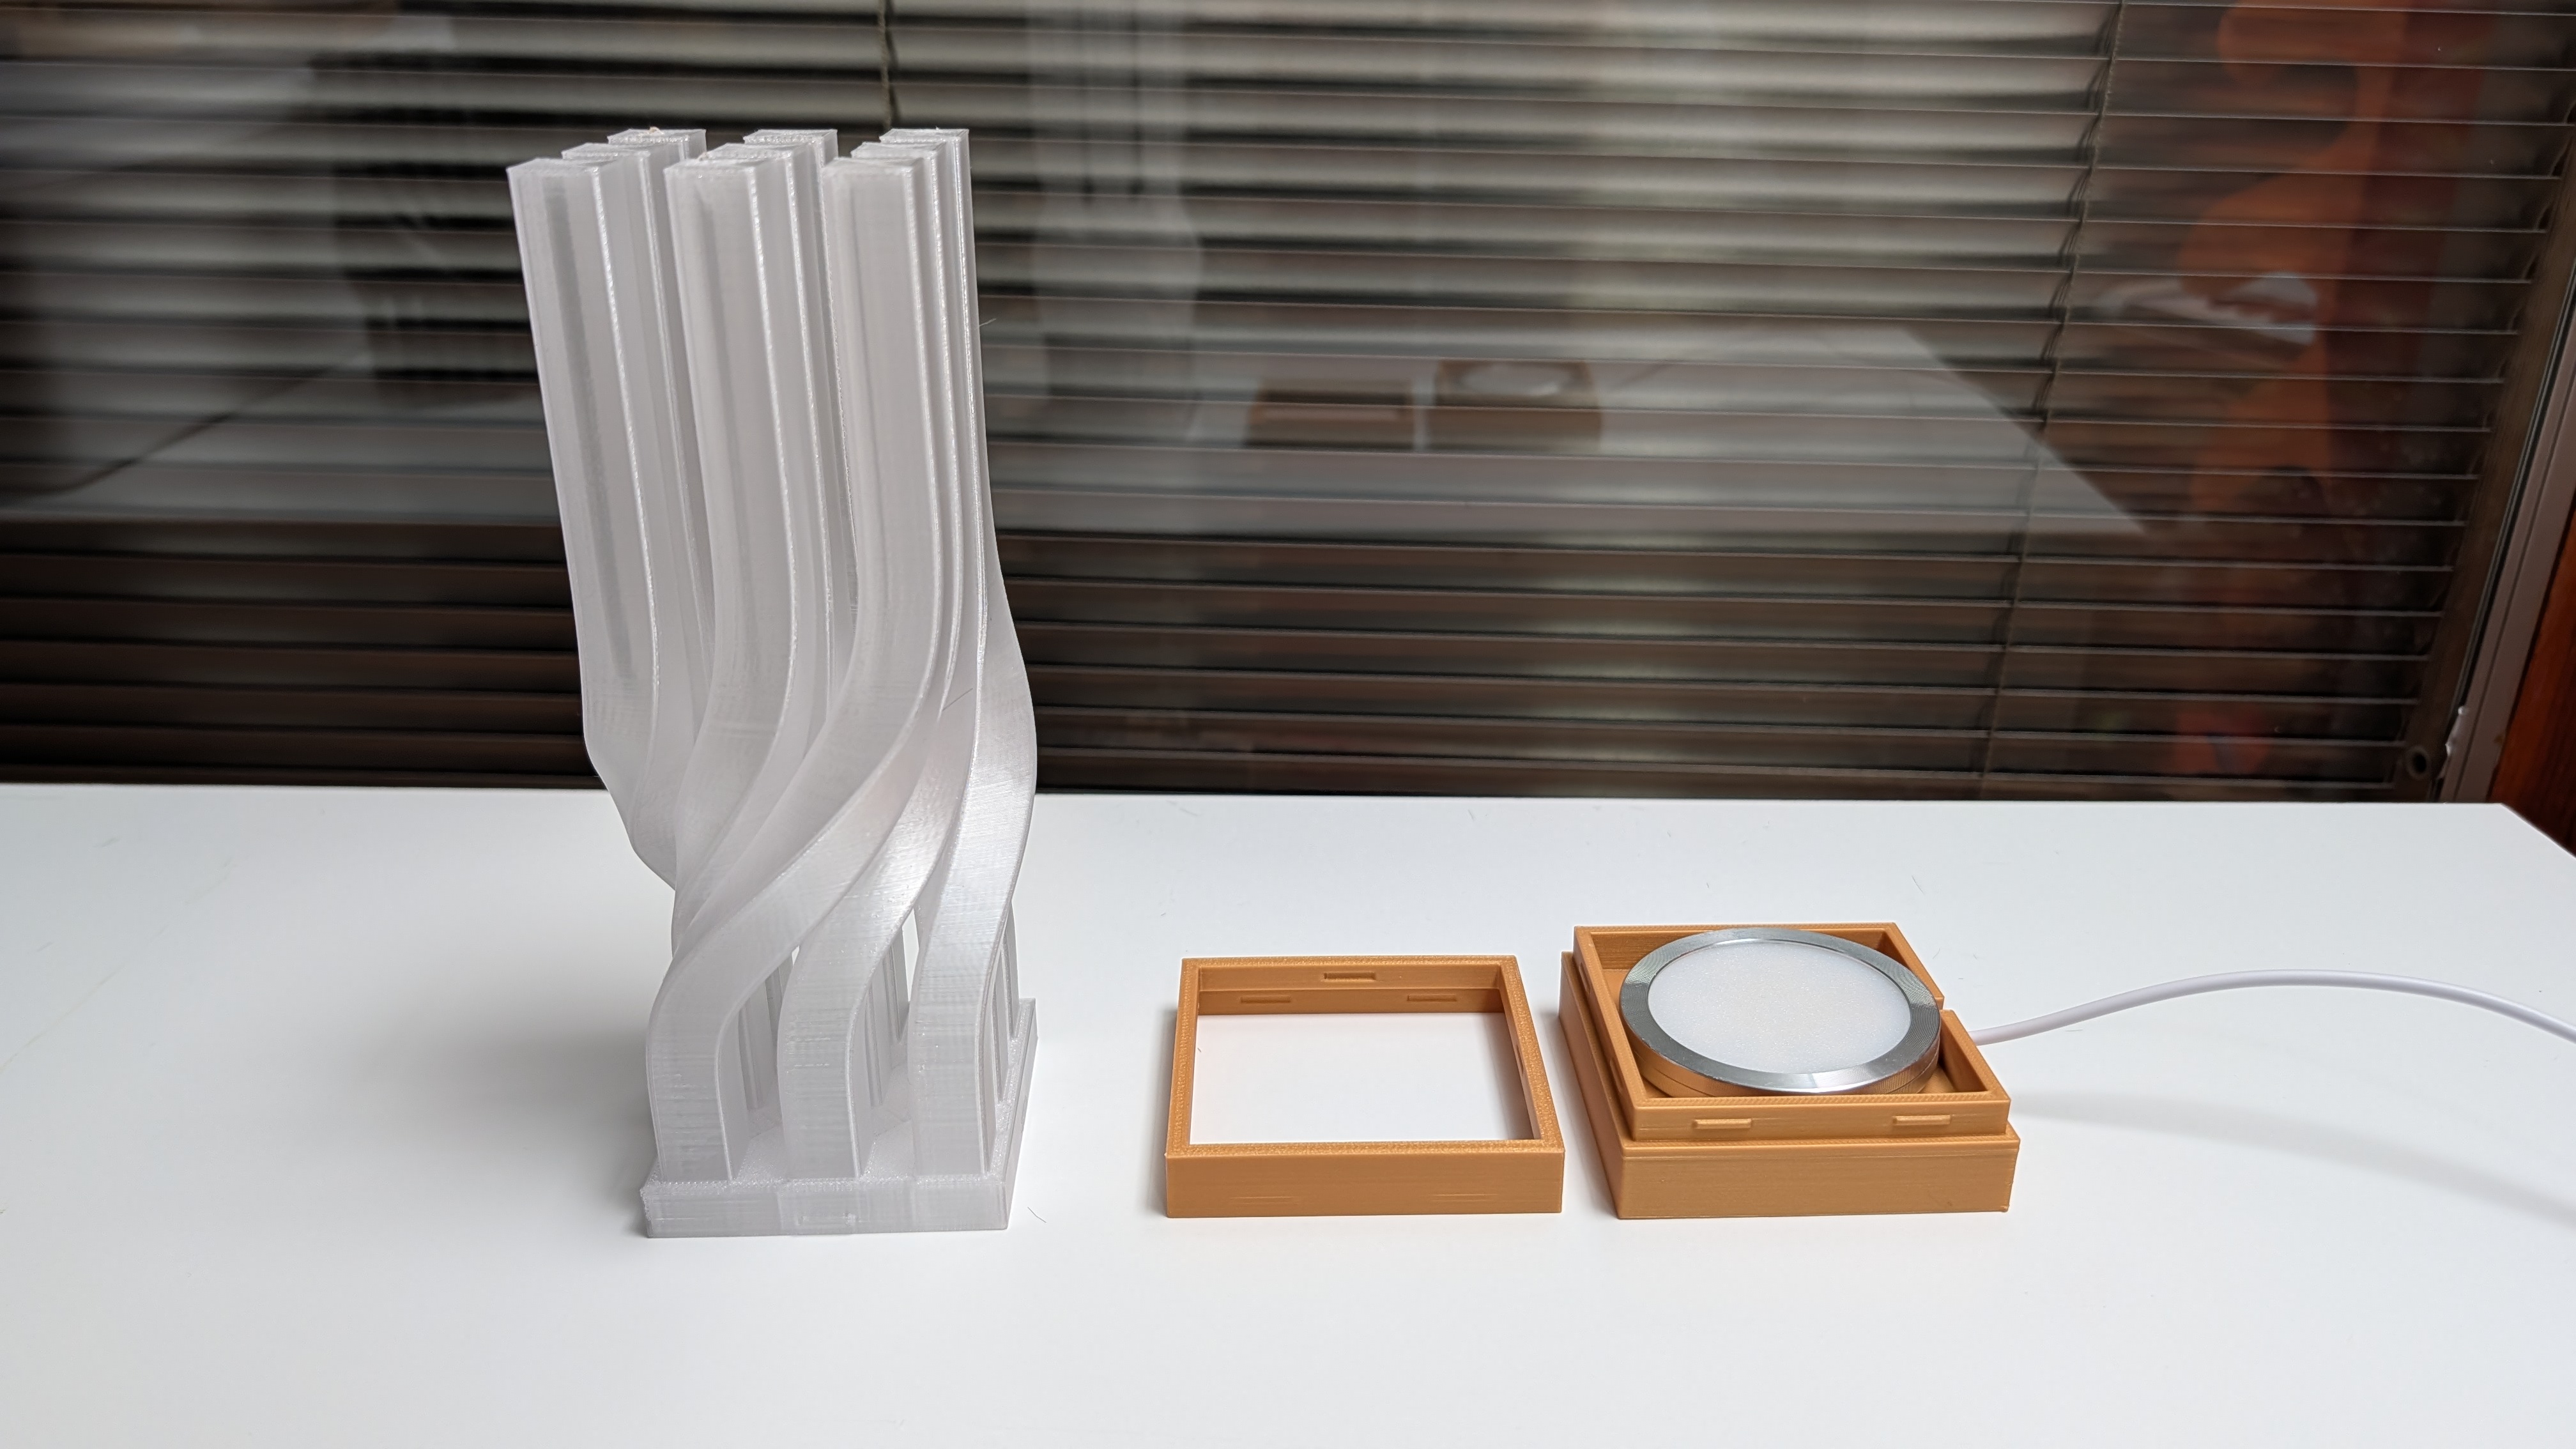
The middle one looks better but when I put it under the LED lamp, it’s just too gray and the final result is on the rightmost, which is the best, as I personally think. Of course, it’s all about personal choice, and hence as mentioned at the beginning, I made the lamp three separate parts such that people can choose different colors/materials for each part, adding some flexibility/freedom of choice for this print.
Model Design/Modeling
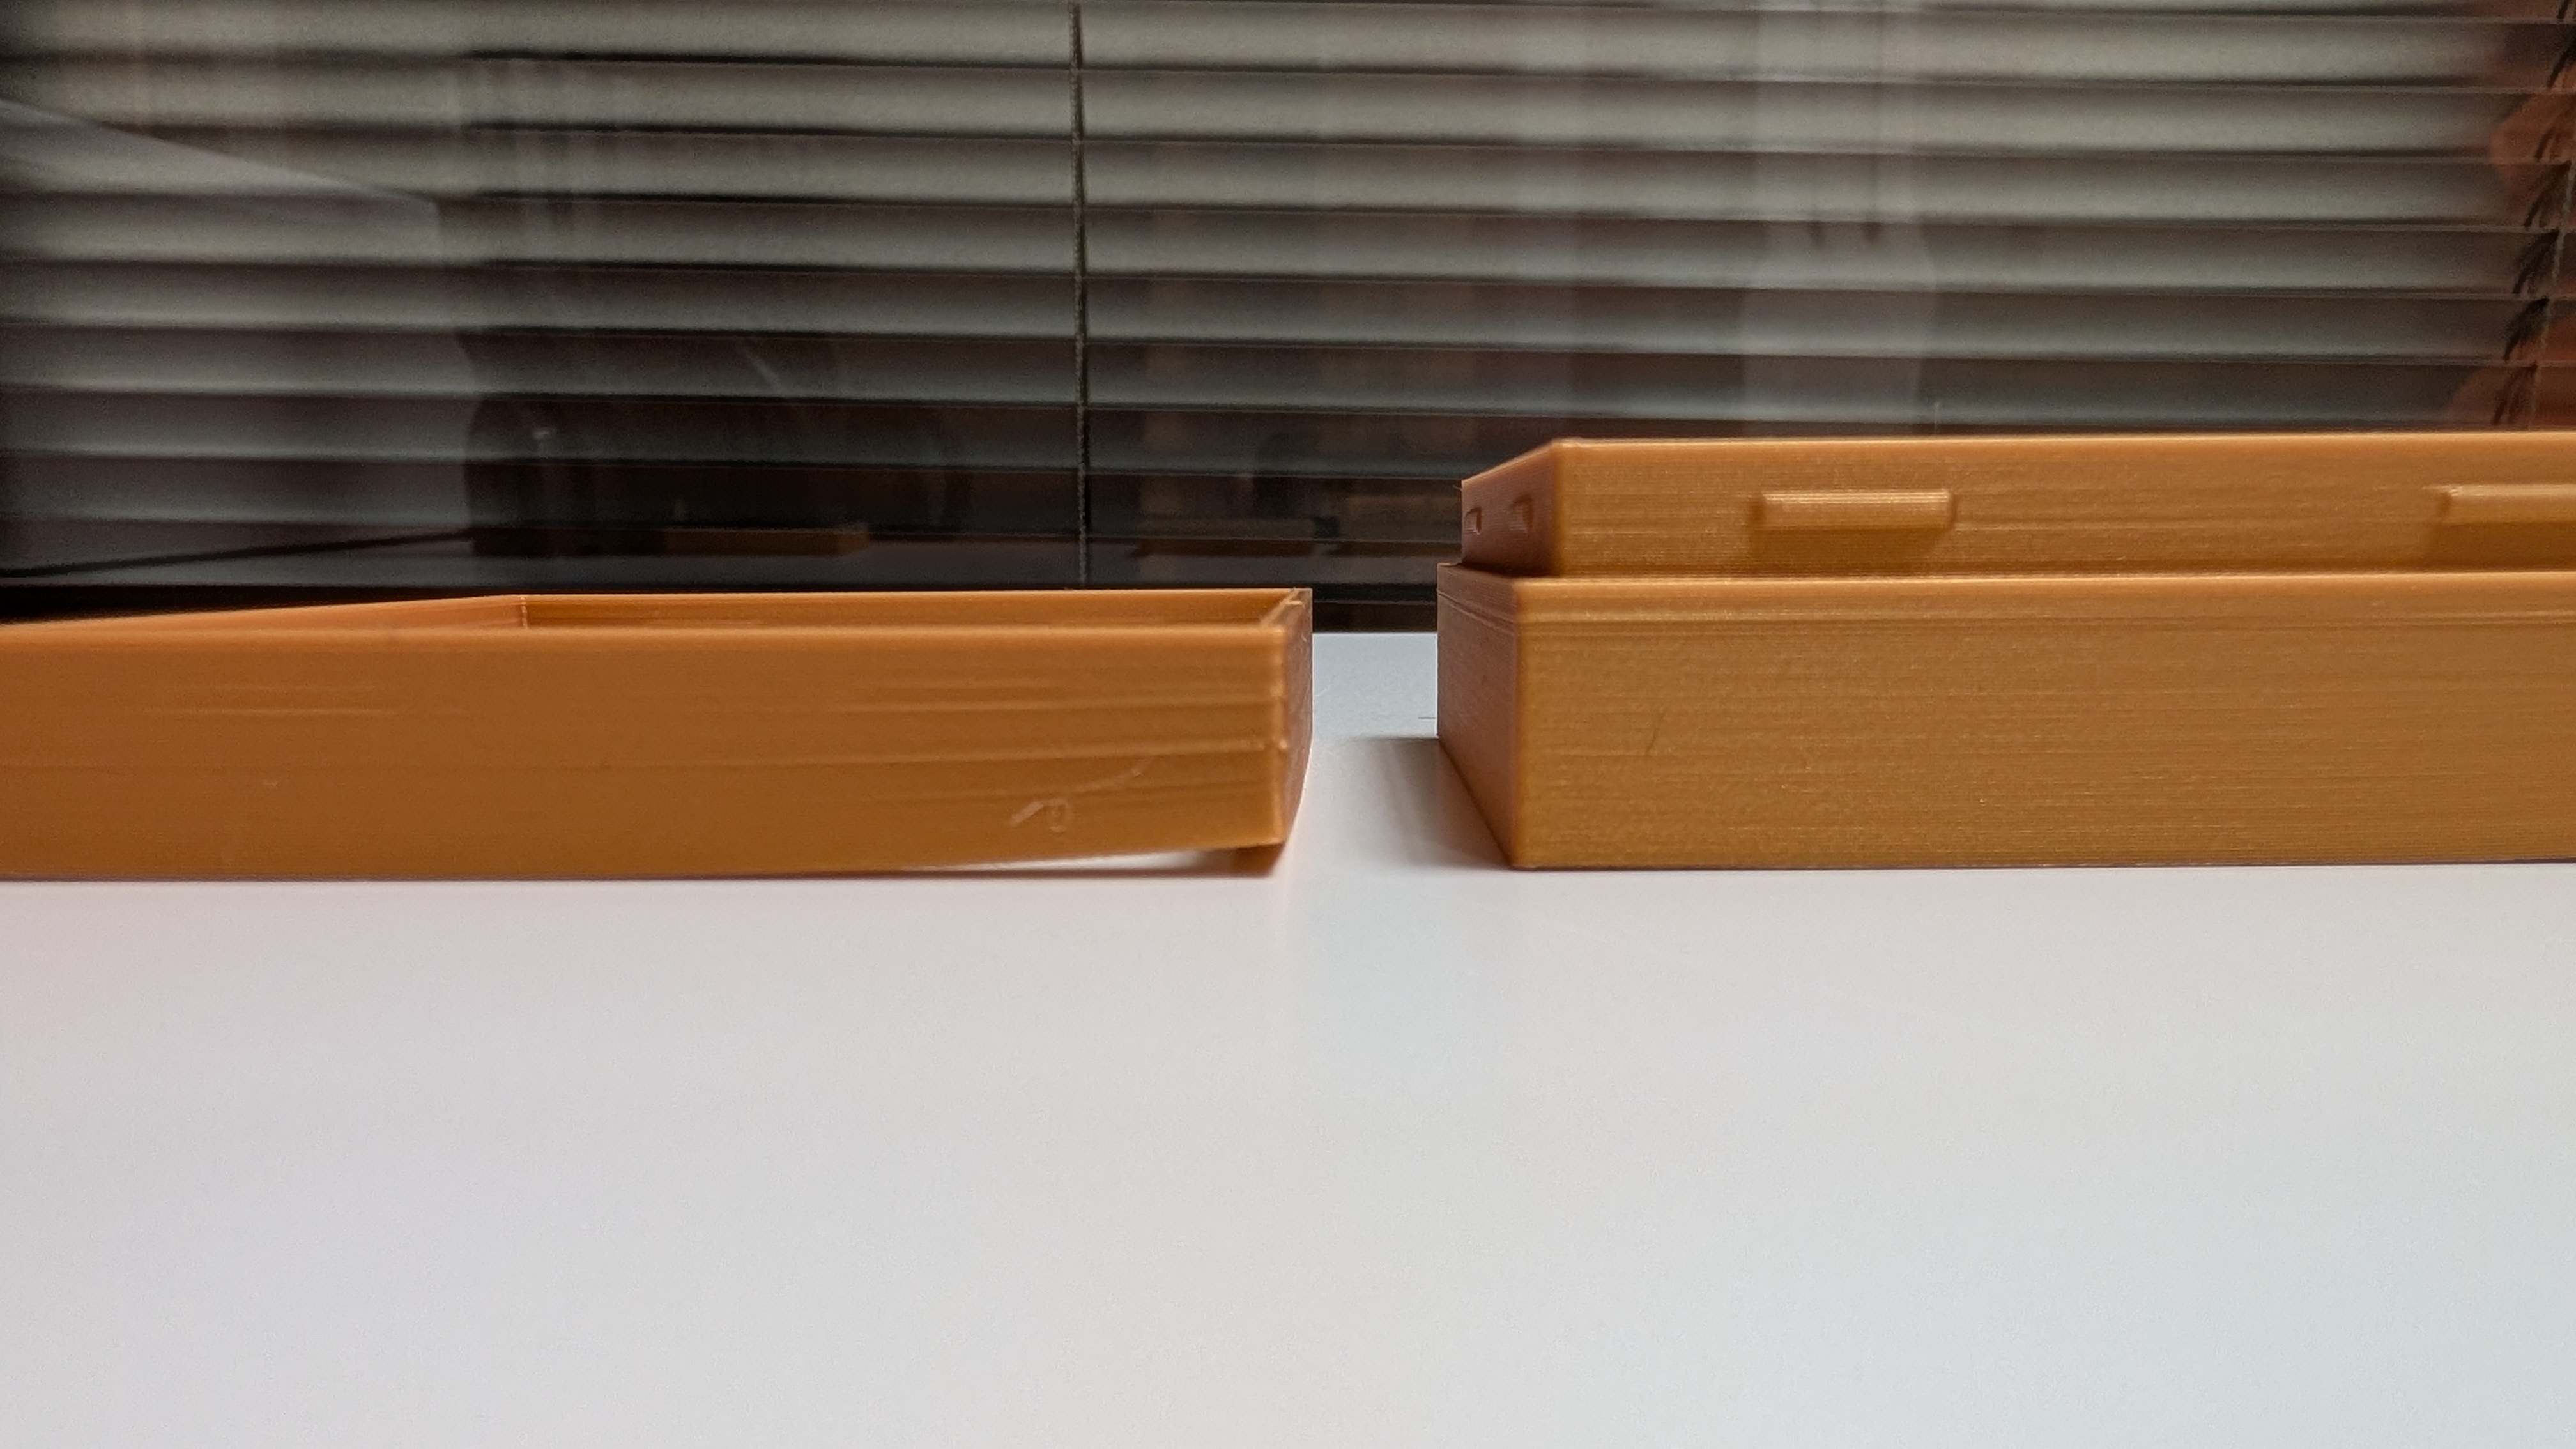
I made the lamp consist of three parts: the base, where the LED is placed; the connector, which connects the PETG translucent top and the base; all three parts connected with a simple snap fit.
Printing Notes
PLA Base
- A brim for small surface area parts is important; otherwise, the part may move or warp near the bottom.
PETG Translucent
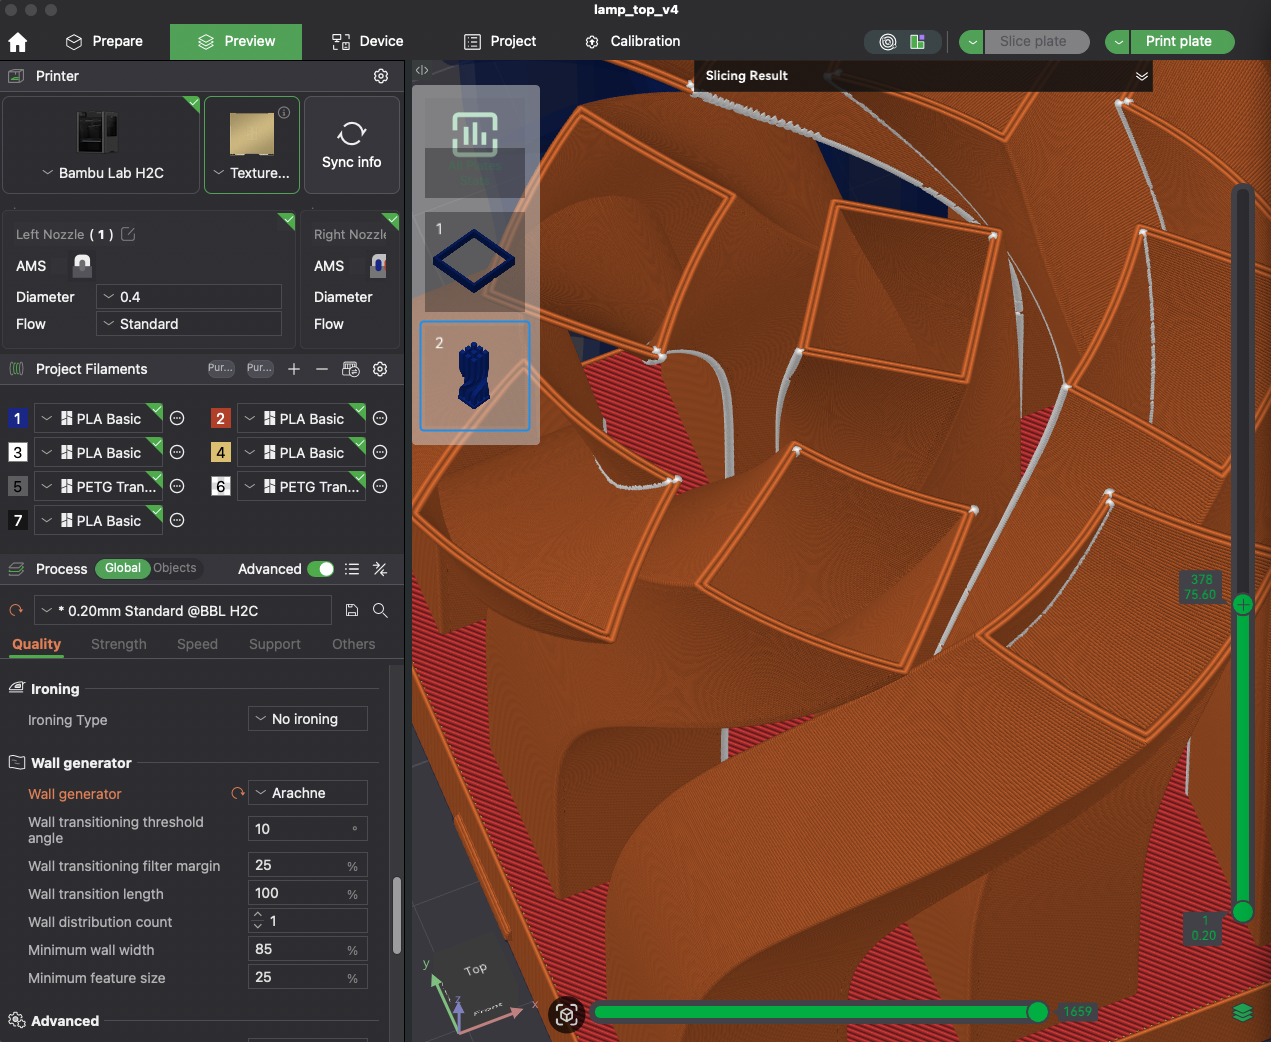
The wall thickness of the model is 0.8mm, which should only have 2 wall loops after slicing. However, different wall generators can remove the tiny gap filling, which has an impact on the translucent quality of the PETG.
As you can see, there is a tiny white gap infill between two walls when using the Classic wall generator.
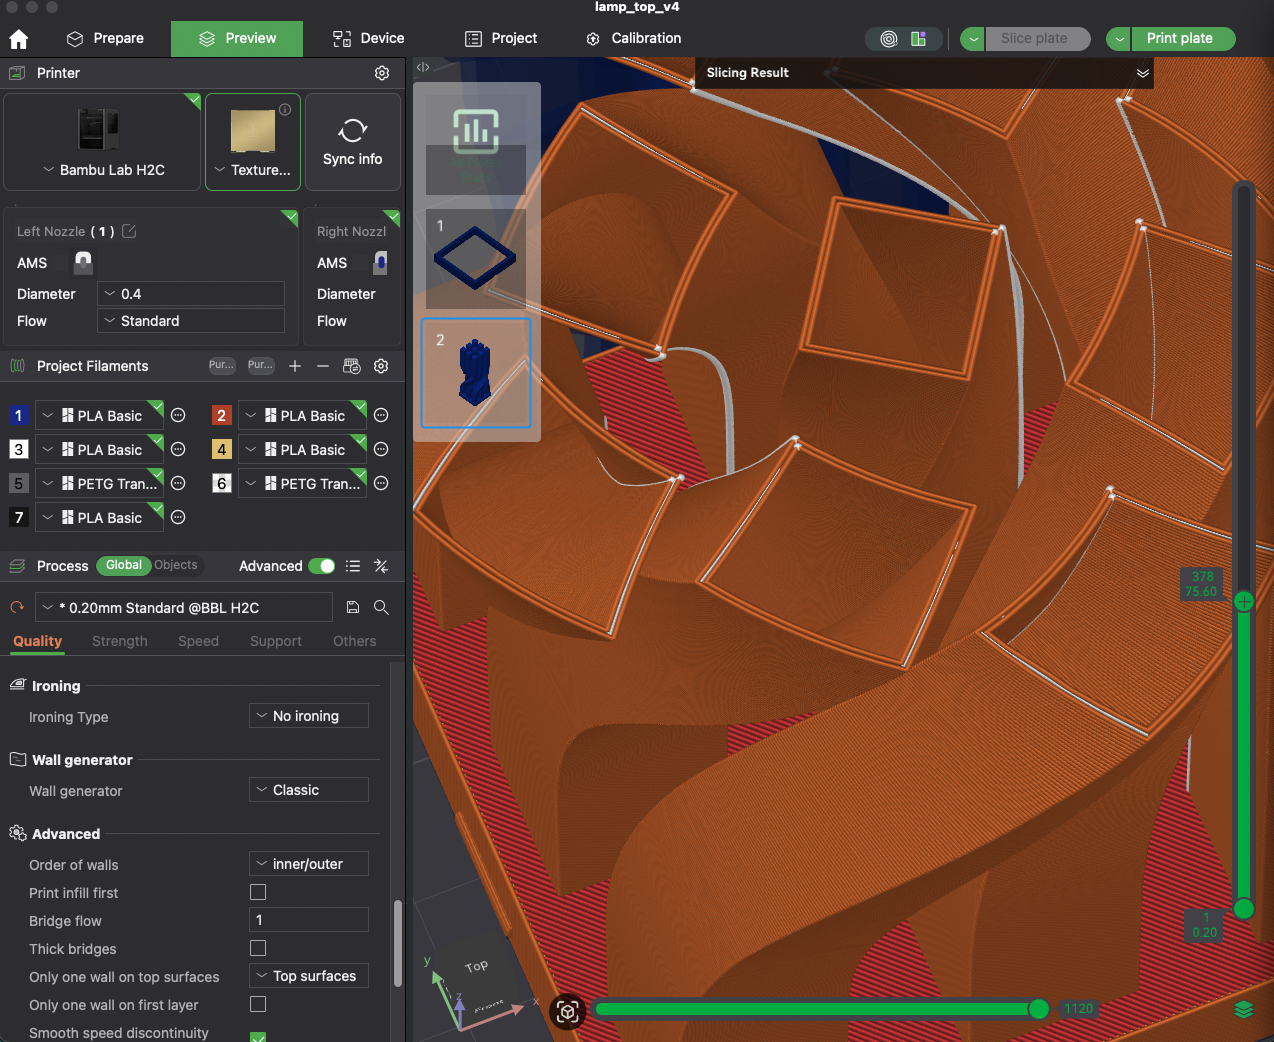
But when I changed the wall generator to Arachne, the tiny gap infill is gone.
Because the wall thickness affects how translucent it is, you will see a subtle difference in the print, where there are two different “translucent” effects. I’m not sure if I can capture it in the photo below.
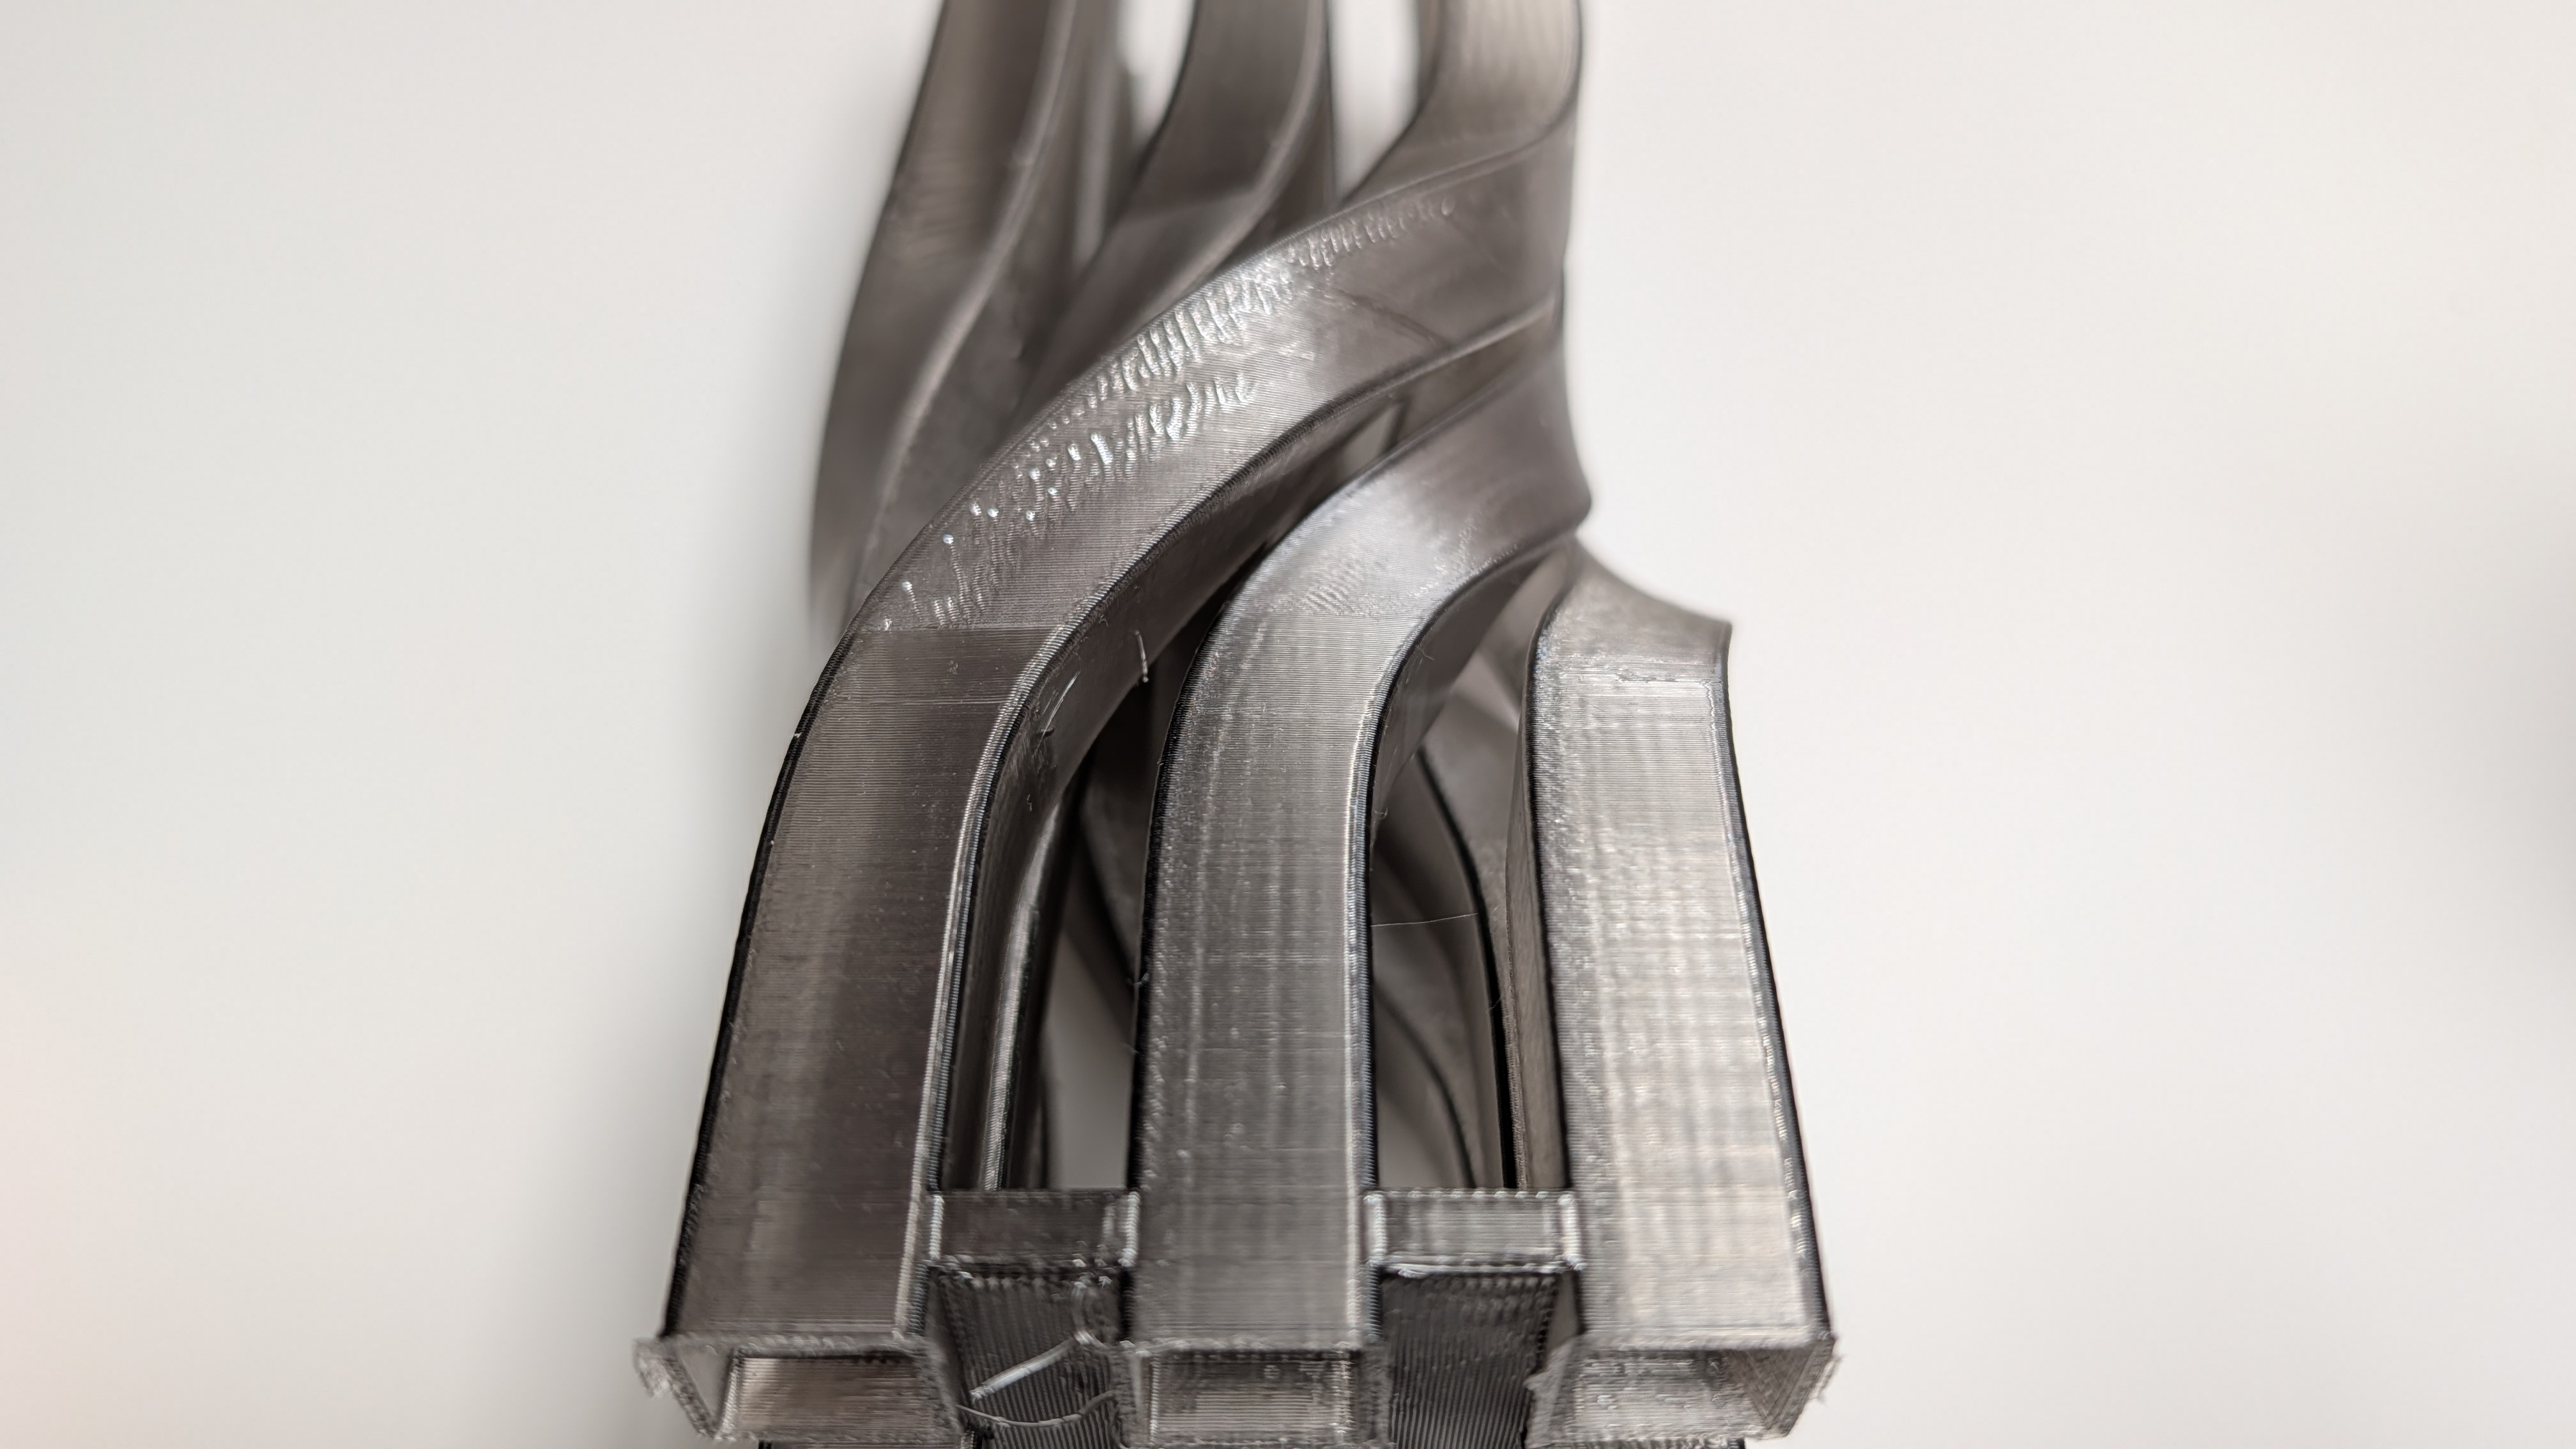
Once you remove the tiny gap infill by using the Arachne wall generator, you can’t really see different translucence effects, as the wall thickness is constantly the same, i.e., two wall loops.
More information can be found on the Introduction to wall generator in Bambu Lab Wiki.
The last setting I changed for a better look of the translucent part is to print outer wall first and then inner wall. You can check out the details in the Bambu Lab Wiki about the Order of walls. In essence, this setting can minimize imperfections on the surface, which is what I want to achieve.
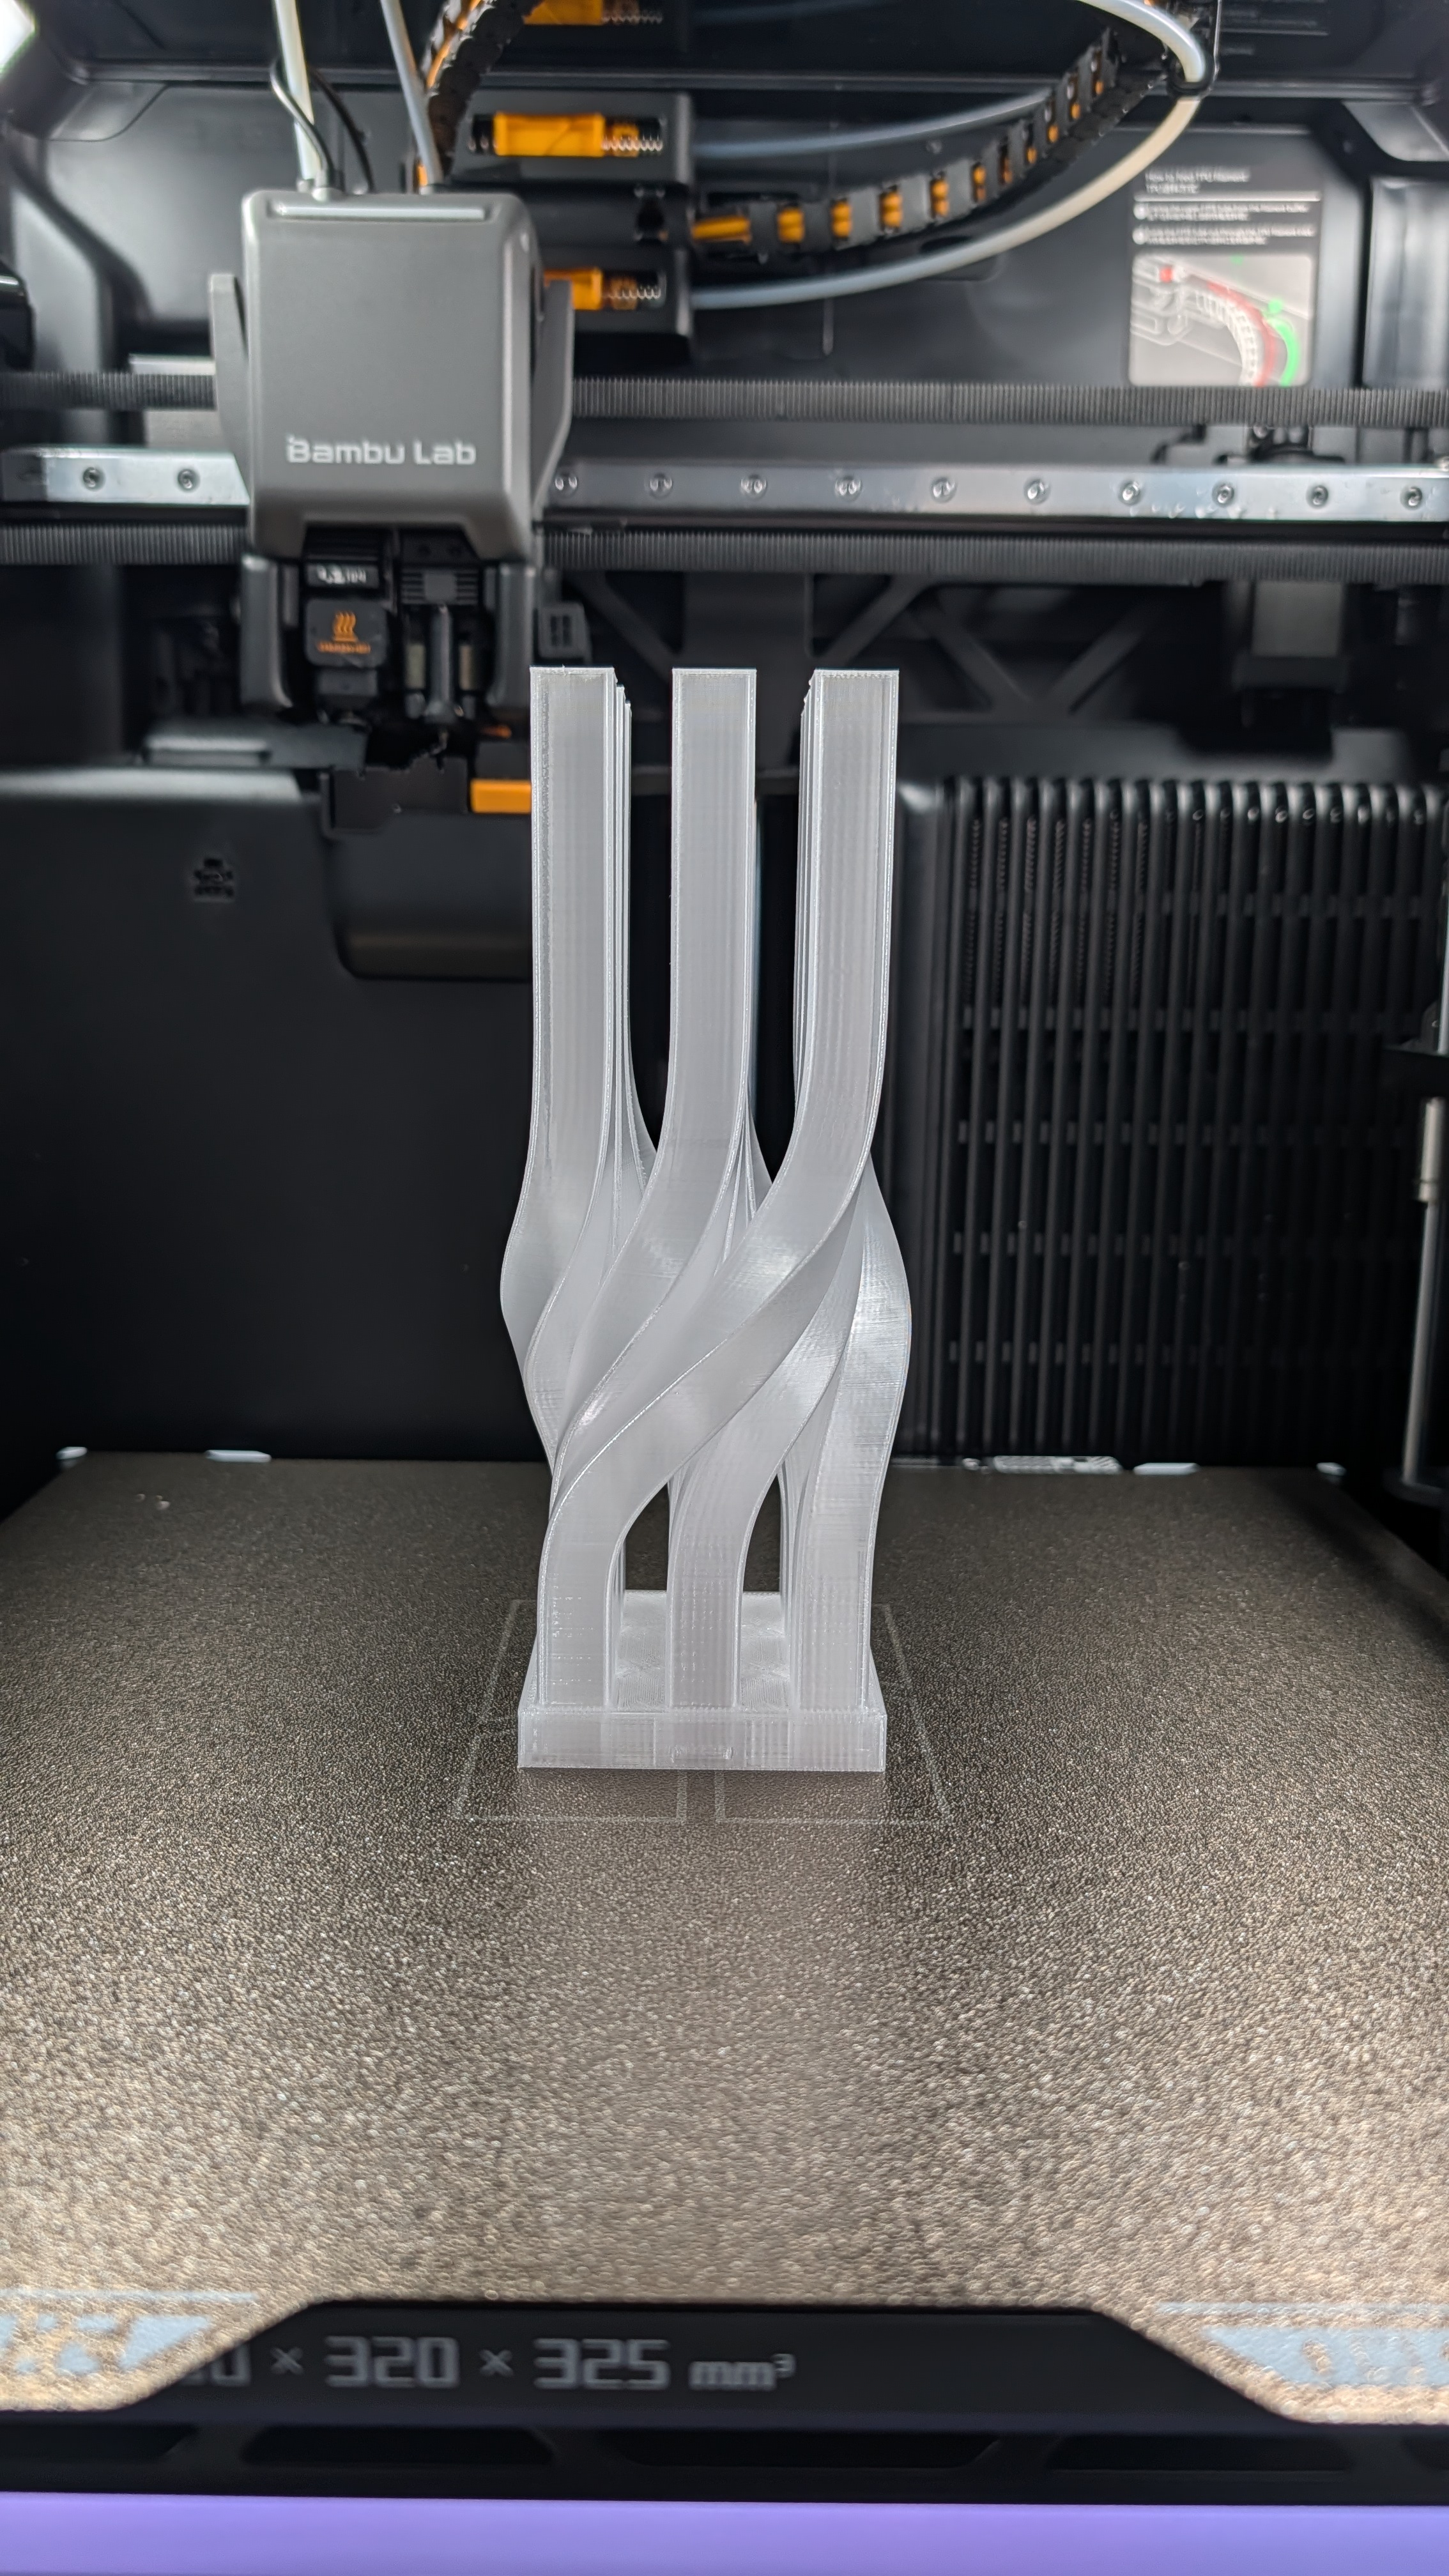
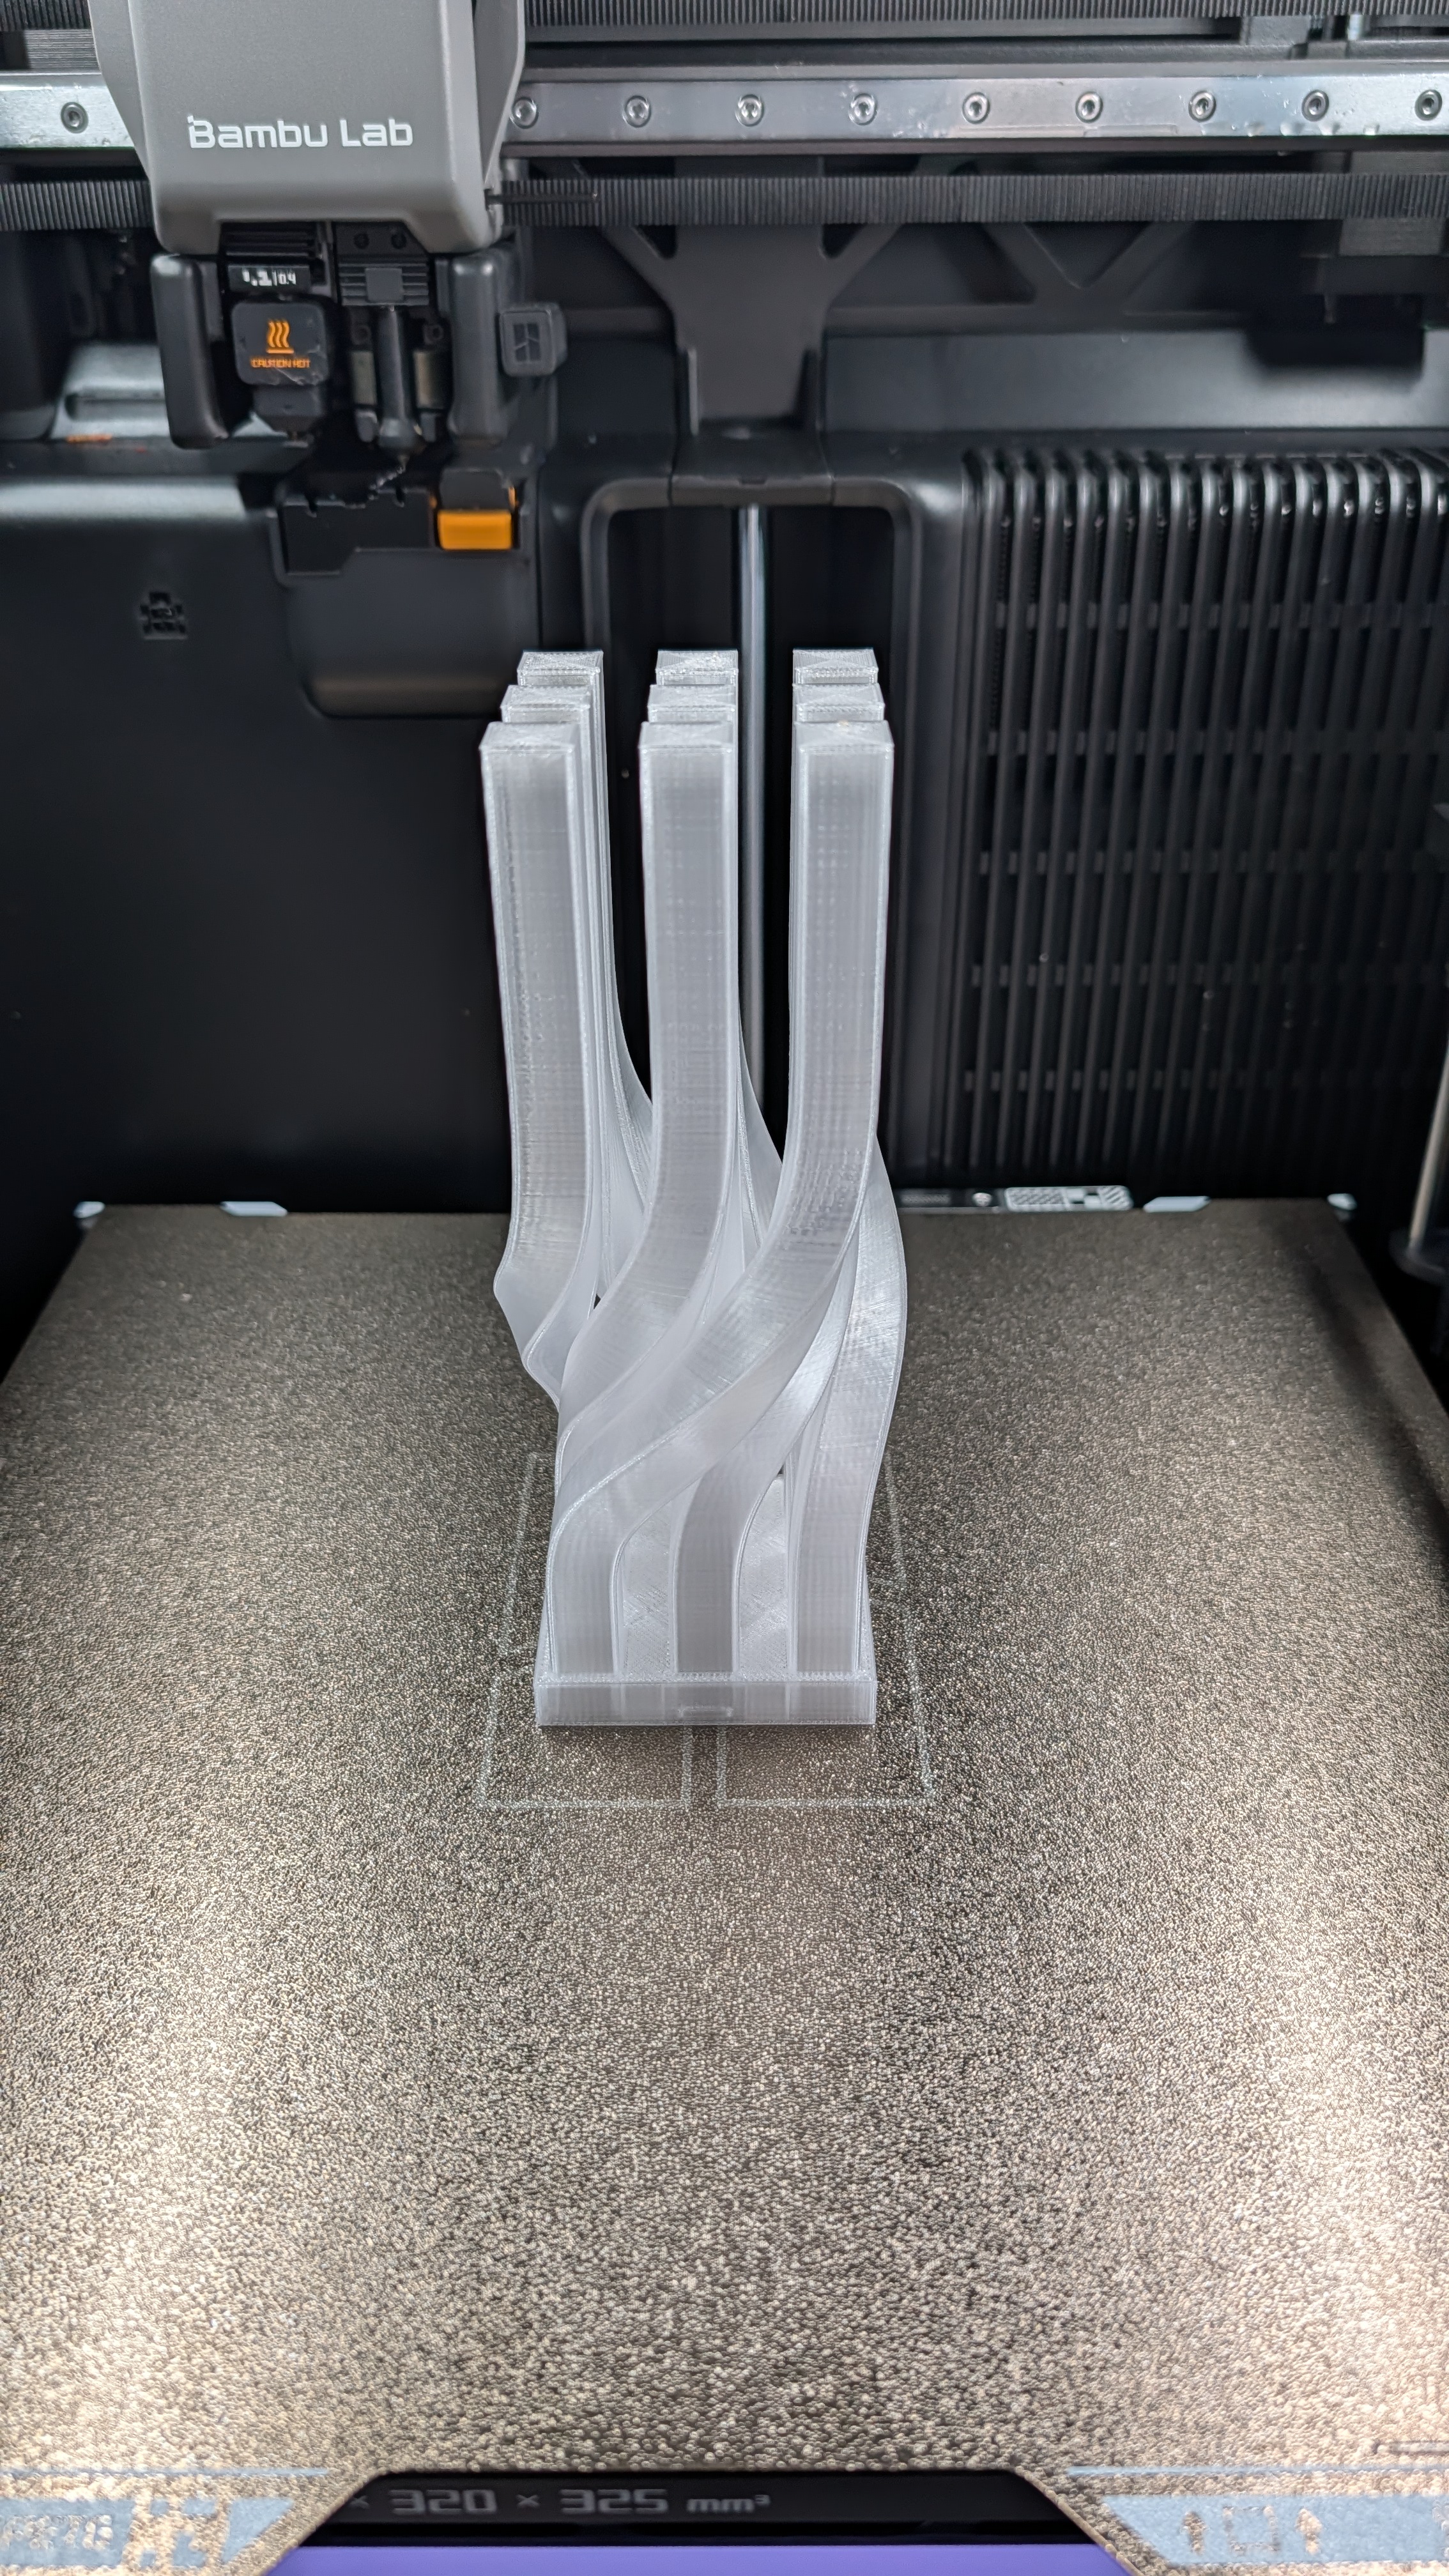
The translucent part turned out great in the end.
Assembly
The assembly should be easy: just put the LED into the base.
And then put the connector on the base.
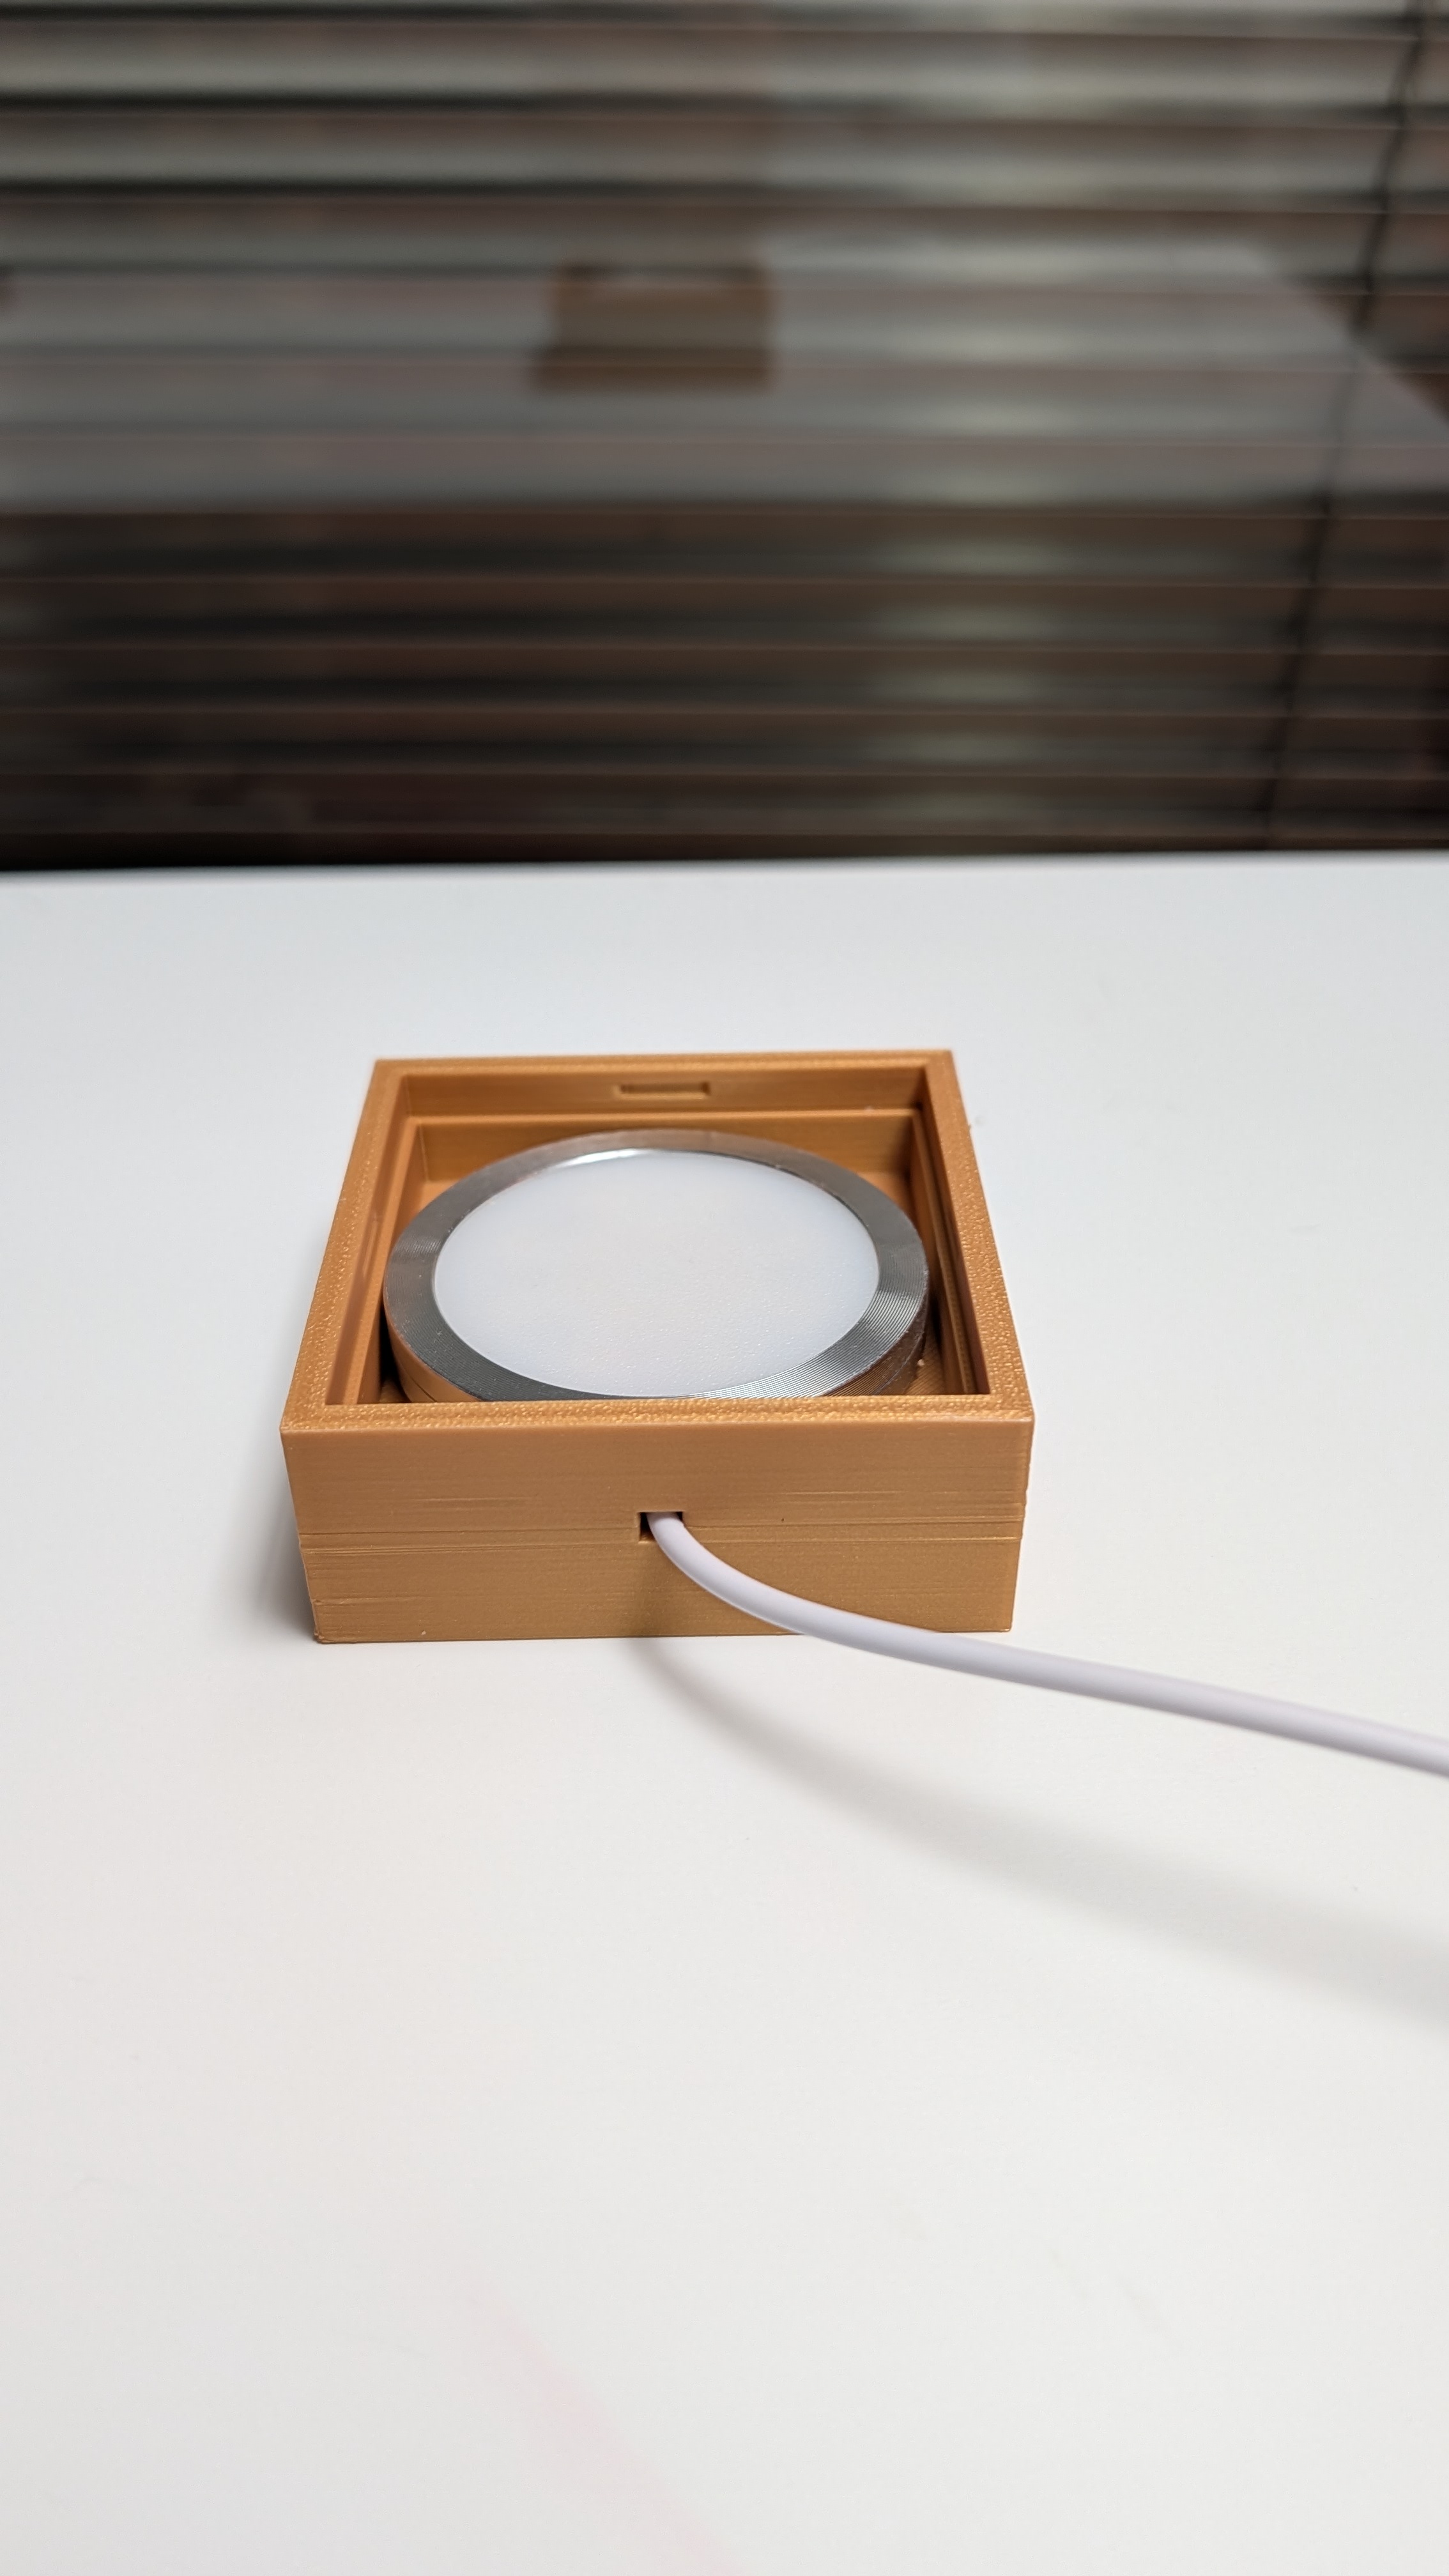
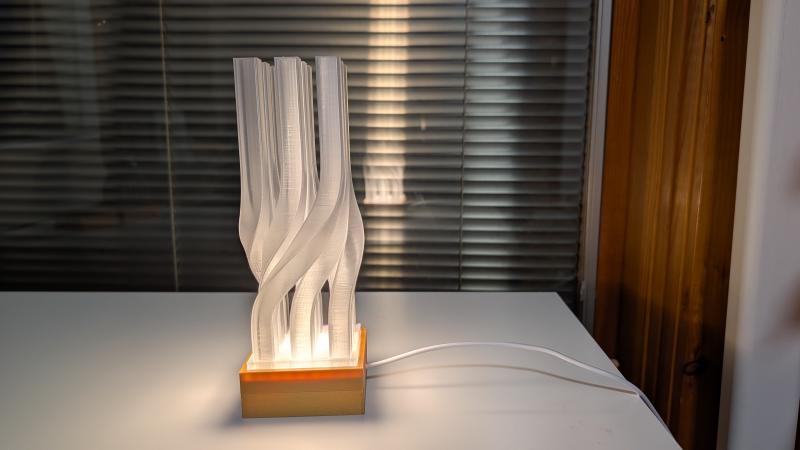
Finished LED Lamp
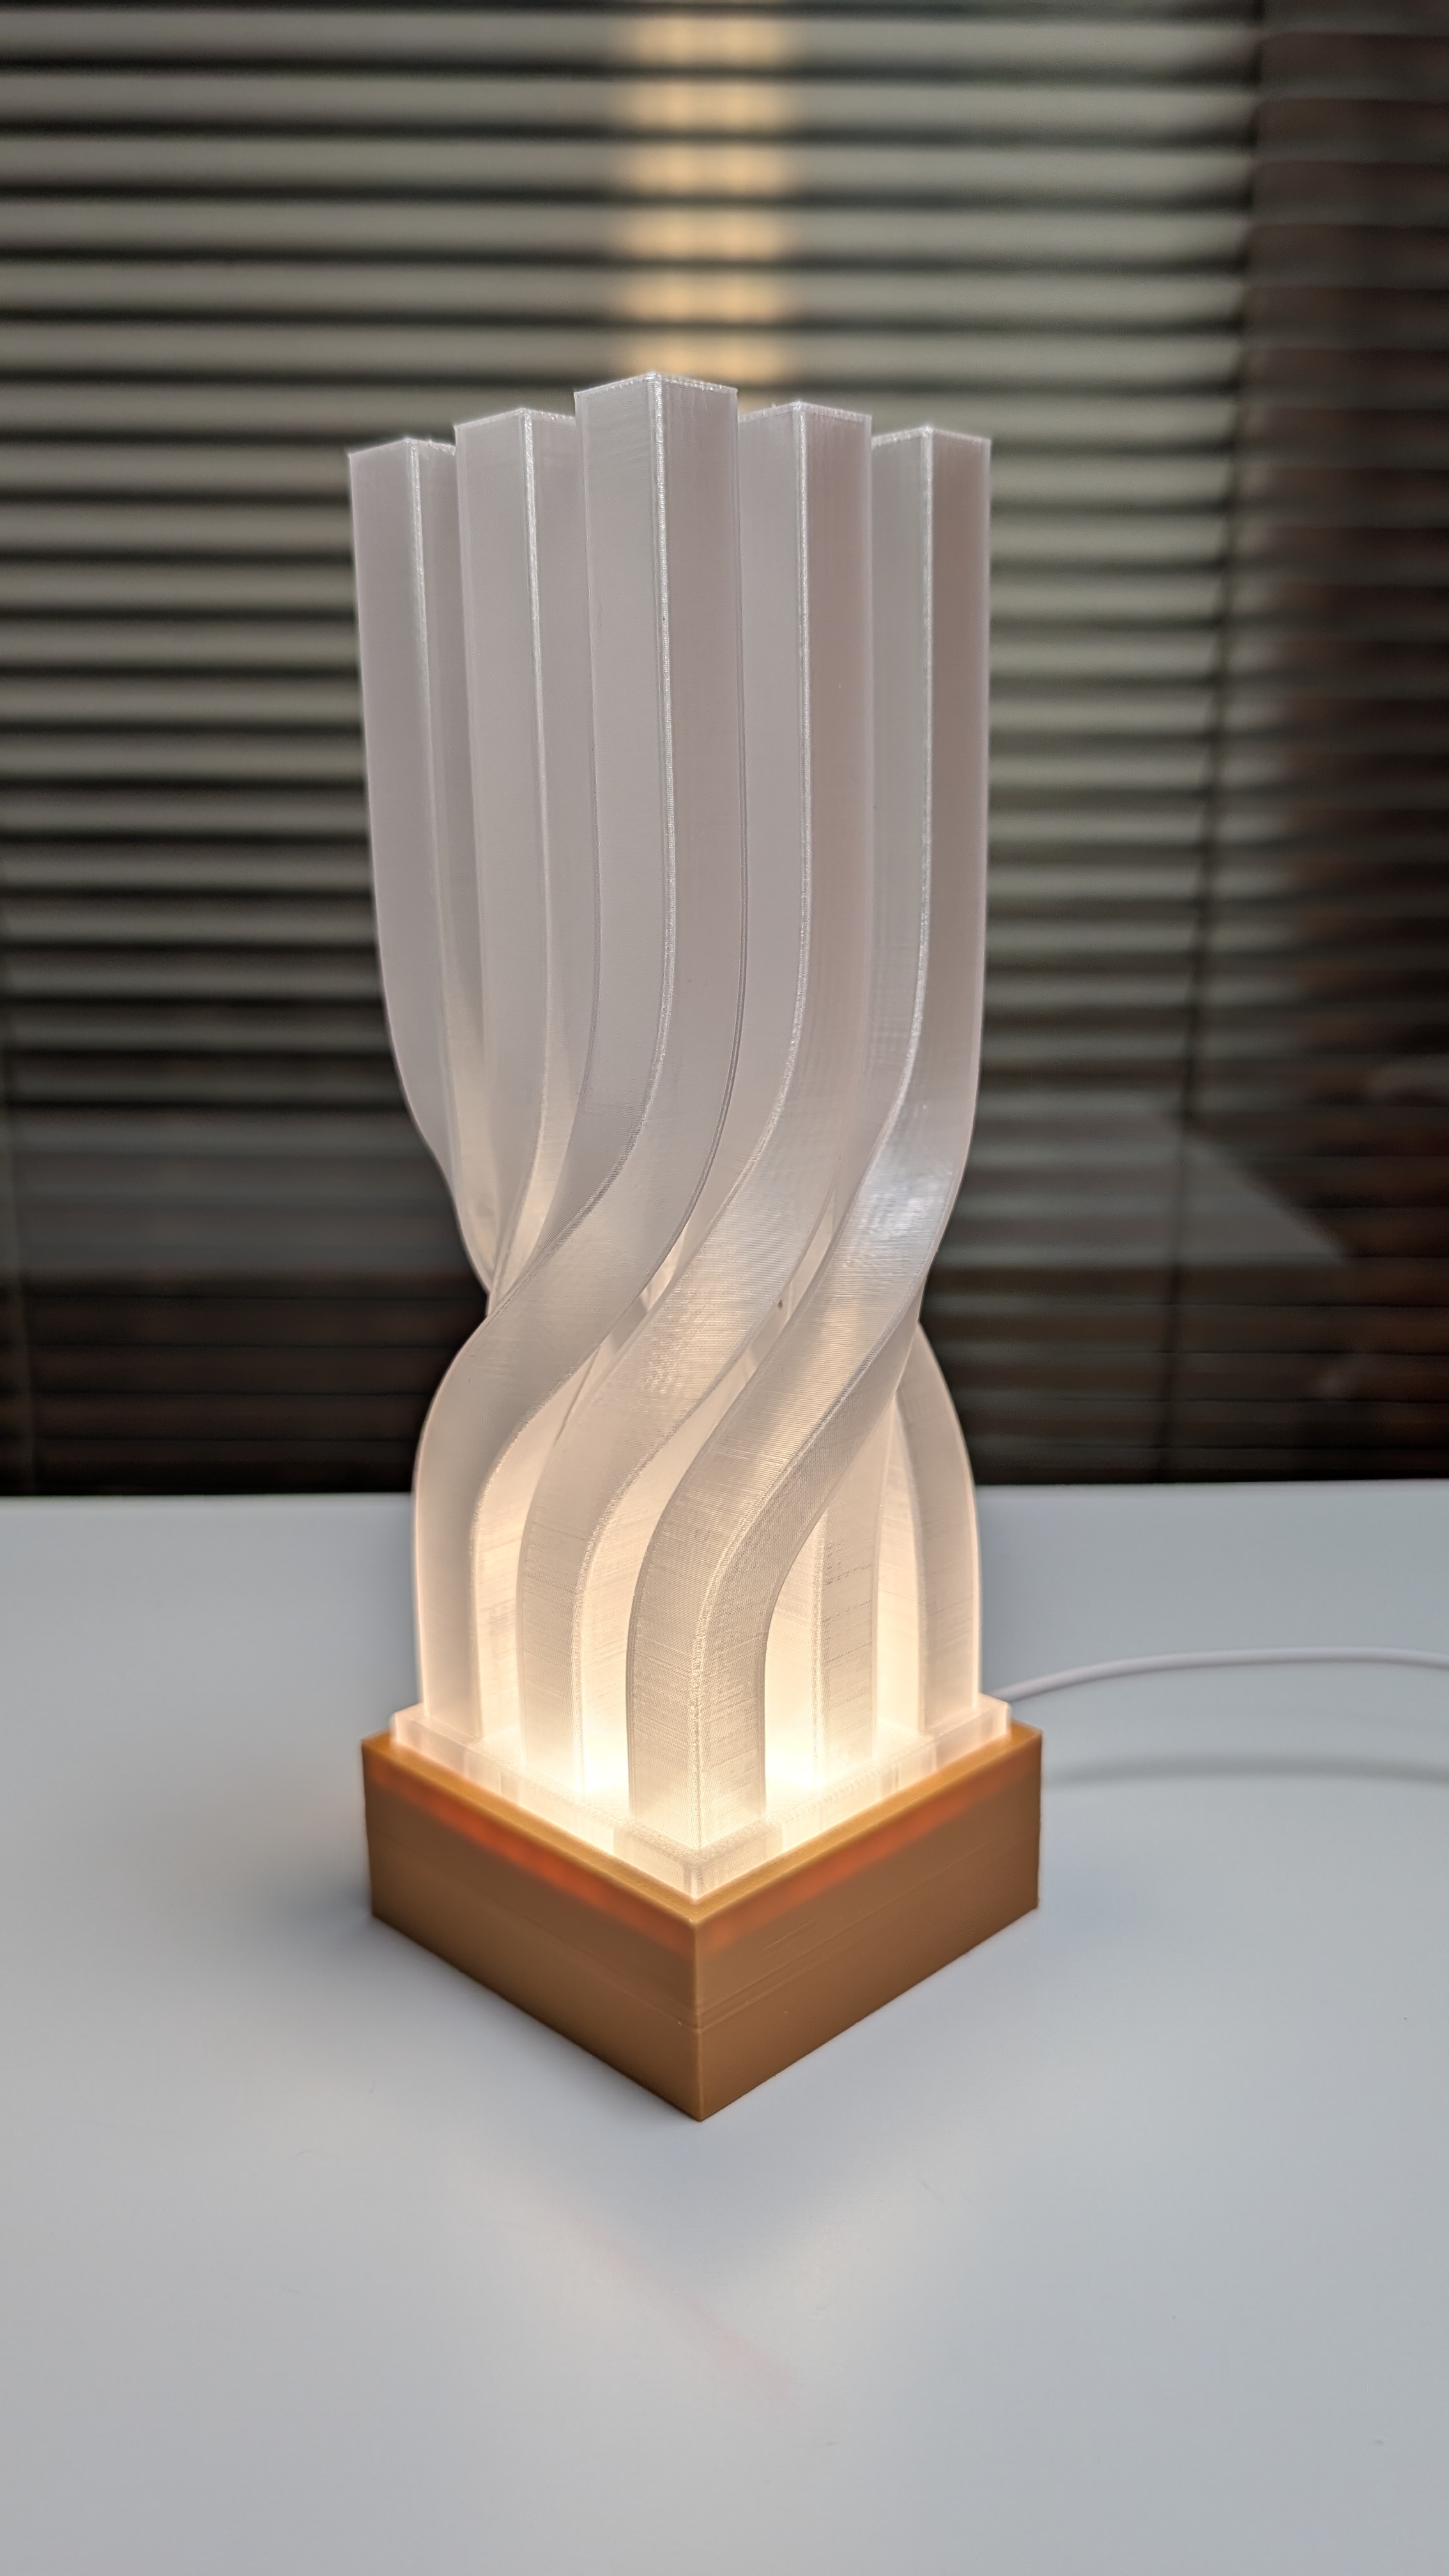
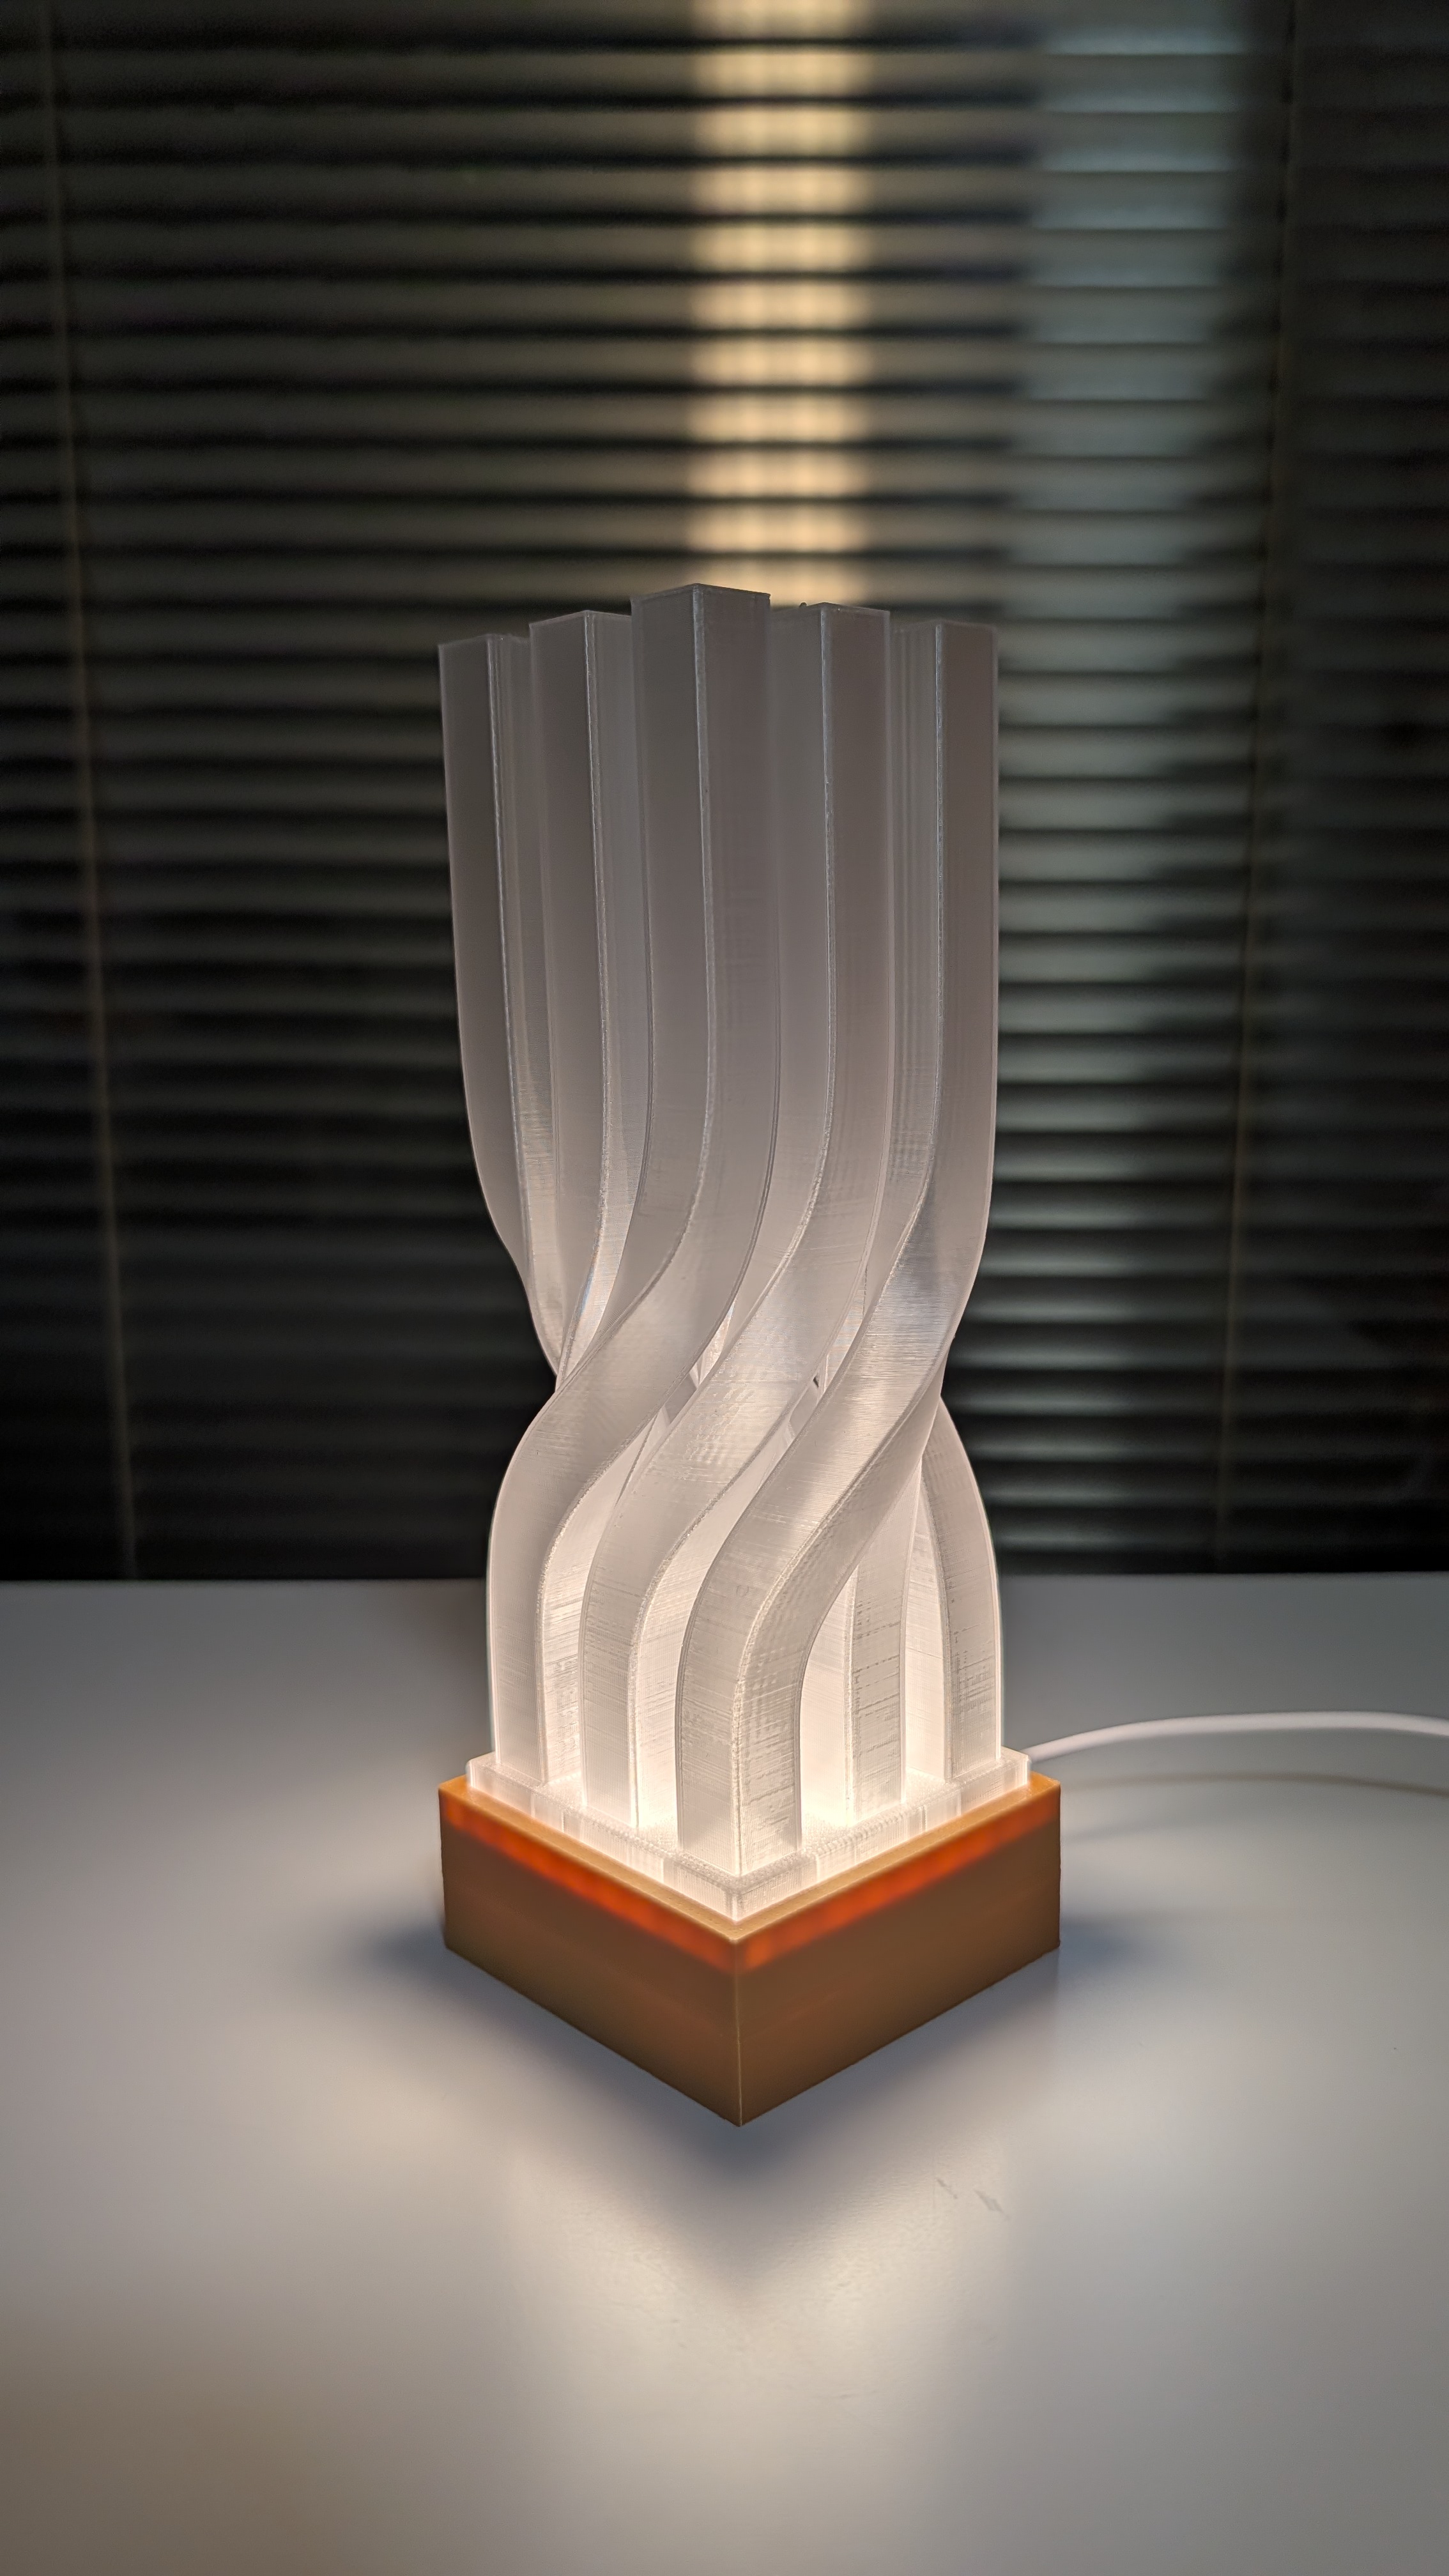
It could be used as a night light, or personally, it’s more like an art piece, featuring the rigid square column and yet the twist adds a dynamic element.