Background/Motivation
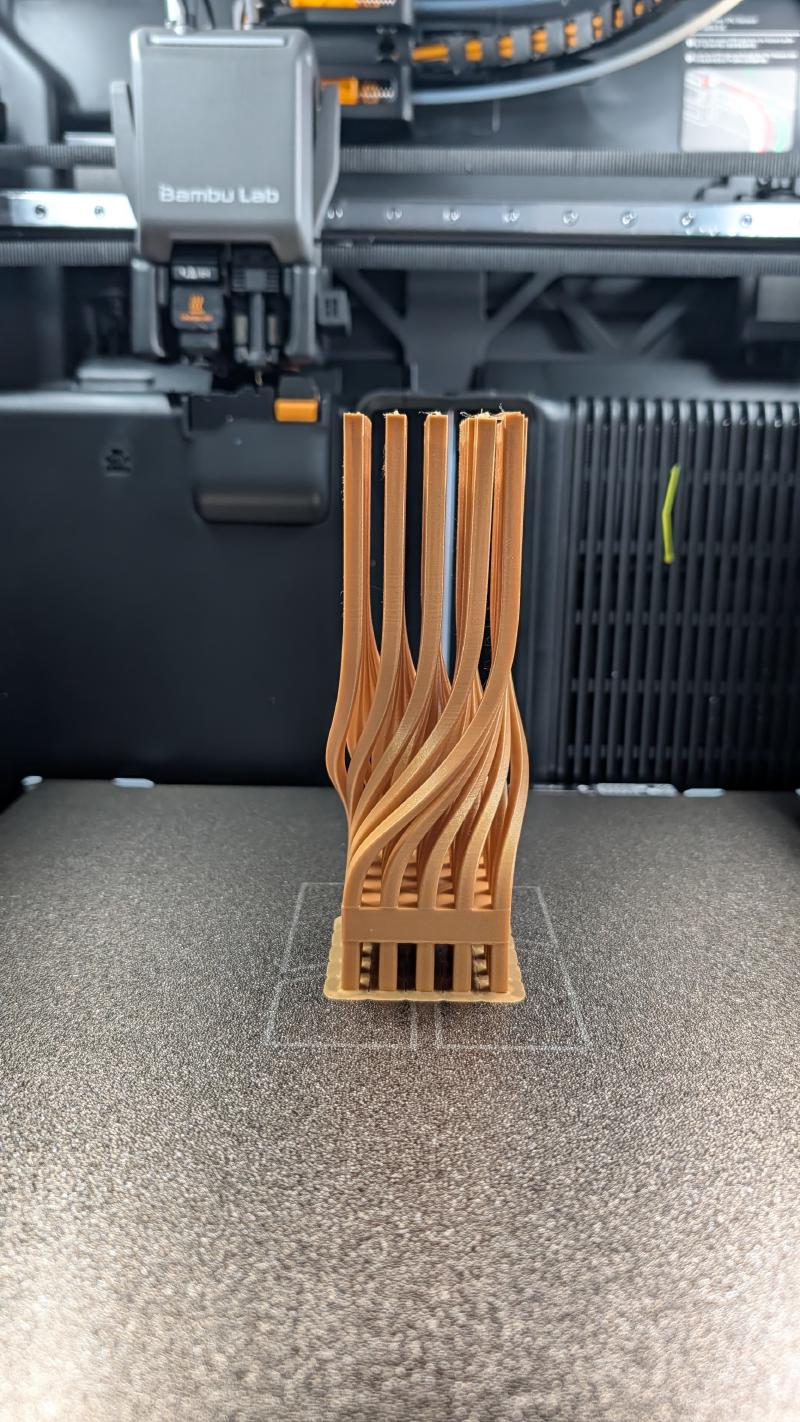
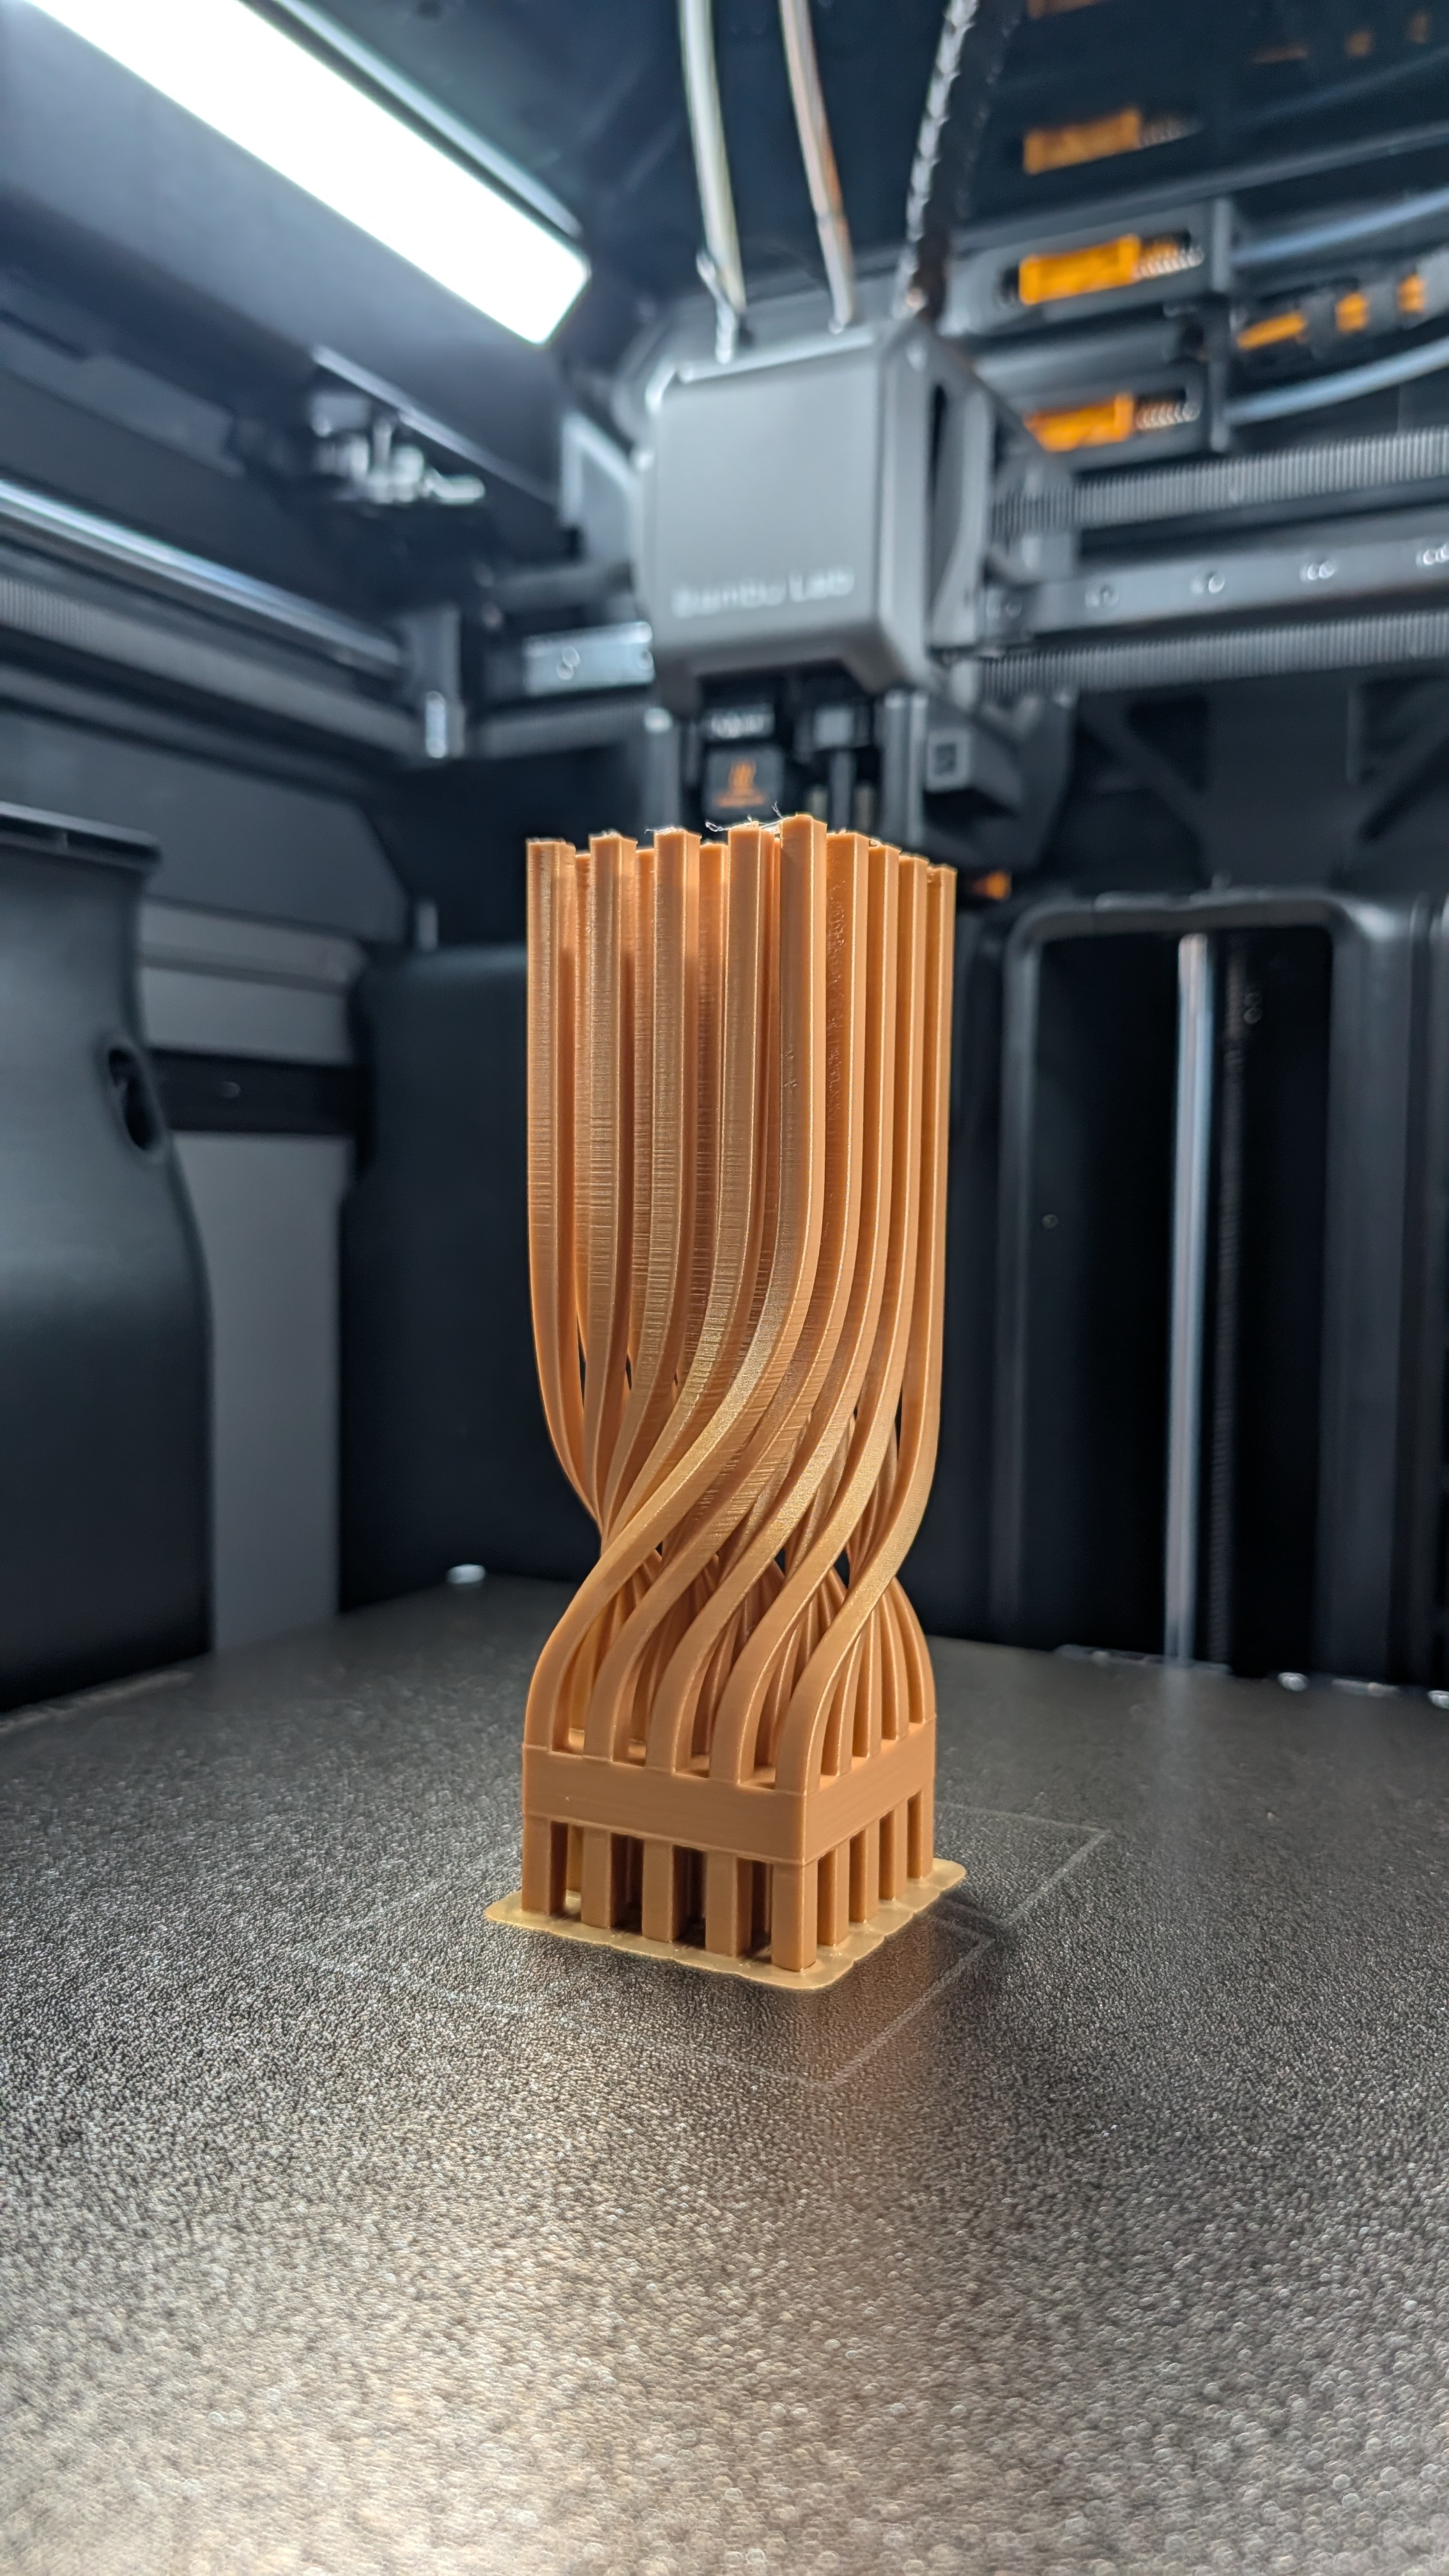
I came across an X post featuring a twisted square column and was immediately fascinated by it. The visual impact for me is the rigid square column contrasting with the twist in the middle section—a beautiful geometric contradiction.
Fascinated by this hot wire cutouts by Piotr Waśniowski (left) so i tried to recreate it in WebGL (right). pic.twitter.com/DXpHpJUZRz
— Marcin Ignac (@marcinignac) February 1, 2026
Model Design/Modeling
Basically, for the purpose of advancing my modeling technique, I tried to recreate the same design. It wasn’t easy at first, as I only learned how to use Fusion back in December 2025, and my main workflow was solid modeling—i.e., sketch basic form, extrude it, and fillet/chamfer, etc.
At first, I thought it should involve a sweep, since the square column profile is the same along a path. But the question was: how do I draw a twisted path for each column?
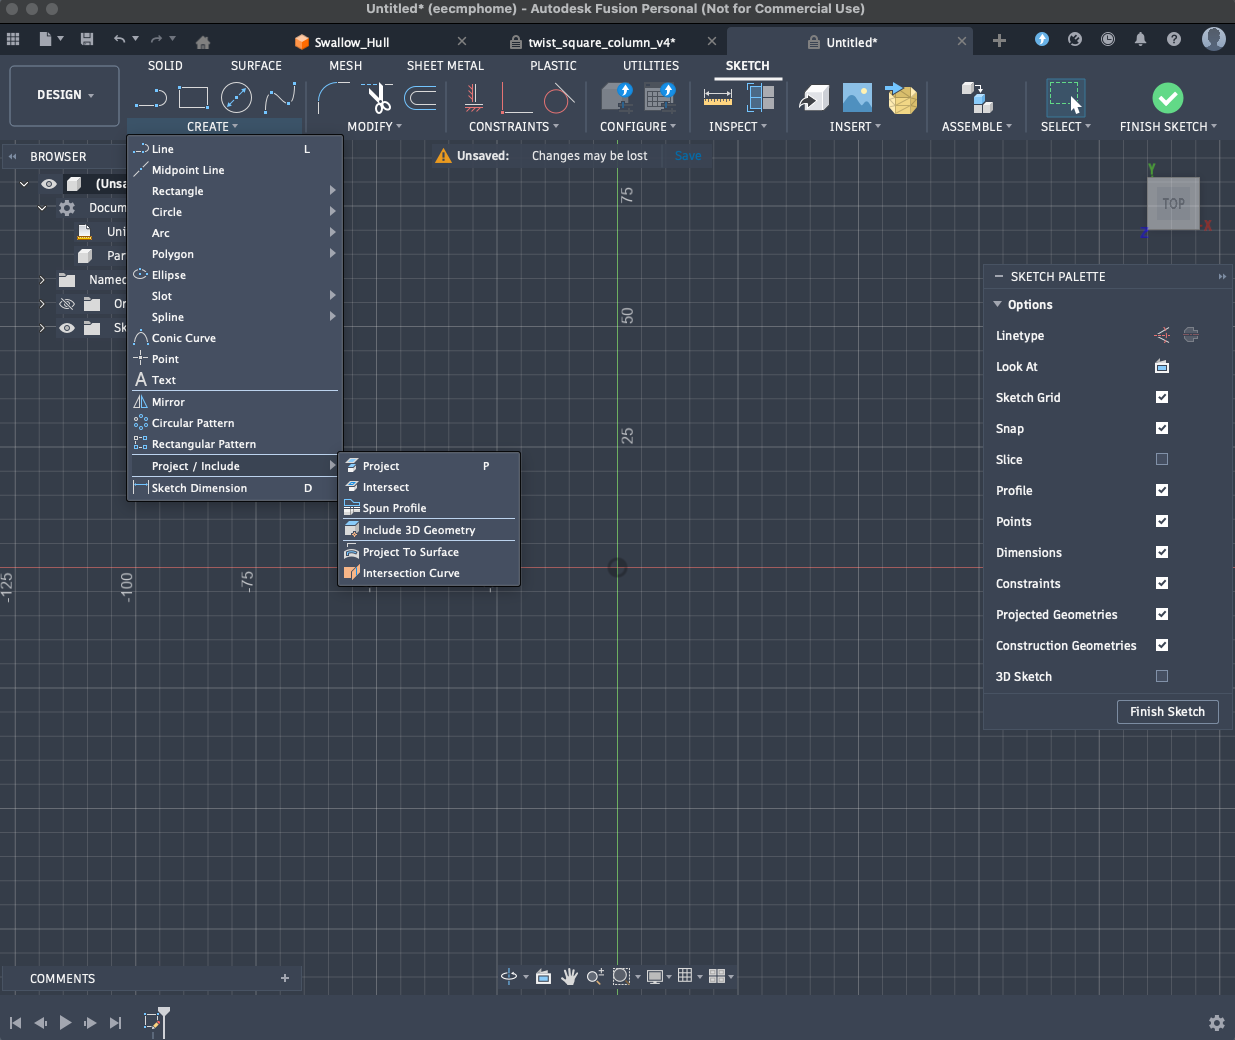
I know there is 3D sketching in Fusion, but it’s more free-form drawing, and I didn’t see a way to recreate all the paths precisely.
I thought about using Create Form to free-form each column, which I think is possible but not really a “logical way.”
Finally, I came across the Include 3D Geometry command, and then I had an idea for how to model the twisted column in a relatively “logical” way.
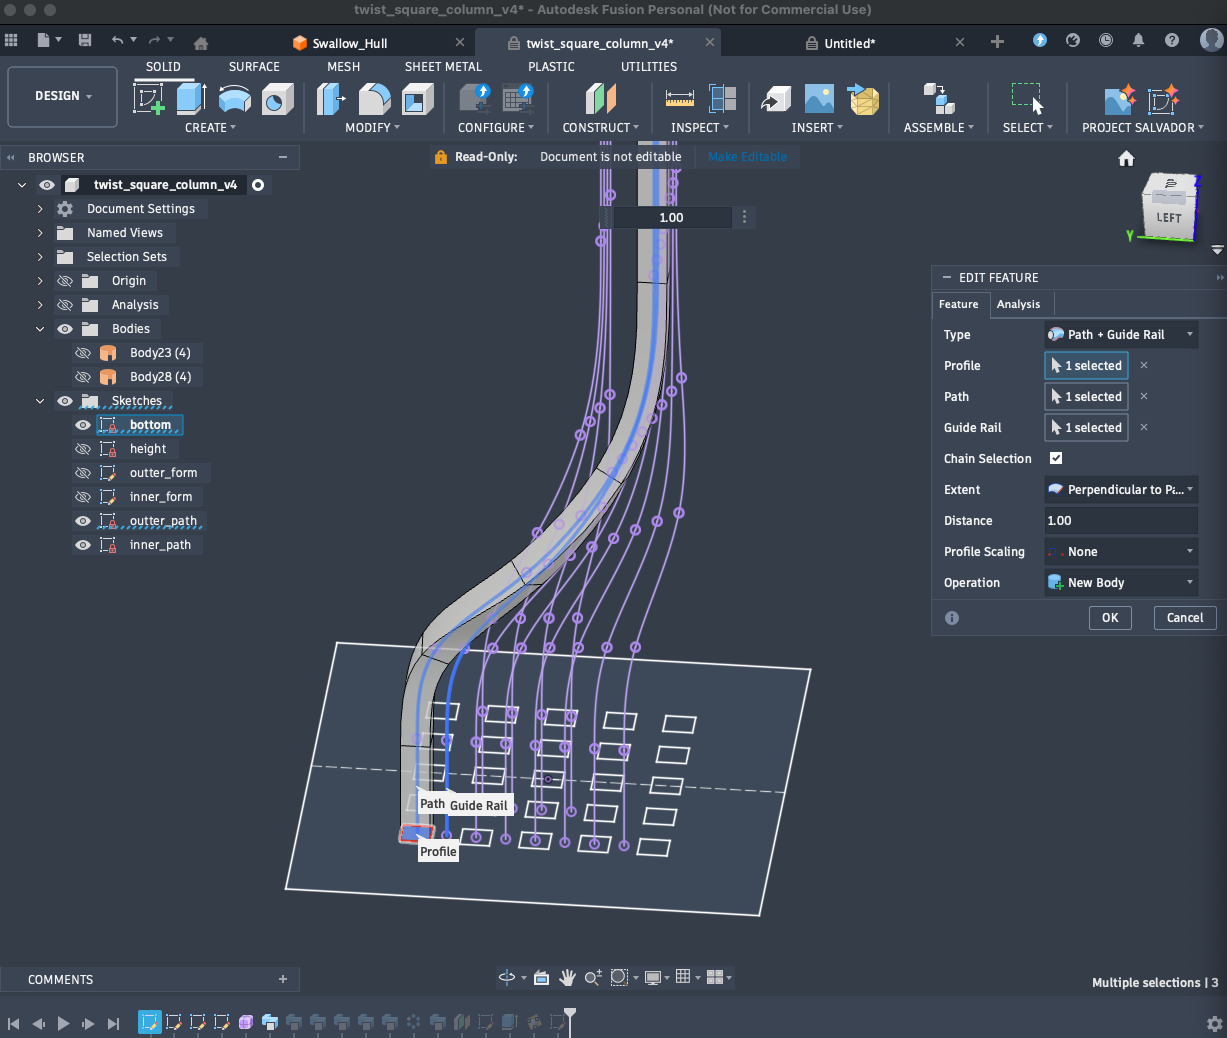
Basically, I used Create Form to create the “surface” of the twist. As you can see, the edge on the surface of the form body is the exact path I need for sweeping.
Now, I used the Include 3D Geometry command to “capture” the path into a sketch, then I could use the Sweep command in the solid body tab to recreate the twisted column.
There are some important details about how to do the Sweep so that the column twists as intended:
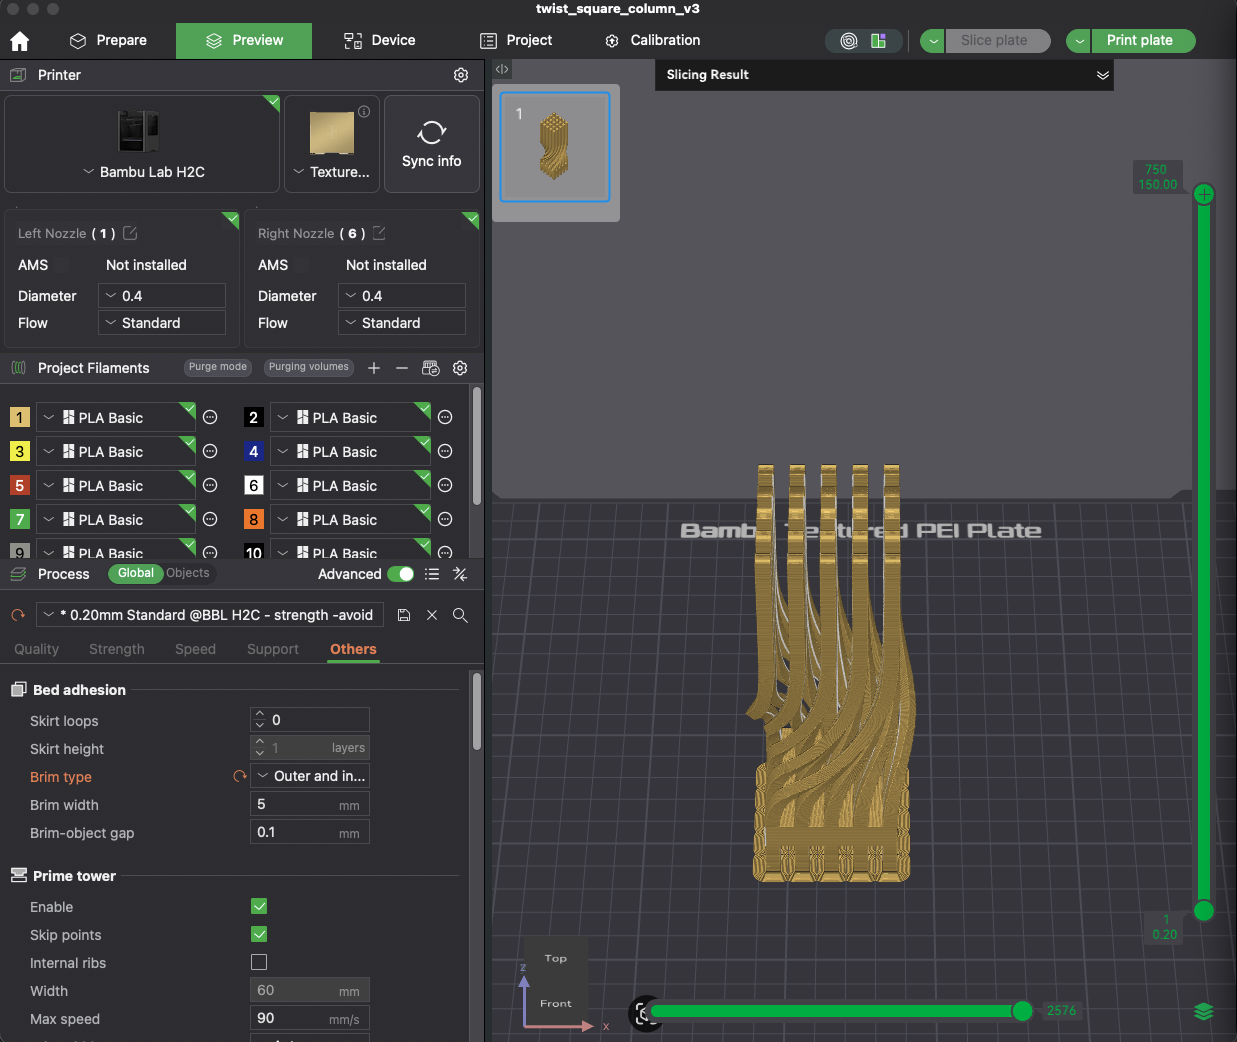
- It needs a guide rail to sweep along, ensuring the twist is exactly 90°.
- The profile scaling must be set to “none,” otherwise the profile will be scaled according to the distance between the path and the guide rail.
Printing Notes
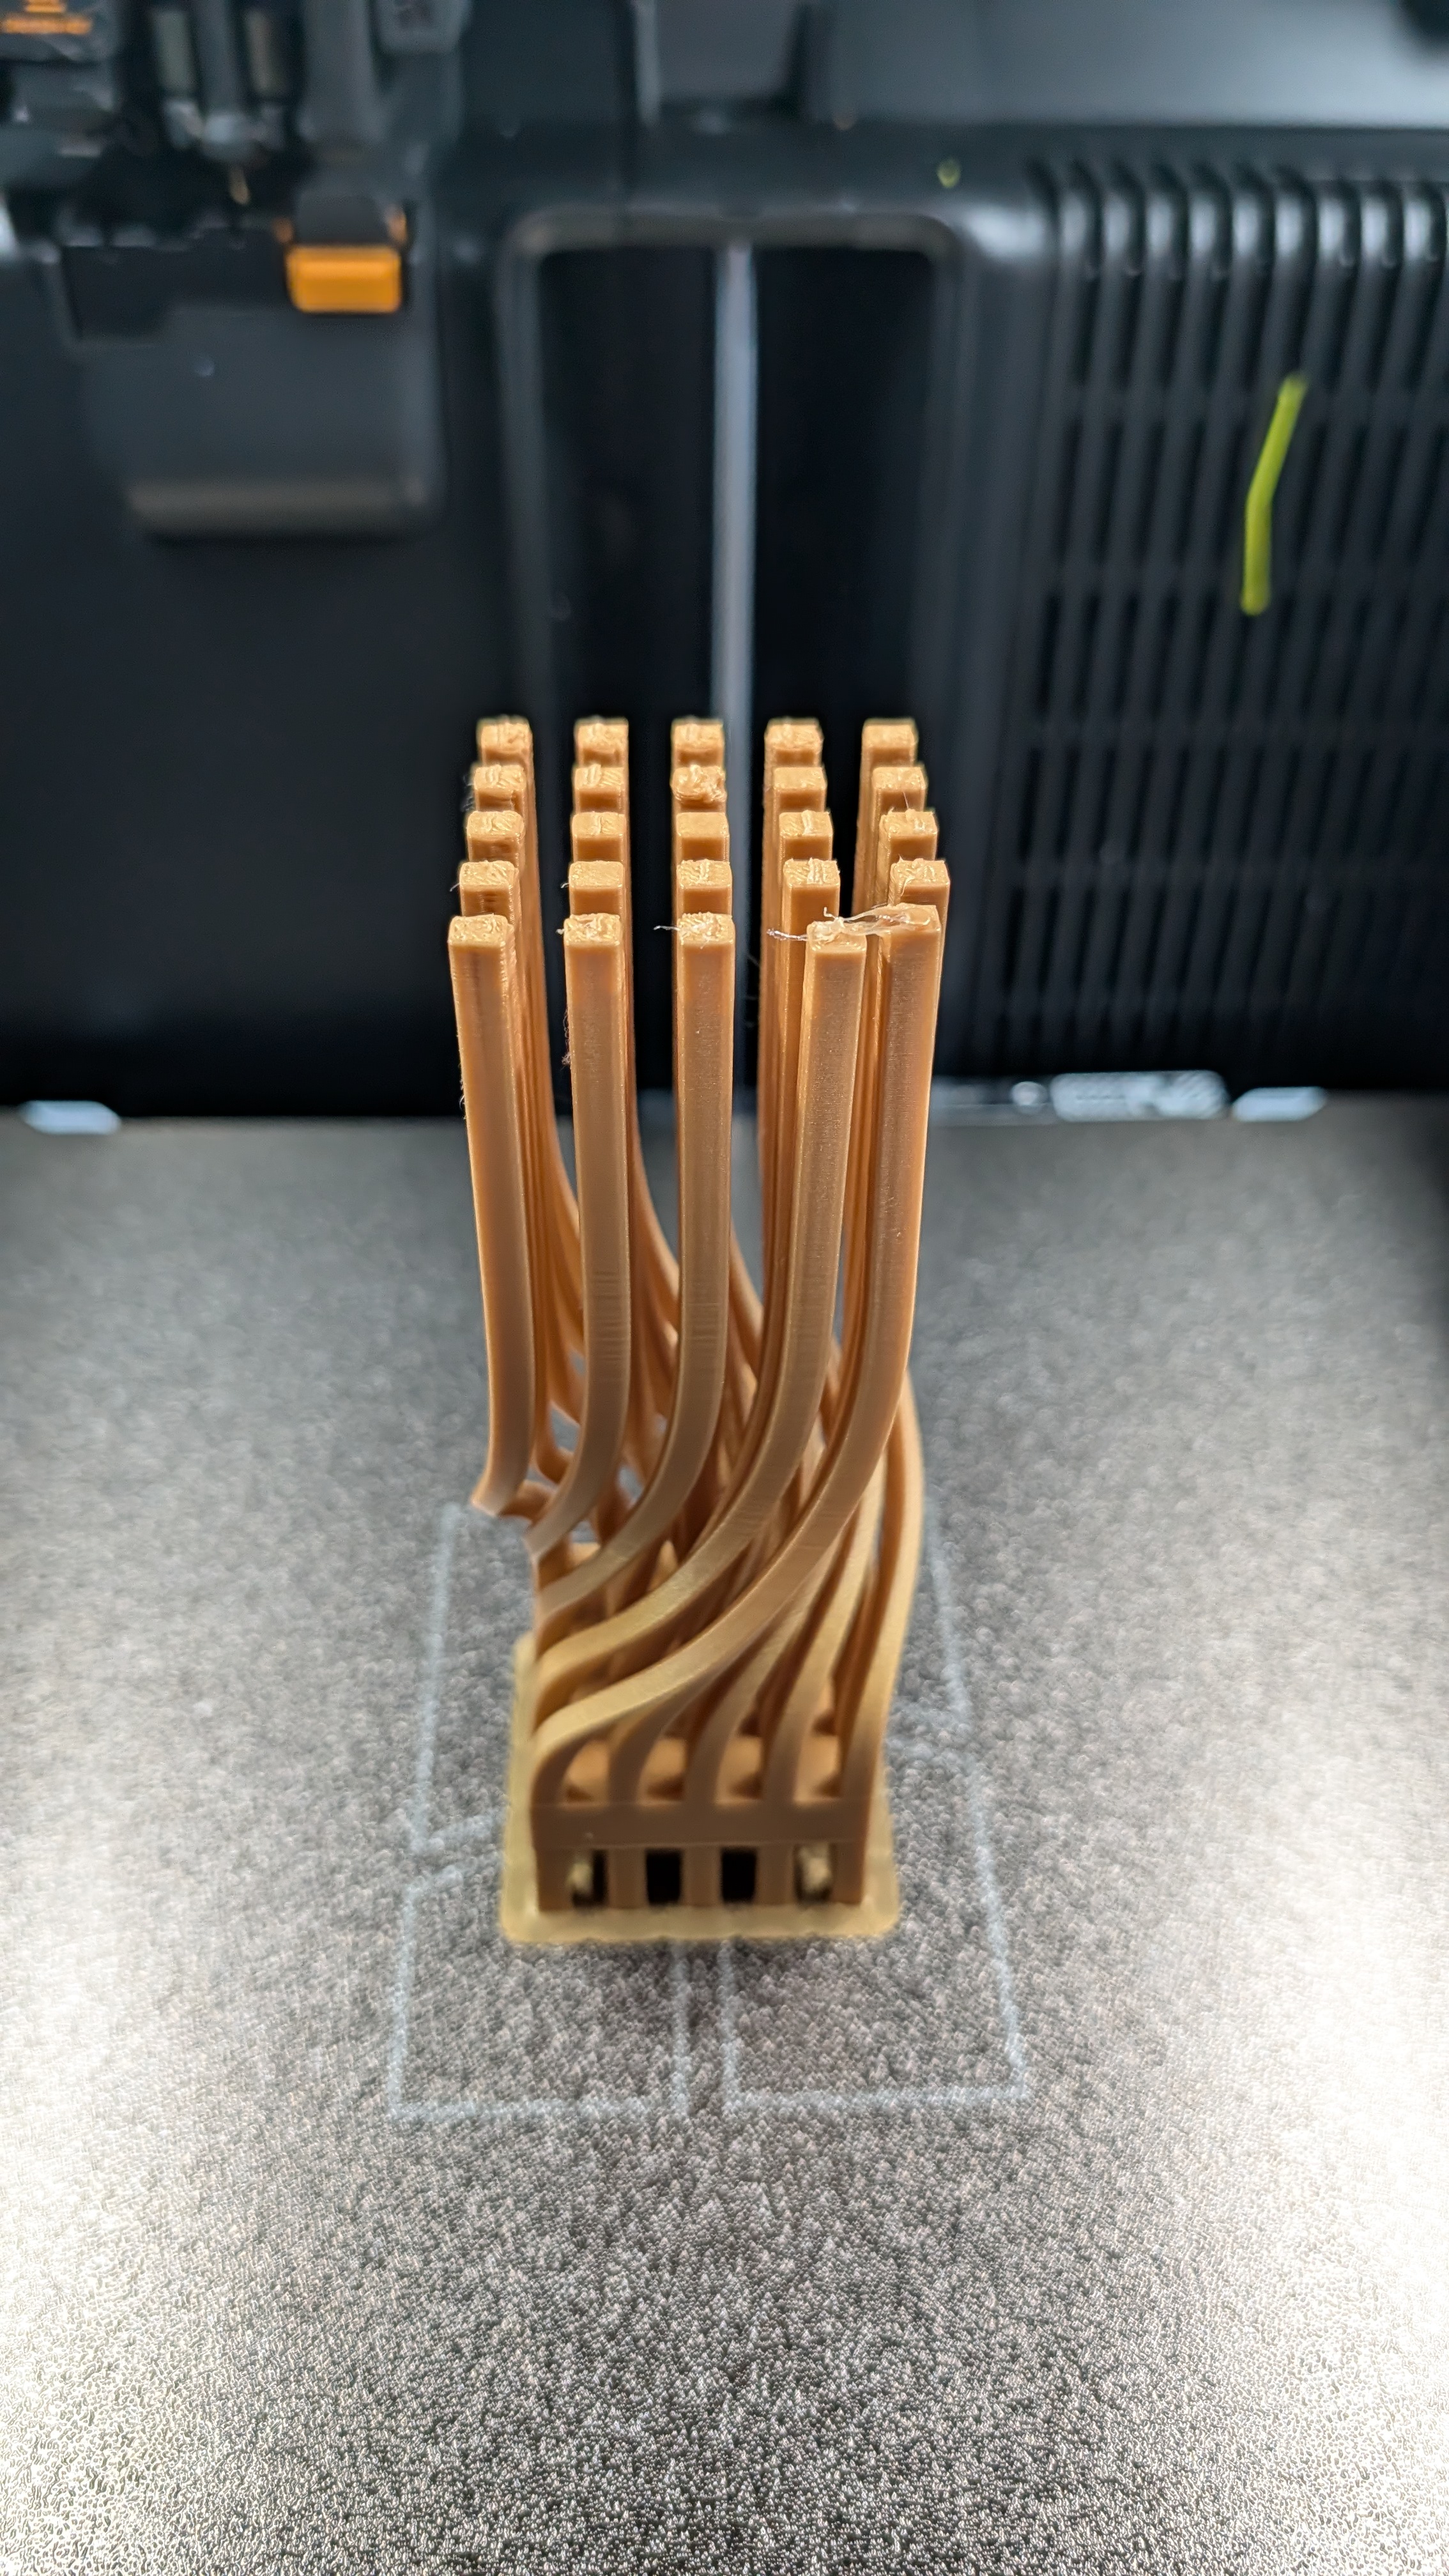
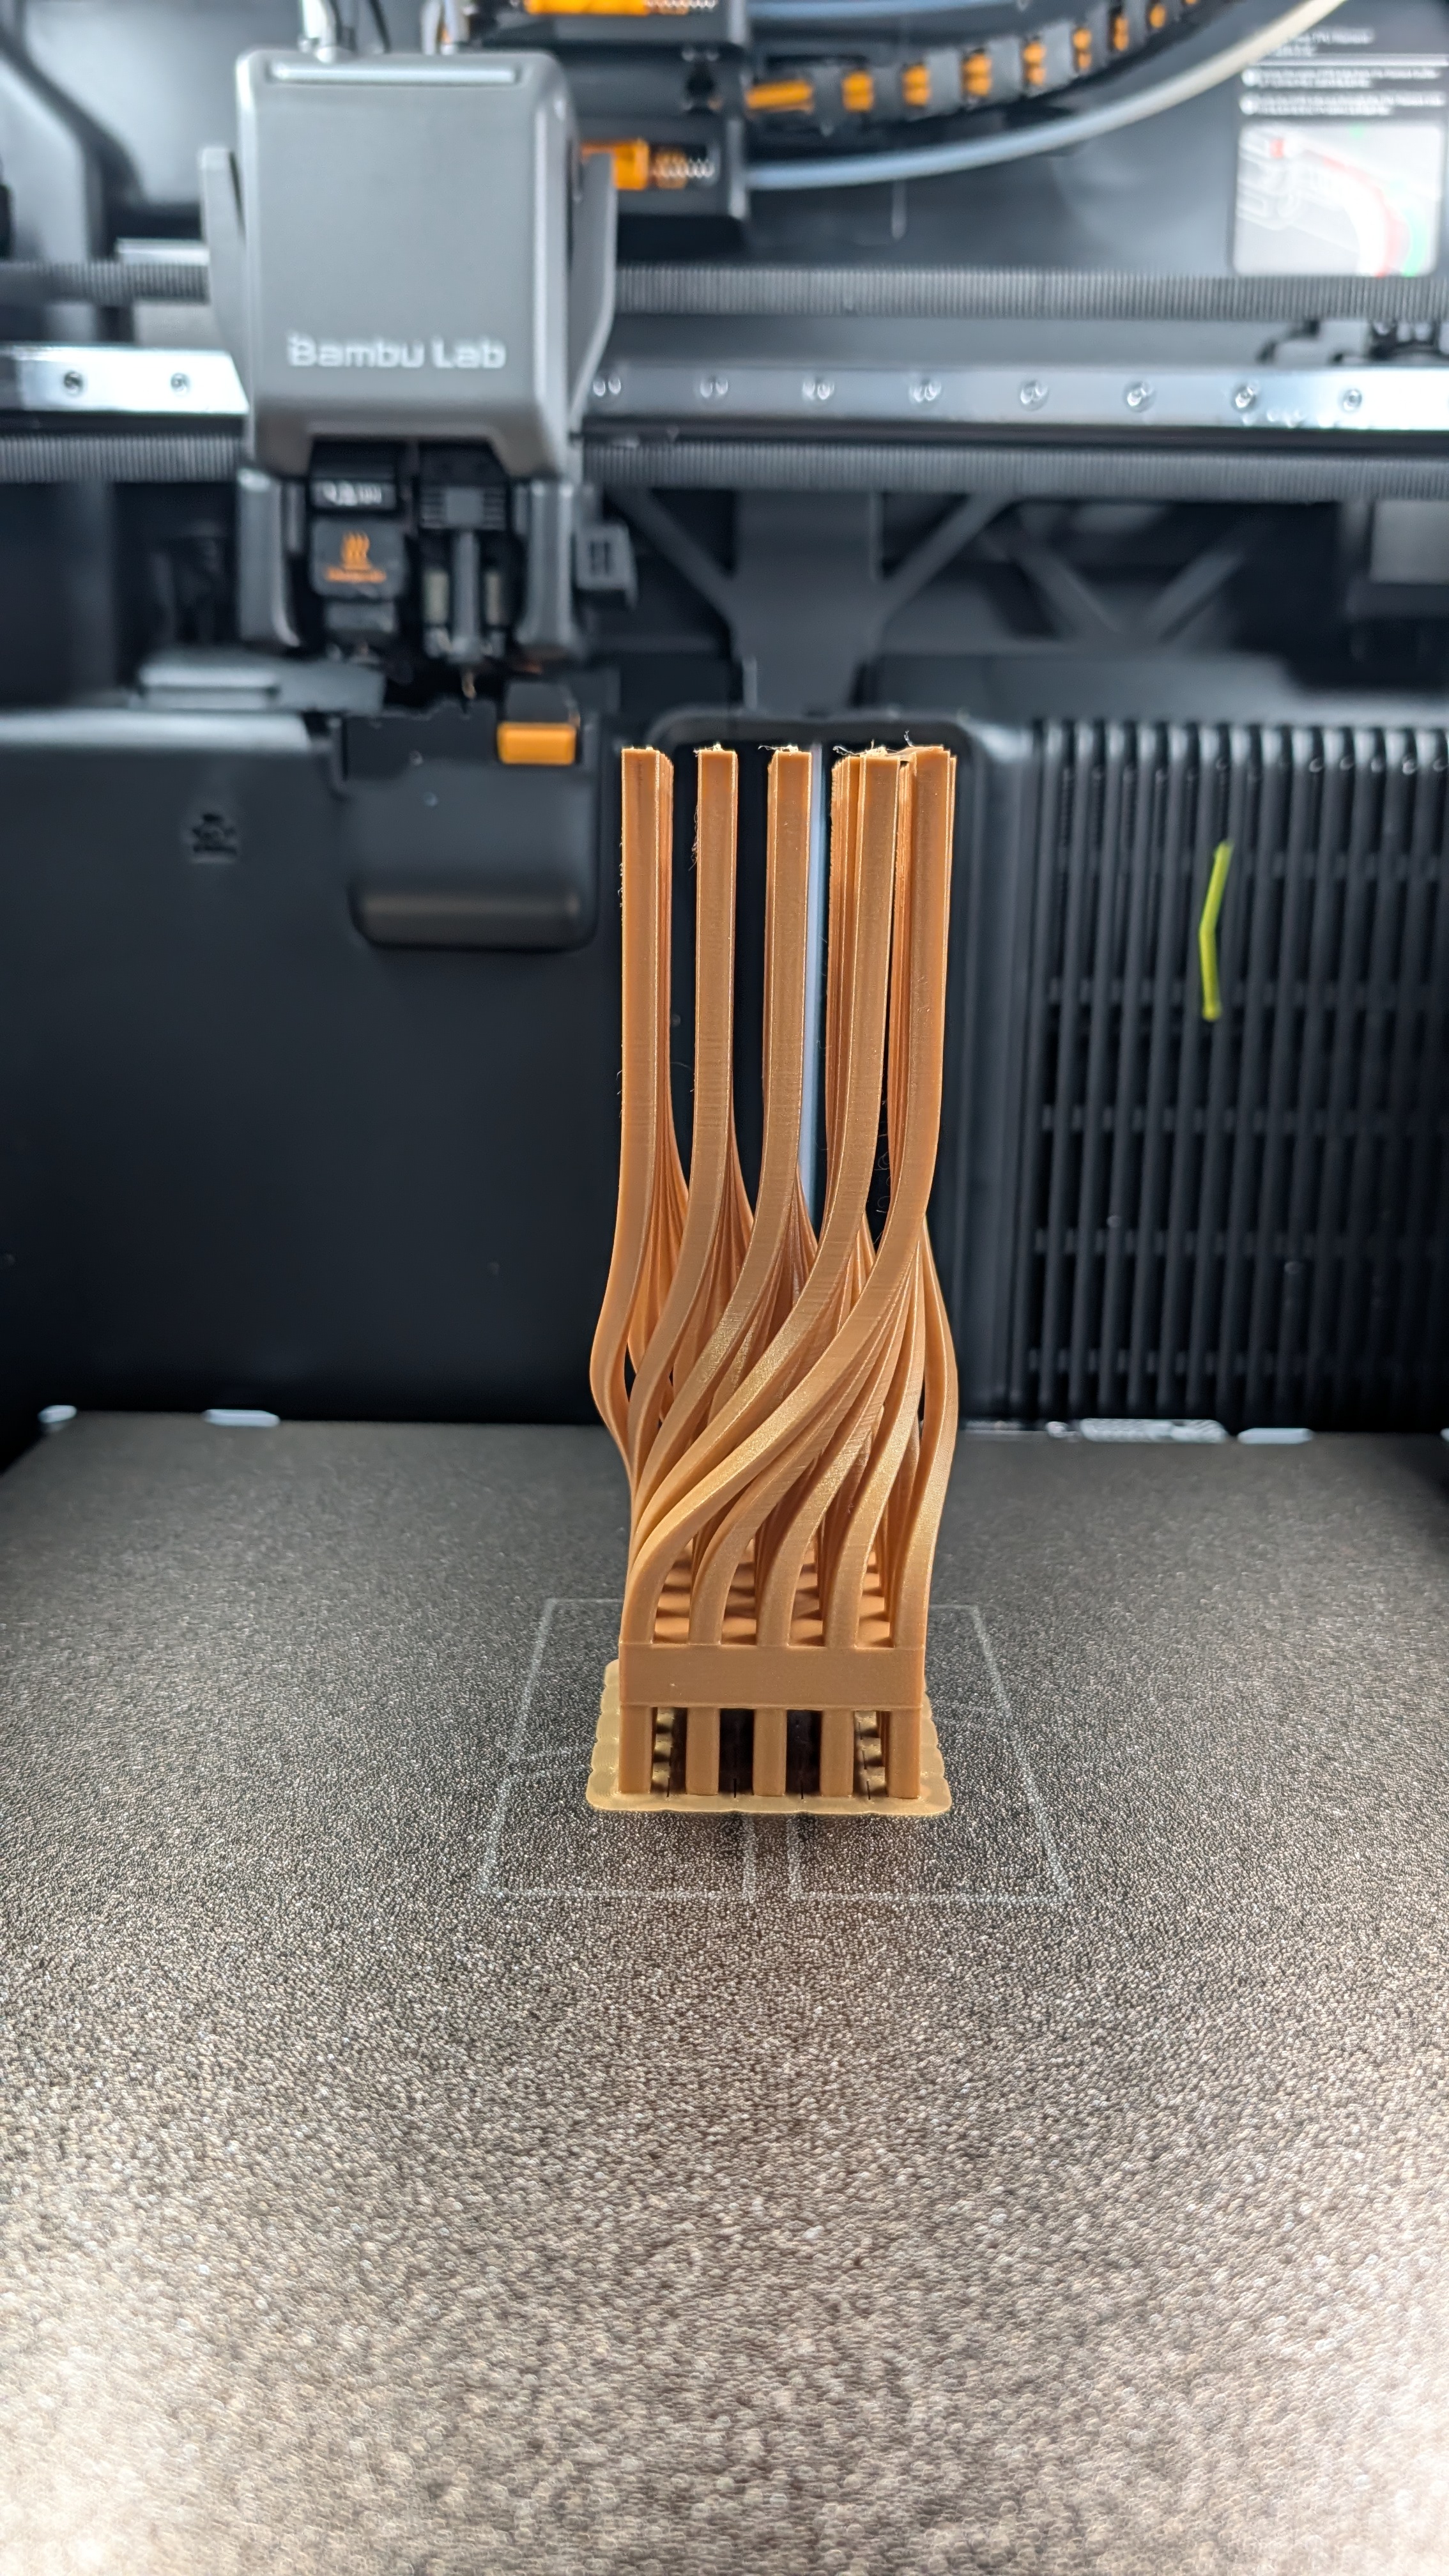
The model can be printed without support. The bridging print near the bottom looks fine with default settings. It’s also useful to check out the Bambu Lab Wiki regarding the bridge.
However, there are a few important details I learned after my first failed print.
On the first print, I didn’t turn on the brim setting, which caused poor bed adhesion and led to print failure.
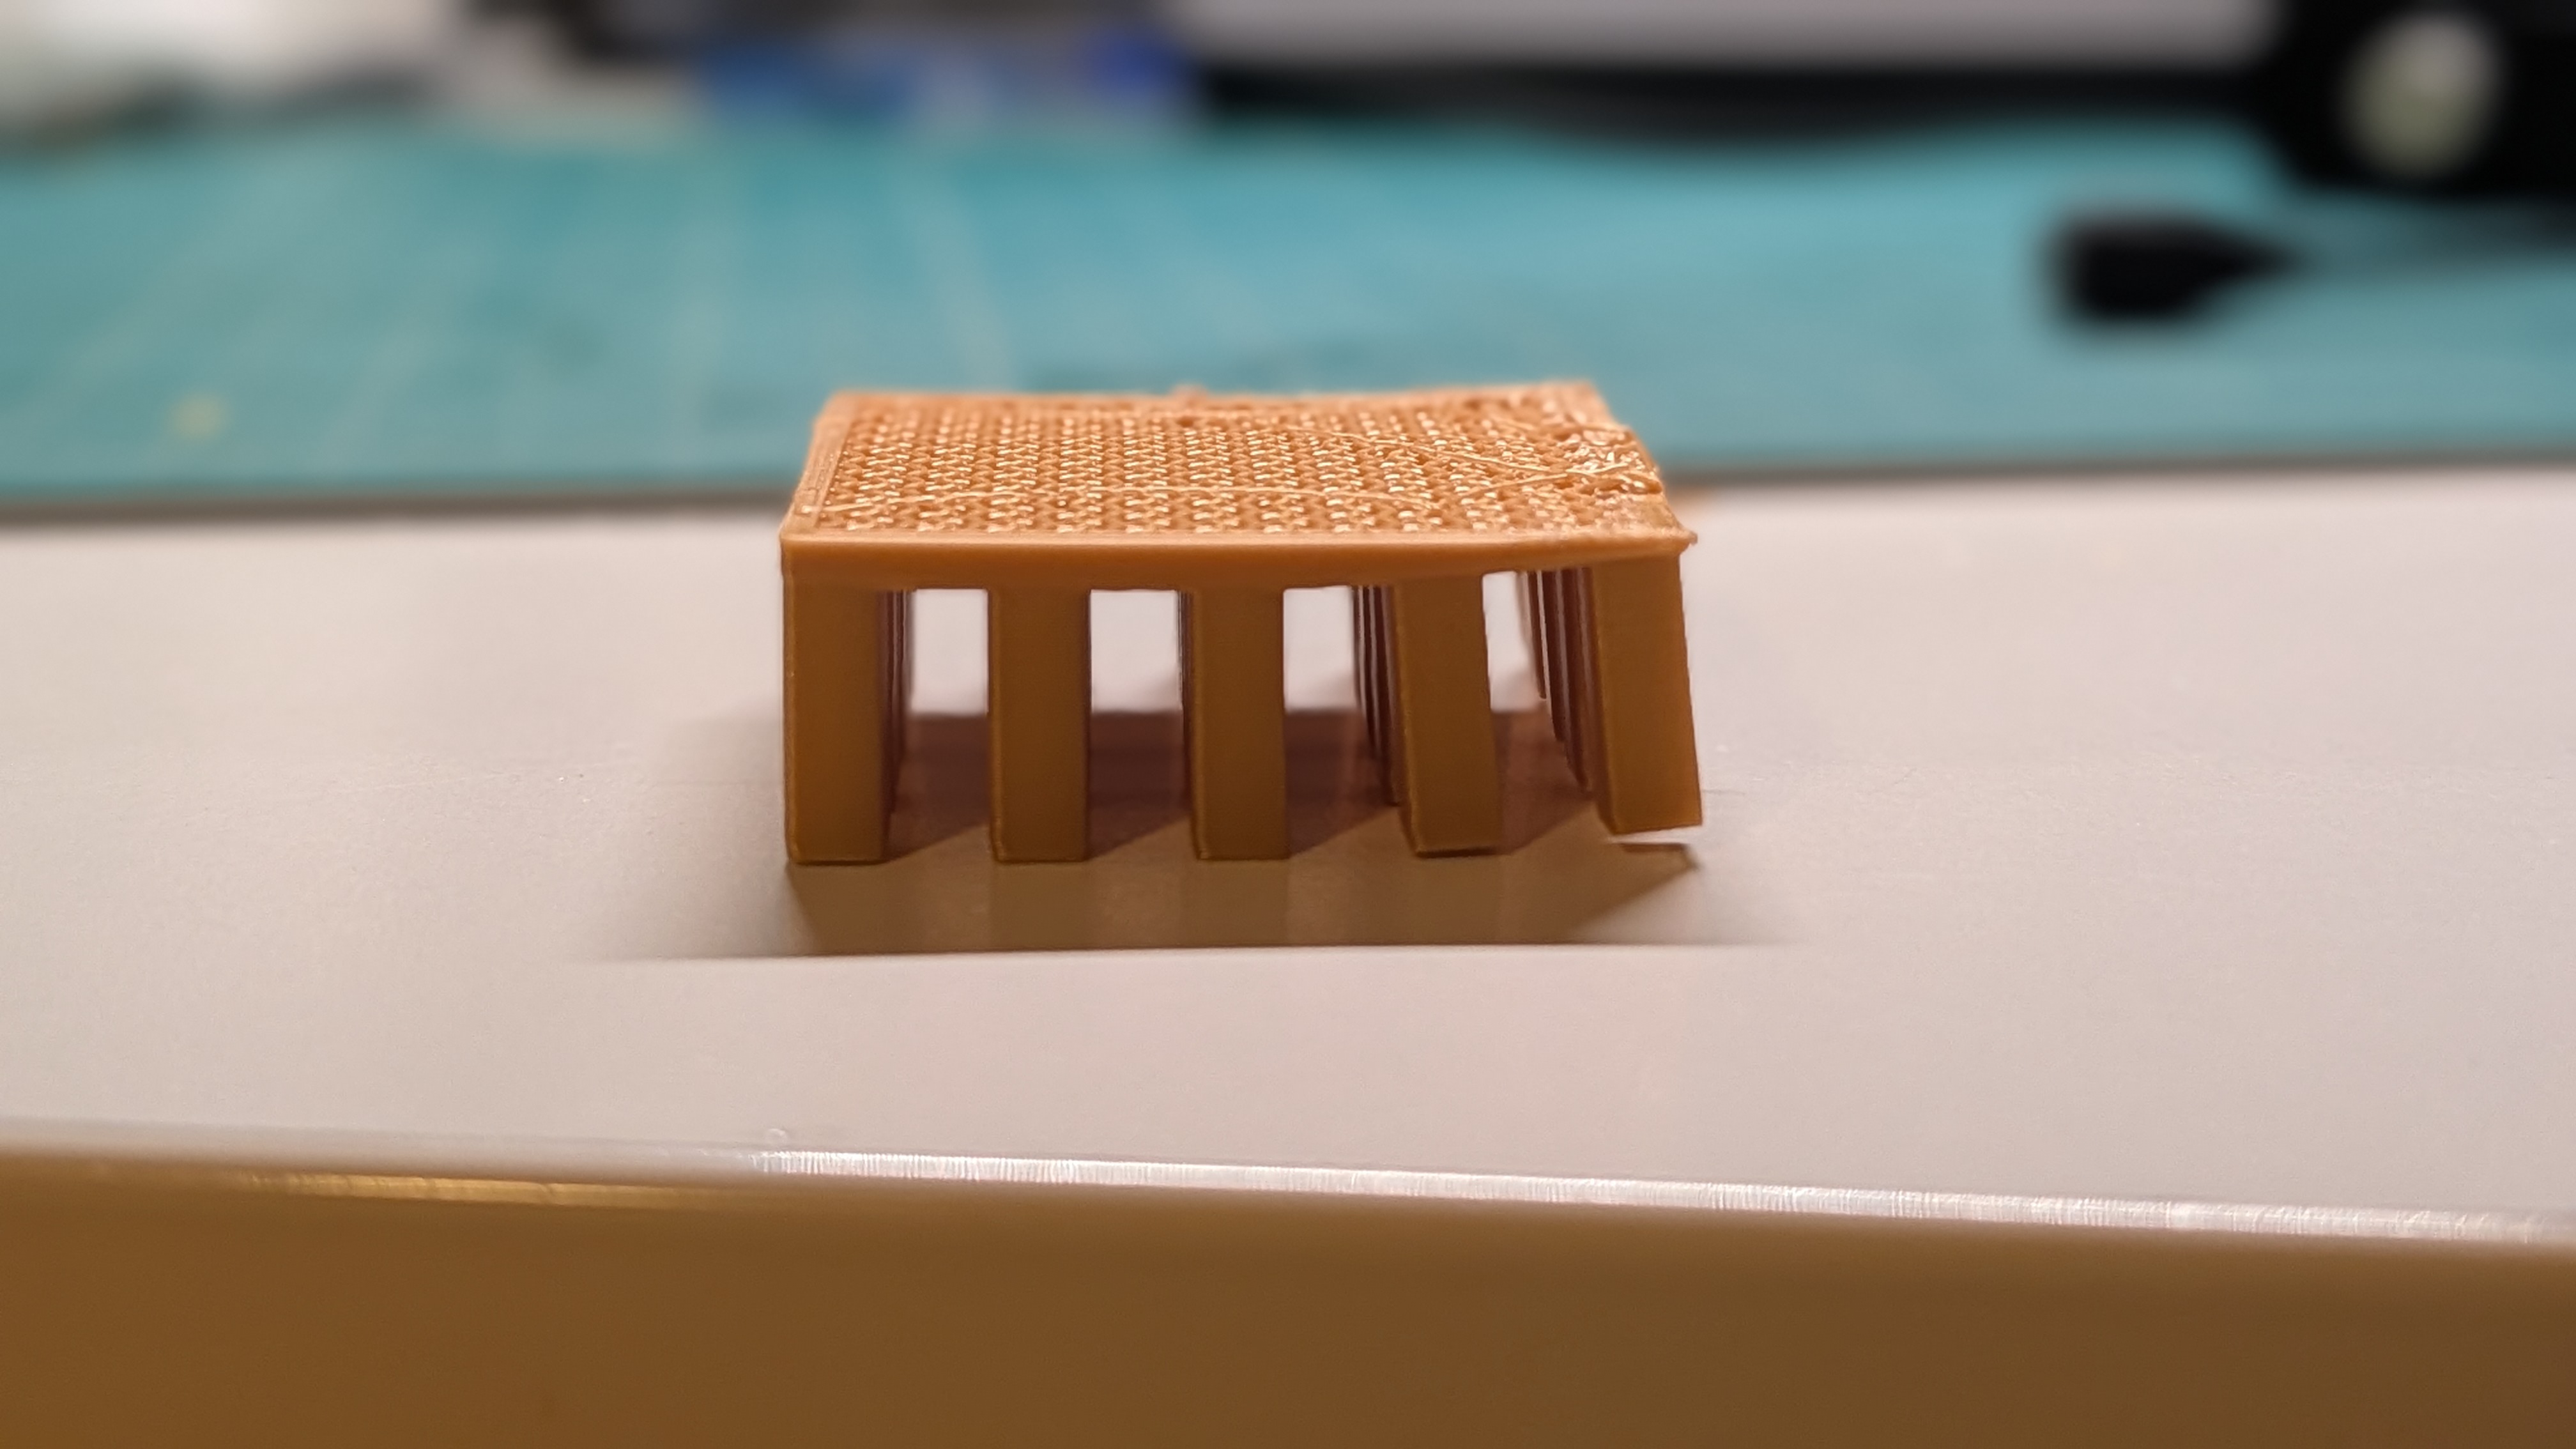
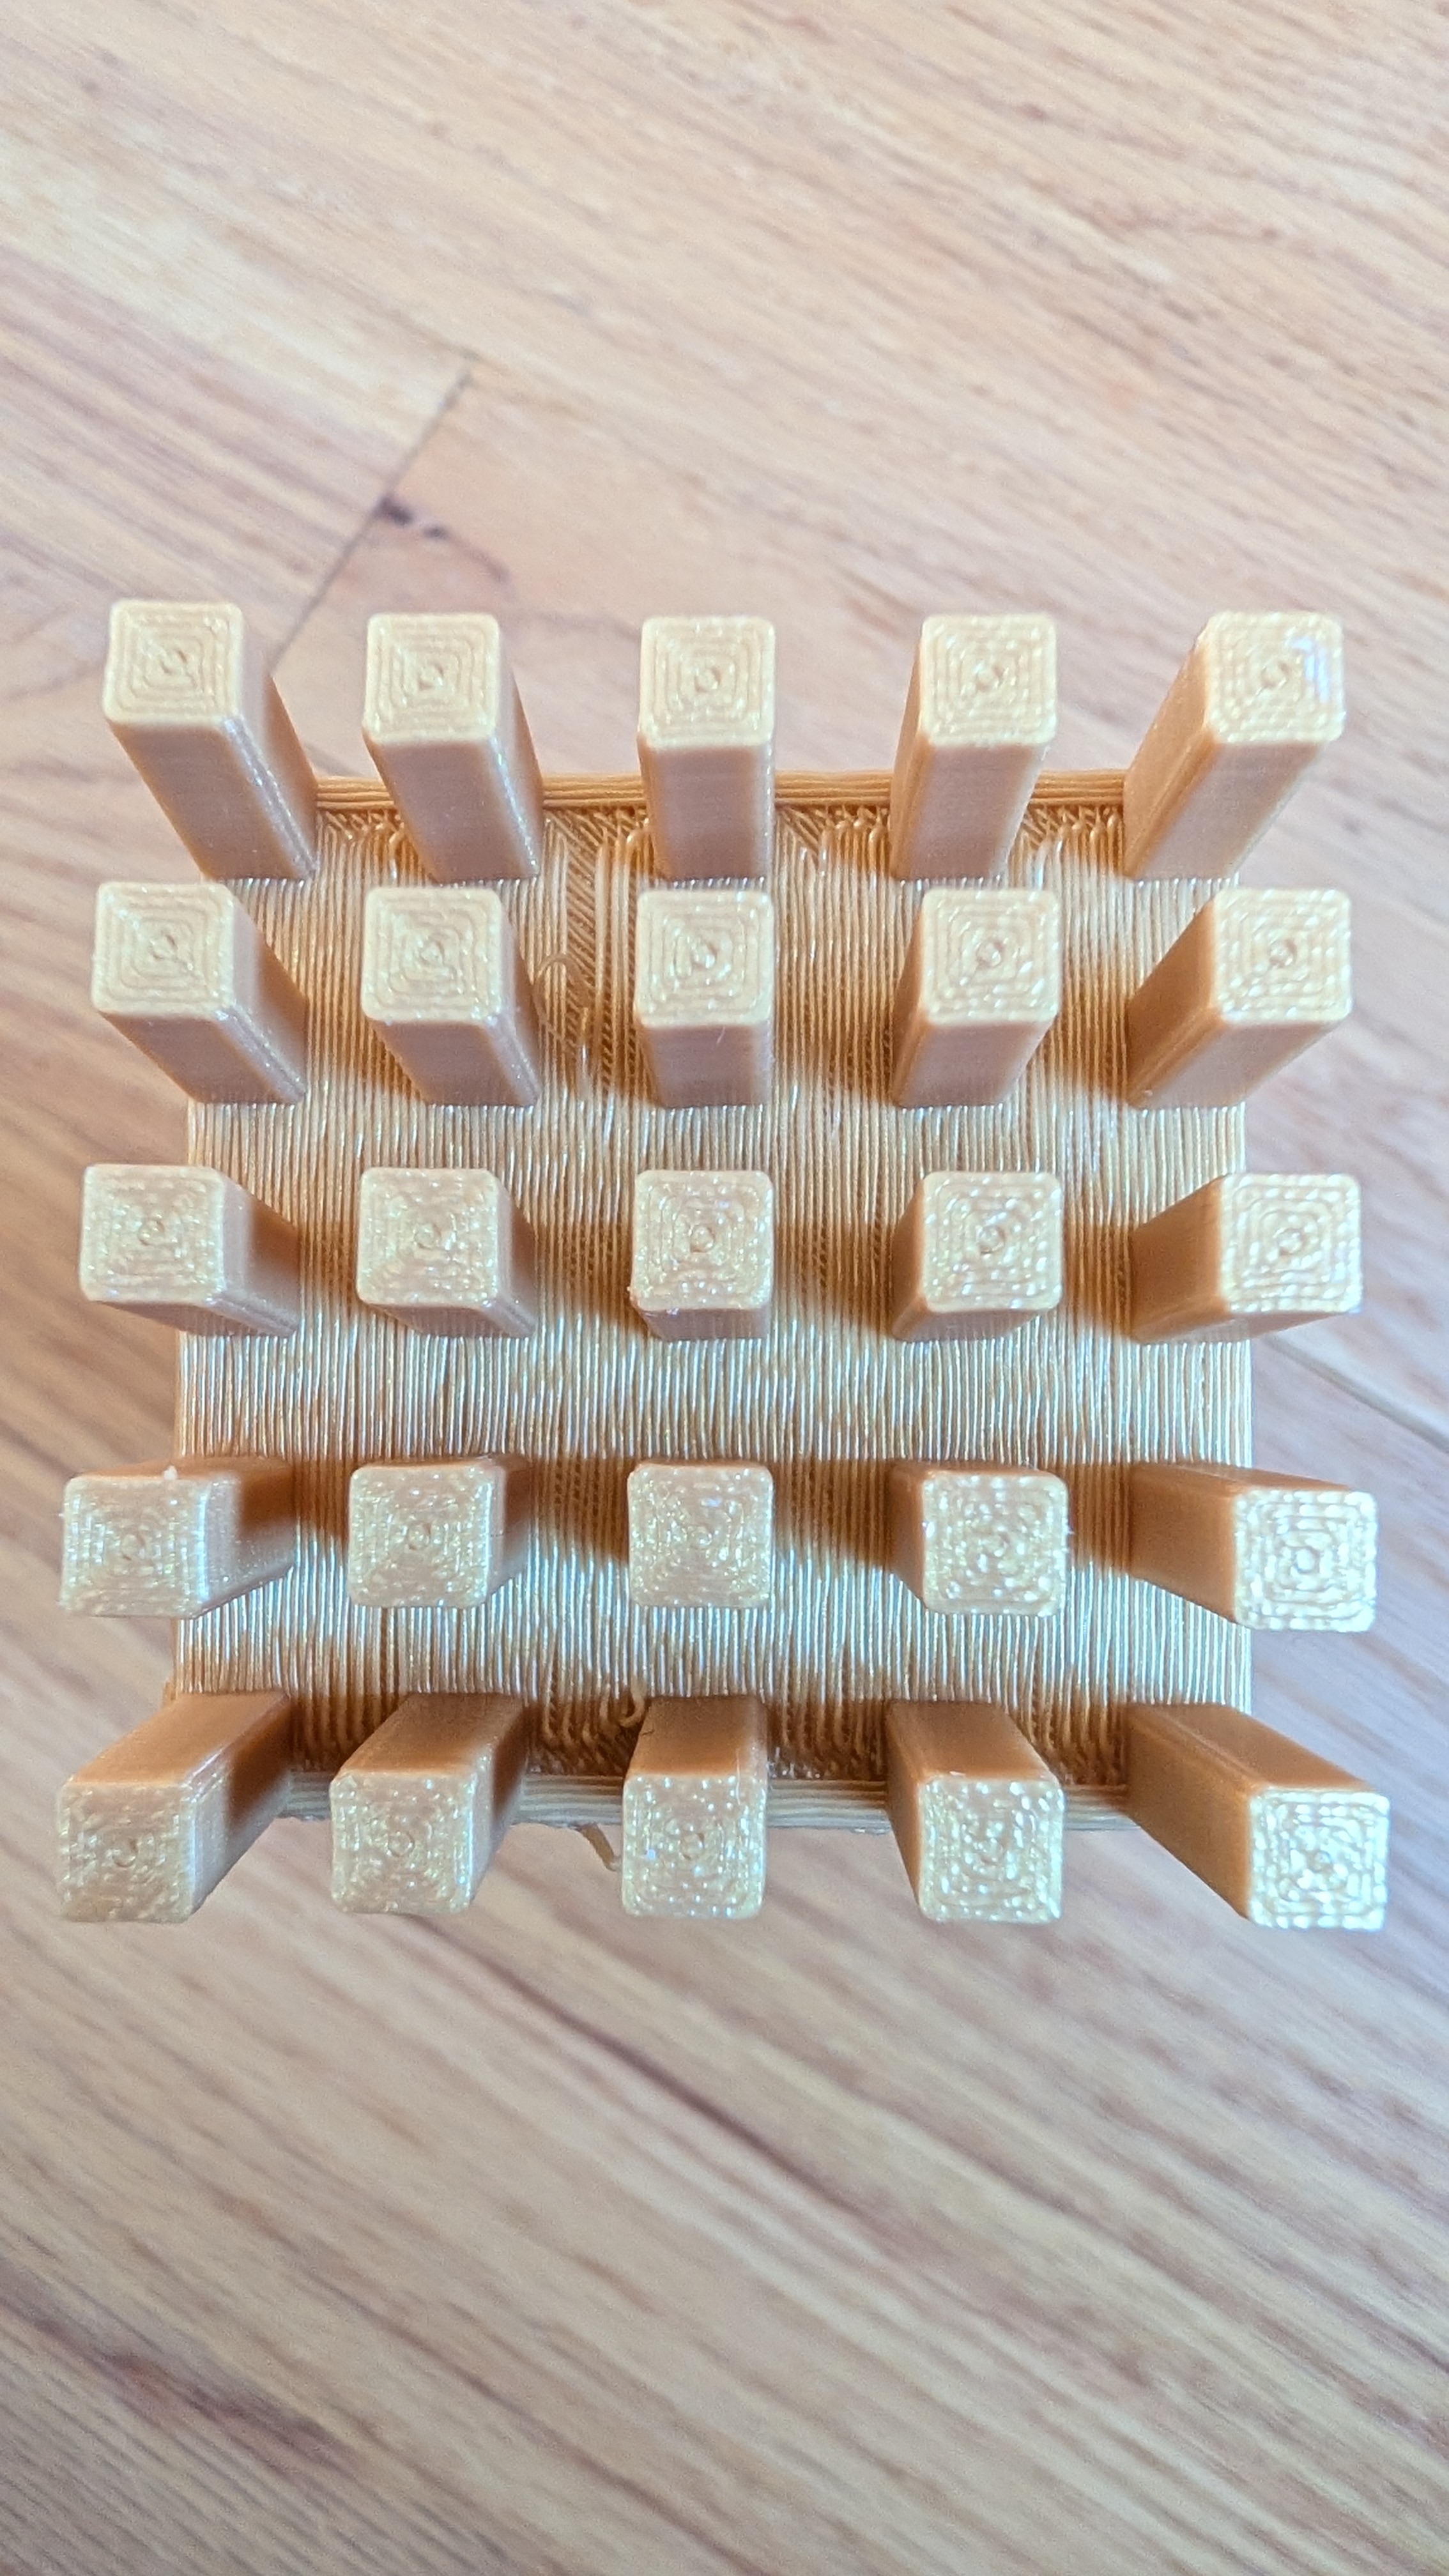
After turning on the brim setting, the print worked well. However, I noticed the top surface finish wasn’t great. I think this is because the column is small, so when the printer tried to finish the surface with “ironing,” it moved the column and caused a poor finish at the top. Turning off the top ironing should fix this issue.
Notes/Lessons Learnt
- The
Include 3D Geometrycommand is powerful for capturing edges from form bodies. - Using
Create Formto define a twisted surface, then extracting edges as sweep paths, is an effective workflow. - Guide rails are essential for controlling twist direction and angle in sweep operations.
- Profile scaling must be set to “none” to maintain consistent cross-sections.
- Brim is essential for small, thin features to ensure bed adhesion.
- Disable top ironing for small models to prevent the nozzle from moving them.